
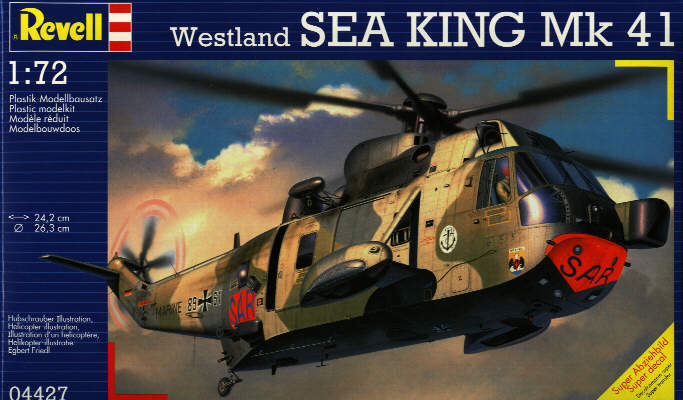
REVELL 1:72 WESTLAND SEA KING MK.41 SAR (MK.2)
Reviewer: Myself (braithy@bigpond.com)
Westland secured a license from American company Sikorsky to build their own S-61 Sea King derivative to replace the Wessex in the shipborne anti-submarine role. Westland Sea King's entered service in 1969 and at least up until recently were still undergoing continual developments and improvements. While anti-submarine duties remain the helicopter's main forte, it is also utilised for other roles such as Search & Rescue. The Mk.40 series is the export version for the Sea King and the Mk.41 was sold to Germany for duties under the SAR banner.
The first thing to point out is that this is the old release of the Revell Mk.41 kit with different box art and I assume instructions. It may also differ a little to the re-release as I am sure the first step as pointed out below with regard to removing windows etc plus choice of colour schemes have been reviewed.
In the box this kit looks quite impressive as the plastic is nicely molded with raised rivets and panel line detail. I am not one who is big on Sea Kings but one gets the feeling that this kit will build into a very nice example. The instruction sheet is A3 sized folded to make an A4 booklet with nothing much other than 8 assembly steps, colour call outs from the Revell range for all individual parts and colour schemes for three aircraft. Be wary about the construction process because there are optional attachments depending on which aircraft you decide to build - unfortunately the instruction sheet does not point out these components so check each step before you proceed.
The first thing you have to do is drill/punch out a few holes in the fuselage side. Revell have obviously used this engineered mold to make up the bulk of their released Sea King variants. You must also remove a few window covers so the initial preparatory work is not particularly nice. If you are one who is not used to cutting out these sort of components then you might as well give this kit a miss. I found the task laborous and annoying.
You then move onto the wheel pods which are quite easy to assemble. You need to bear in mind that the small stub wing goes against the lower fuselage (alignment pins are provided) and the main supporting strut is attached against the upper fuselage - like a jigsaw would be the best way of describing this. While they are not put onto the aircraft until later in the construction process I decided to put them on now. They are not easy to attach so are best done while they are still a little flexible before the glue cures - especially with regard to the main support strut which is very happy to slip out of alignment if you let it. Also, I thought it easier to attach them on each fuselage half before I went any further as I was able to lie the fuselage half flat while positioning them properly. Bear in mind that later when you glue the fuselage halves together you will need rubber bands to hold them together, and must be mindful of this now that the pods are on.
The cockpit is next to assemble which is actually quite reasonably detailed. There are two seats to put in front of a 'half' wall separating cockpit from cabin. A centreline console and a nicely molded instrument panel are provided with decals to attach as instrumentation - as usual I glued these on. Other detail includes a pair of yaw pedals and control sticks and a cyclic pitch lever. The cabin consists of two bench seats sitting sideways and facing each other, one forward of the cabin and the other aft. A plug is given for the whole in the cockpit floor (I assume this is for the dipping sonar in other variants) and a rear bulkhead is also provided. I gave the whole interior a dark grey wash with olive-brown cockpit seats, medium grey cabin seats and black consoles, sticks etc.
All the fuselage windows were added in then I placed the cockpit unit inside and attached the fuselage halves together using rubber bands to hold the whole thing together. Dry fit testing the windscreen indicated it was going to fit rather well so I left this off as well as all the other bits in the same step on the instruction sheet til after the fuselage had dried other than a plug in the bottom of the fuselage and tail rotor shaft, not to be cemented. The tail wheel is already molded onto the fuselage so it makes it a little difficult and precarious slipping any rubber bands between tailwheel and wheel pods. Providing you're careful it can be done, and at least the aircraft sits on its wheels at this point. Spot filling and the sanding of joining lines was needed to smooth everything out. One of the options for the kit is to have the cabin door positioned open or shut - I wasn't able to attach it so it could be moved but I think it is possible - so attached it in the open position. The winch unit is attached above the door, tailplane and various rails etc are also attached at this point. From what I could tell this whole process was common with all three aircraft.
Construction of the main rotor blade was quite straight forward but to have it as a moveable option you need to look at the instructions carefully. In short the shaft is cemented and attached to the whole rotor unit but a round 'plug' (part C12) is not cemented to the shaft. C12 is, however, cemented to the top of the fuselage allowing the propellor to move freely.
In the final step you attach the windscreen and engine cover plus the rotors and radome. There is also a large engine cover that sits above the windscreen (C17), this is only used for the RAF helicopter example. As suspected the windscreen fits well and includes raised detail for windscreen wipers. Most of the other components also fitted well although a bit of filler was needed for the engine cowling. I was glad that I had attached the wheel pods earlier too.
Three versions of the Sea King are produced by the kit. There are two West German SAR Mk.41 examples in overall tank grey with orange fuselage bands, tail and nose units in orange. My kit is an older release of the box art above but there is nothing wrong with copying the two-tone brown camouflage and less visible orange bands as depicted above. A Royal Navy (HAS?) Mk.2 version is also produced in overall dark blue/grey. Other than the markings there is no identification on what the examples are. The decals were surprisingly good and conformed to the surface rather well, although were a little prone to curling.
It's possible to build other Westland Sea King versions with this kit if you are aware of the differences as many unused parts are included in the kit such as torpedoes and aerials etc which can be used for other versions. I actually bought another one of these kits (because they were selling very cheaply in a local Department Store) and produced an accurate RAN (Australian Navy) Westland Sea King example from the parts on this kit plus a little bit of stretched sprue. The main differences are a pitot tube-like thingy above the cockpit, wire aerial on the port side, markings (used from a Sea King decal set produced by Aussie Decals) and absence/addition of other fuselage windows. There are also some minor differences but the conversion project turned out quite well.
Overall the kit was not bad at all and builds into a nice replica of the German Mk.41 SAR version. Fit of the components was quite good for the most part but the fuselage halves and wheel pods were not so obliging and a bit of attention is called upon at these stages. Otherwise good kit, but given the few bits of complexity, the fit problems just stated and the fact that you are required to drill holes and remove windows it is not a kit I would recommend to anyone other than the more experienced "intermediate" modeller and up. Nice kit.
Back to home
Kit Review Index: 1/72
1/48
This is Revell's New Tooling release of basically the same kit. However it does not contain the RN decals that my kit did. In fact this new tooling kit contains one camo type and one in overall light-grey/white. My thanks to Matt Bacon for setting me straight :)