|
 |
 |
 |
 |
| Desert
Mounted Corps |
1st
Anzac Corps |
2nd
Anzac Corps |
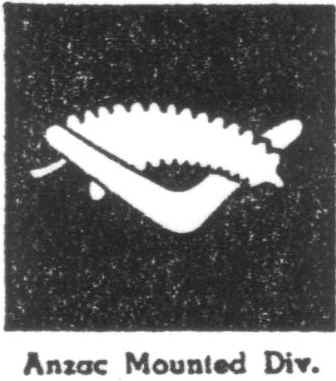
Anzac
Mounted Div |
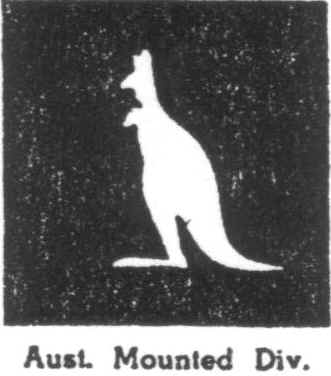
Aust.
Mounted Div |
 |
 |
 |
 |
 |
| 1st
Division |
2nd
Division |
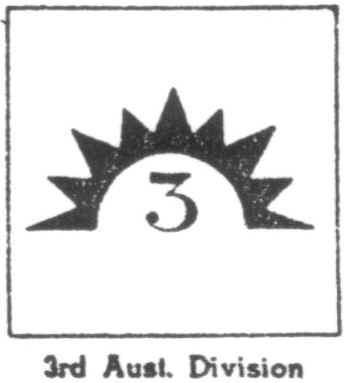
3rd
Division |
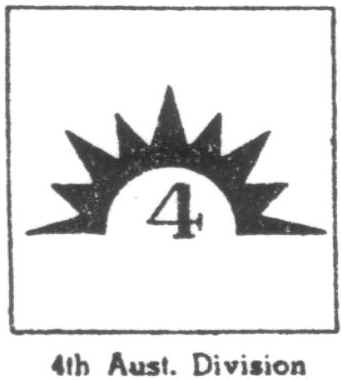
4th
Division |
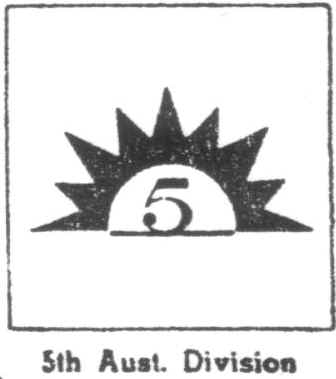
5th
Division |
- It is interesting to note that of
all these TAC SIGNS the only ones to bear the 13 point Rising
Sun logo are the 1st and 2nd ANZAC Corps and the 1st Division. All
the other Divisions got a nine pointed Rising Sun logo.
- II ANZAC Corps and the ANZAC
Mounted Division also bear the Silver Fern of New Zealand.
- Please be aware that the names
attached to the bottom of each sign DID NOT form part of the
sign. They are there merely for identification purposes in the
original document and here on this site.
|
EXAMPLES |
 |
Major
General Chaytor with Brigadier General Cox, who is about to step
into a car, serial no. LC 1357. The formation sign on the door is
the silver leaf over an upturned boomerang denoting the Anzac
Mounted Division. |
|
|