|

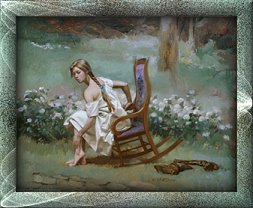
The image used "Green Park"
is a copyright of William Whitaker
and
has been used with his permission.
Please do-not use this picture for anything other then your personal use.
Please visit
William Whitaker Galleries here
This
tutorial was written by me on June 5th 2002.
Any likeness to other tutorials is purely coincidental.
It was written using PSP7.04
but can be done in earlier versions too.
Special Thanks to Patti for all her help!
You
will need the following:
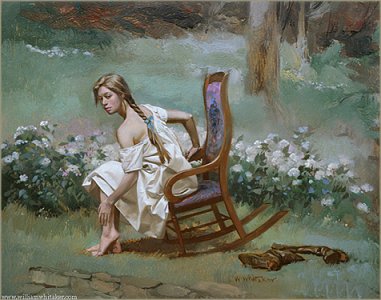
An Image of your choice. You may use the one provided
by right clicking on the picture and saving to your hard drive.
JASC's PSP (30 day free trial)- You can get it HERE
Sinedots Shader- Download and unzip into your PSP Plugin folder.
You can get the download
HERE
Ready....
1. Open the graphic that we saved or the graphic of your choice, duplicate your image (Shift+D), and close your original.
2:
Resize your image to 350 pixels on the longest side. Go to Effects/Sharpen/Sharpen. Now duplicate your image again (Shift+D), minimize your copy for now we will be using it later.
3. With your Eye Dropper Tool pick a color from your image that will enhance it. (I used #81A19C) Set it as your foreground color, set your background color to white.
4. Go to, Image/Add Border-Symmetric 25, click okay. Click on your white border with your Magic Wand Tool, tolerance and feather set at 0.
5. Restore your copy of your image, On your color palette click on the black arrow on your background color, and navigate to your patterns. (Third from left) We want to find our copy of our image and click on it using a Scale of 100% and Angle of 0, click okay.

6. Click on your Flood fill bucket with the following settings: Blend Mode-Normal, Match Mode-RGB Value, Tolerance-100, and Opacity-100. Using your right mouse button flood fill your white border with your pattern.
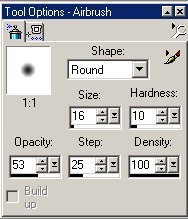
7. With your border still selected, click on your Airbrush Tool (use settings below) you should still have your color from your picture in your foreground color. With your airbrush zigzag all the way around the inside of your border.
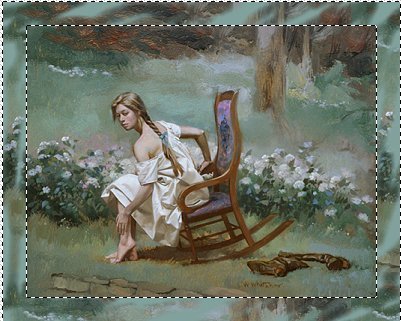
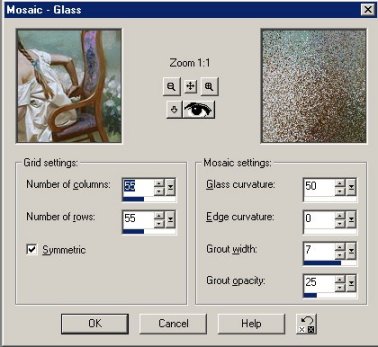
8. Your frame should look like the picture above. Leave it selected. Click on Effects/Texture Effects/Mosaic Glass. Use the setting below:
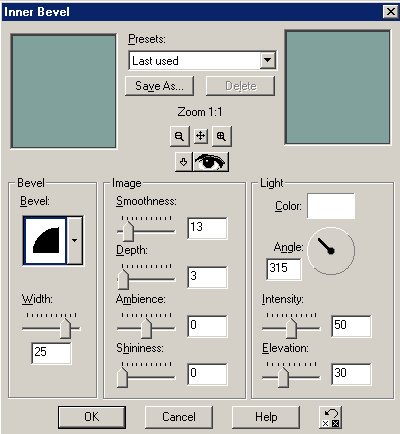
9.Okay we are almost there. We are going to add an Inner Bevel. Go to Effects/3D Effects/Inner Bevel. Use the settings below.
10. With your frame still selected go to Selections/Invert/. Next, Effects/3D Effects/Cutout, use the following settings:
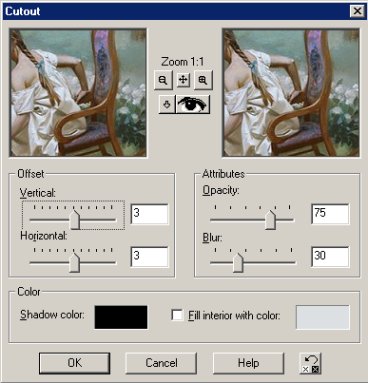
11. Re-apply your cutout one more time, this time changing the Vertical and Horizontal to -3. Back to Selection/Invert. Leave the border selected.
12. Almost done! Go to Effects/Plugins/Dragonfly/Sinedots, Apply the same settings as below.

13. Go to Selections/select none, and you're done! Be sure to resize your image to your groups specifications and Sharpen/Sharpen
Thank you for doing my tutorial, if you have any questions please feel free to E-mail me. Below are a few examples done using this tutorial


|