
1. View of the approach to the gate. The tablets held by the scribe statues
read: "O stranger, enter not this place lest ye intend to stay forever. It
belongs only to the dead and their attendants and no others may safely trespass.
Lord Anubis protect us. "
2. View of the ramp and main temple from one of the wall towers.

3. Closer view of the right wing of the temple.

4. Closer view of the left wing of the temple.

5. View of Opran archers manning the outer walls.

6. Egyptians and British in column-march through the wasteland surrounding
Opra.
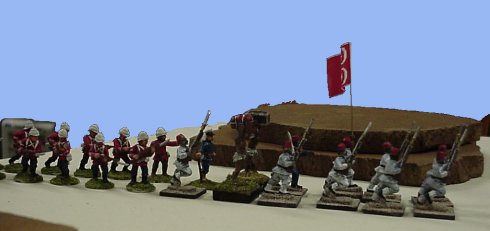
7. The expedition approaches. British regulars to the left, Indians at the
rear, and Egyptians on the right. The Italians are out-of-sight behind the
Indians.

8. The firefight begins. Right to left: Egyptians, Indians, British, and
Italians. Lt. Churchill can be seen advancing ahead of the main body. An error in
tactics, as he
soon discovered.
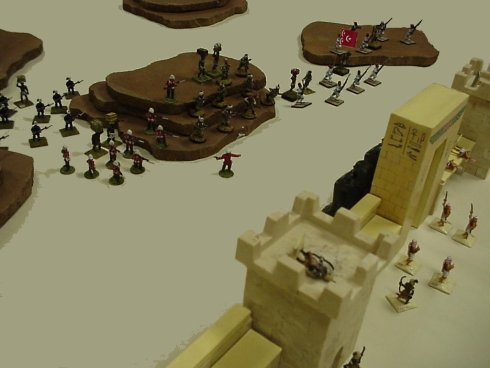
9. The assault begins. Egyptians prepare to scale the walls in the
foreground while Indians, British and Italians all try to fit through the gate
at the same time.

10. The gallant Col. Mustard about to be "spread" by Opran axes on the temple
ramp.
11. British regulars begin to explore the underground complex...

12. While above them, Egyptians and Indians fill the temple. The wounded Col.
Mustard can be seen lying at the lower left, near two bars of gold.

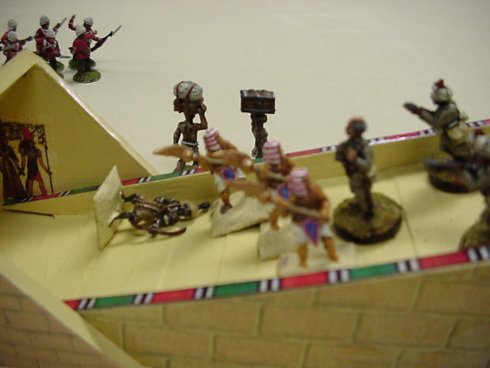
13. Brave Italian Bersaglieri prepare to feed...er, fight a giant sand
spider.

14. British and Egyptians loot the temple. Professor Smythe-Piddling may be
seen at the far right (white headpiece).

15. British engage two mummy warriors. Lt. Churchill on the left.

16. British and Egyptians make their way down the ramp and toward the gate while under fire from
Opran arrows and javelins.
