| Qty | Description | Price* |
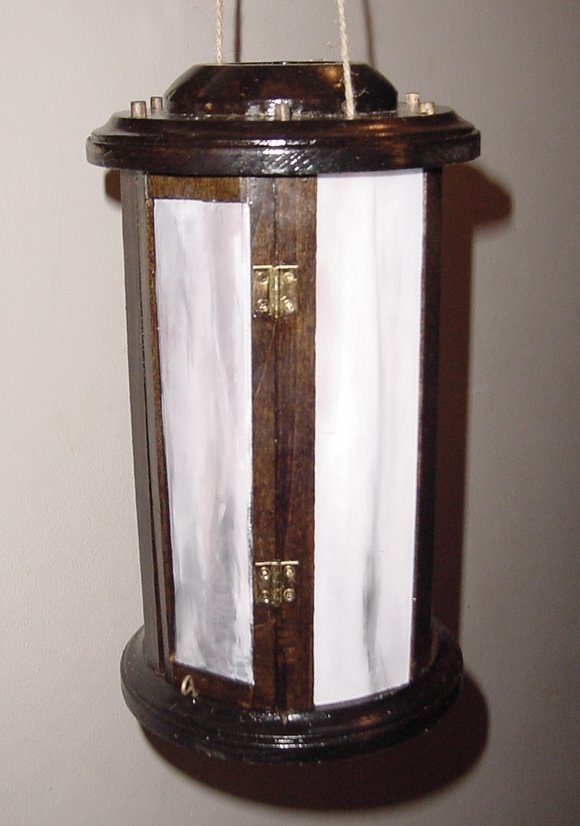
| 1 | Store bought lantern with replacable fluorescent G23 U-tube bulb.
For this project I selected an Alpine Design brand 9watt fluorescent
"u-tube" camping lantern. It uses 4 d batteries not included.** | $9.99 |
| 1 | 4 D-cell or 6 volt lantern battery | $12.99 |
| 2 | Craft store turned 7" round wooden "plaques" | $1.59 ea. |
| 1 | Craft store turned 4" round wooden "plaque" | $0.59 |
| 1pk | Craft store 2" wooden disks (2 per pack. You only need 1) | $0.99 |
| 1 | 4" x 48" x 1/4" poplar craft board | $3.00 |
| 1 | SPST Maintained On/Off push button switch (I used a Gardner
Bender GSW-21 available from local hardware elec section) | $4.33 |
| 1pk | Male speed connectors from electronics parts store | $ |
| 1 | Piece of 20 ga steel (from local hardware center) | $ |
| 1pk | Shrink tubing | $ |
| 4 | #8 x 1/2" wood screws | $0.89/pk of 6 |
| 1 | #10 threaded rod 4" long or a #10 machine bolt 4" long. | $1.99 |
| 2 | #10 machine nuts threaded for #10 bolt/rod above. | $0.89 /pk of 4 |
| 2 | Fender washers (I think I used 5/32" and drilled out the center for the #10 rod | $0.08 ea |
| 1pc | Clear or translusent plastic panel 1/16" thickness (Poster frame glazing) | $12.99 |
| 1 | pair of small 1/2" brass hinges (Optional) | $2.99 |
| Approximate total cost of project | $53.50 |