|
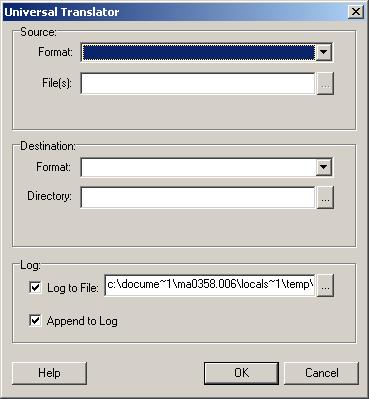
- The Universal Translator may be used to import and export file types not covered so far, for example ESRI shape files (.shp). The drop down lists in the Universal Translator dialog box show which file types are allowed.
- Choose the source and destination file formats. Choose the source file, i.e. the one to be translated, and the destination directory which the translated file is to be saved to.
- It is important to set the correct map projection using the Projection button. For files such as the ones used in this tutorial, i.e. files obtained from UK census websites, the projection will be British National Grid.
- Click OK when you are happy with the options you have chosen.
|
 When exporting a map, do not forget to export its legend. You will have to do this separately. Since the map and its legend are saved as separate files, be sure to give them filenames which show clearly which legend belongs to which map!