|
PULSATION
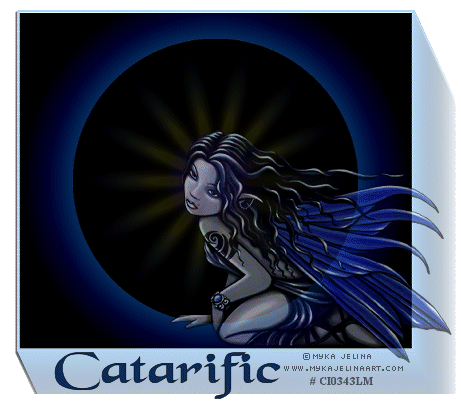
Supplies Jasc/Corel's Paint Shop Pro any version. Tube of Choice. The tube image I am using is a commercially licensed image created by Myka Jelina and licensed through CILM. CILM stands for Creative Image Licensing and Management and it is through CILM that you can purchase Myka Jelina's breathtaking images in full or tube form as well as images from many other outstanding artists. Kang's Filters - Ben-wah Airlines Xero's Pulsar Filter which you can download here. Eye Candy 3.1 - Motion Trail Medium to thick font of choice. Optional - Brushes, Tubes, or Preset Shapes for Additional Design Elements. Please remember, when creating your signature tags, to only use permission art and to apply the copyright information on the tag which would include both the artist's name and online gallery link. If you have purchased a commercial image, do add your license number as well. SETTING USED IN THIS TUTORIAL
Magic Wand Settings used in this tutorial are: Mode: Add/Shift, Match Mode: RGB Value, Tolerance 2, Contiguous checked, Feather: 0, Anti-Alias checked and outside selected. Drop Shadow Setting: Vertical Offset 2, Horizontal Offset 2, Opacity 65 Blur 2.60, Color Black CREATING THE TAG Step 1 Open up a new transparent image 700 width by 600 height. At the Material Palette, select a deep color (I selected a dark blue) for your tag effect. Flood fill the transparency with color. Step 2 Go to Effects/Plugins/Kang/Ben-wah Airlines and use these settings: This 60, That 116 Mood Light 255 Step 3 Go To Layer/Merge/Merge All (Flatten) Go to Image/Add Borders. When the border selection window opens, select a color for the border, symmetric and a border width of 5. Step 4 Open up the Layer Palette, Right Click on Background Layer and go to Promote Background Layer. Go to Image/Resize using the percent option at 80%, Bicubic and Resize all Layers NOT checked. Step 5 Go to Effects/Plugins/Eye Candy 3.1/Motion Trail and use these settings: Long Trail at the default settings. Step 6 Go to Effects/3D Effects/Drop Shadow and use the settings as above. Step 7 Go to Image/Mirror. Step 8 Go to Image/Canvas Size with width and height at 700. Step 9 Go to Layers/Duplicate 3 times so you now have 4 layers. Step 10 Open up the Layer Palette and on Layer one: Go to Effects/Xero Graphics/Pulsar and use these settings: Size 72 Intensity 11 Rays 14 Rotation 100 Sharpness 0 and leave everything else as is. Hit ok. Step 11 Open up the Layer Palette and on Layer Two: Go to Effects/Pulsar and use these settings: Size 72 Intensity 40 Rays 14 Rotation 55, Sharpness 0 and leave everything else as is. Hit ok. Step 12 Open up the Layer Palette and on Layer Three: Go to Effects/Pulsar and use these settings: Size 72 Intensity 61 Rays 14 Rotation 19, Sharpness 0 and leave everything else as is. Hit ok. Step 13 Open up the Layer Palette and on Layer Four: Go to Effects/Pulsar and use these settings: Size 72 Intensity 83 Rays 14 Rotation -12, Sharpness 0 and leave everything else as is. Hit ok. Step 14 Crop off any transparency not being used. Go to Image/Resize using the percent option at 70%, bicubic and resize all Layers checked. Save this file as a psp or psd file. We will be adding the tube graphic, text, decorative items, copyright information through propagate paste in animation shop later. Step 15 Open up your tube graphic and go to Edit/Copy. Make your tag image active and go to Edit/Paste as New Layer. If the image is too large, go to Image/Resize, using the percent option, bicubic and resize all Layers NOT checked. Step 16 Open up the layer palette and move the opacity setting to about 58 so you can see the pulsar effect below the tube graphic layer. On this same layer as your tube graphic add your text, copyright information and any decorative items for your tag. Once you have all your items on the same layer - open up your layer palette, making sure you are on this layer. Go to Edit/Copy and Edit/Paste as New Image. Save this image as a psp or psd file. We will add this image to our animation using propagate paste in animation shop. You now have two images. Your tag image and the image of the top layer of your tag. Close PSP and open up animation shop. Click here to continue.
|