Martin Glynn ... a real appraiser to a real hovercrafter!
 |
Martin Glynn and his wife reside in Thibodaux, LA, and routinely fly the Gulf and bayous with his hovercraft. Often as not, he will pull his hovercraft alongside a houseboat on the bayou and be invited in for a fresh caught catfish dinner!! |
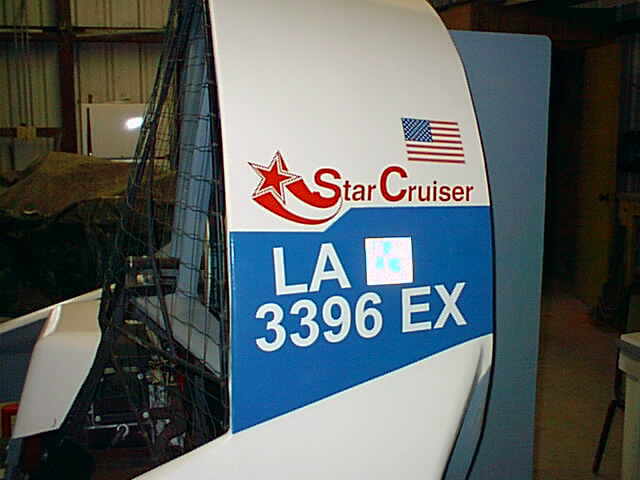 |
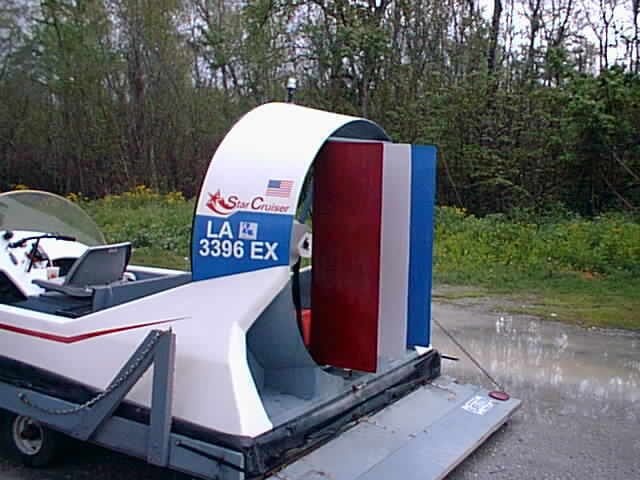
The patriotic flag on the duct of Martin's StarCruiser shows his pride in his hovercraft. Martin is truly a wonderful ambassador for hovercrafting! In fact, when you meet him, you will never forget him! |
 |
The winch... |
 |
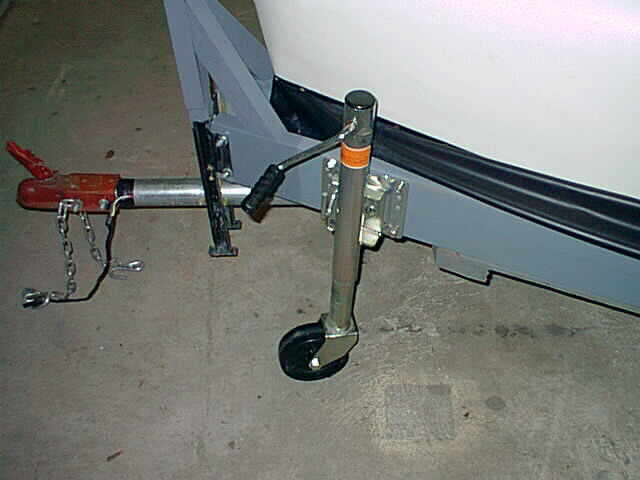
The hook for steep ramps... |
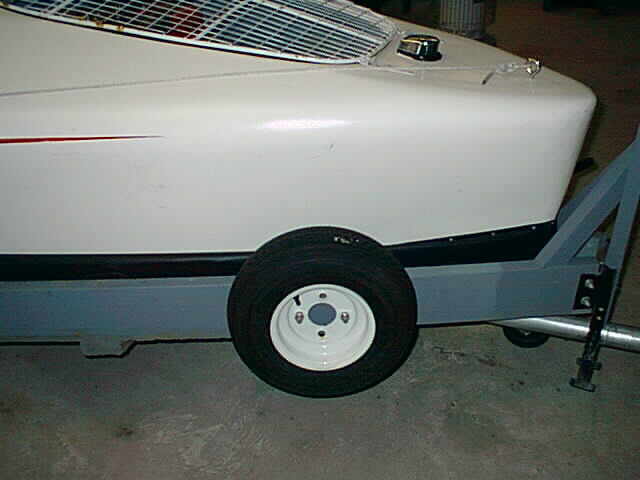 |
Mounting the spare wheel on the front of the trailer... |
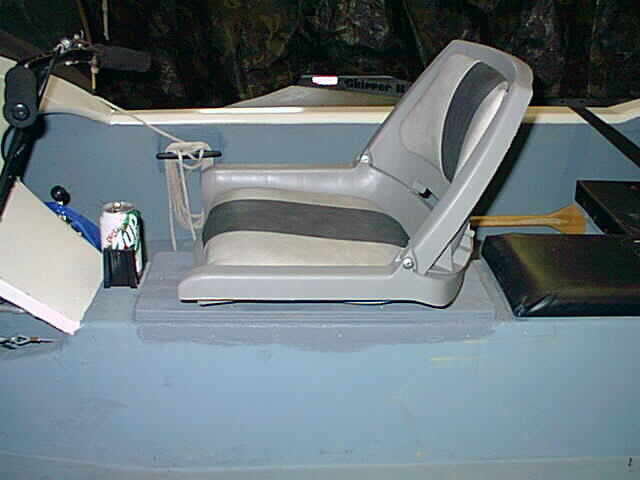 |
Comfy seat and beverage holder.... |
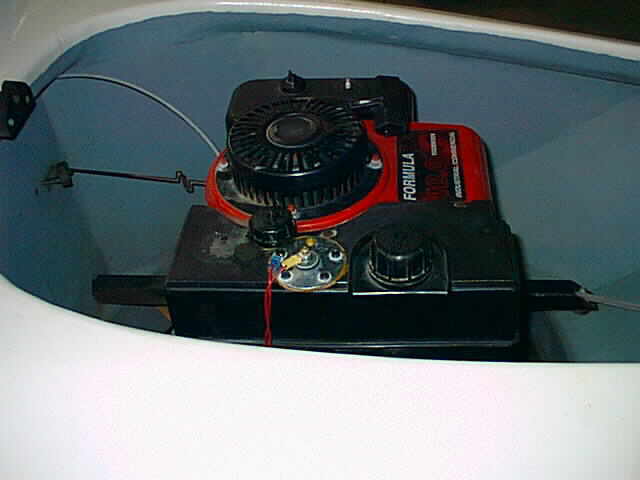 |
Fuel gauge on the lift engine... |
 |
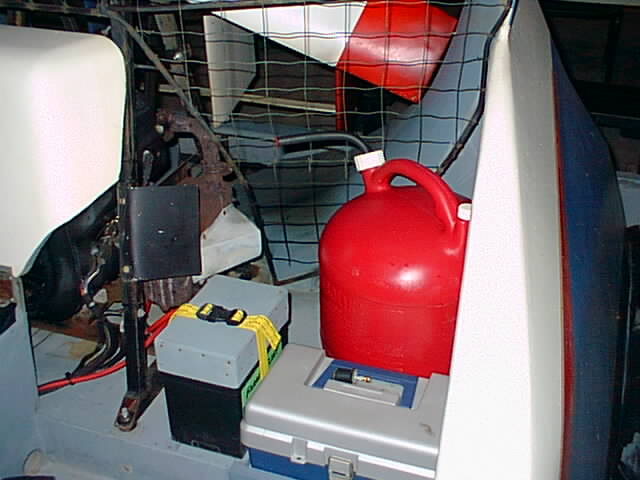
This is an older picture of his console. The red float on the thrust key has printed "Get In, Sit Down, Hold On and Shut Up". Martin admits the following: I added my running light switch, Tach for the rear engine, mounting bracket for my GPS, a voltmeter and a gas gauge for the front engine and a rear view mirror, all on the console. I also added a paddle holder, fire extinguisher, extra gas can, straps in the rear for life preservers, a cargo net along the inside side for storage, a bass boat type plastic seat for the driver and docking cleats on the inside of both sides...And I am still looking for stufffffff to add....I may have to use white out on my sticker to change it to read "Maximum capacity 1 person with all this stuff".
There recently was some discussion in our hoverlovers egroup about use of an anchor in a hovercraft. Here's Martin's solution:
I also have a small anchor in the SC4. I installed a 3/8" plywood plate inside the craft just behind the windshield on the right side. To this I installed a 8" plastic cleat. I keep the bow rope attached to this cleat which makes it easy to control the craft when I push it off since I have a 3/8" rope along the right side of the craft. Makes it easy to hang on to.....Just remember, to attach most anything, you need to add a mounting plate. Drill/screw and use construction adhesive like "Liquid Nails". Remember to use Stainless Steel Screws/bolts/nuts wherever you install something. I also mounted the fire extinguisher the same way under the console on the left side near your left foot. (Fire extinguisher mounts are now included on all new craft.)
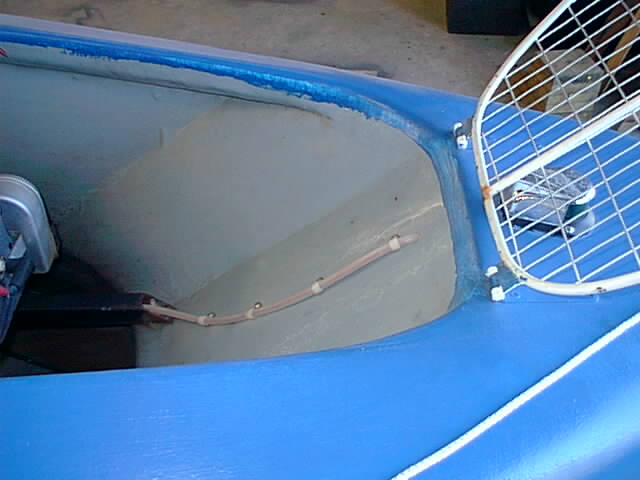 |
Wiring leading thru the lift duct to lighting. |
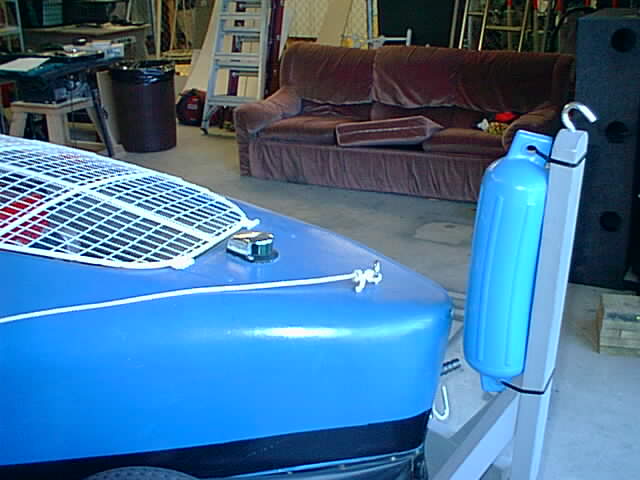 |
Front Bumper: Front of trailer has bracket with hook on top to lower craft down steep ramps. Martin added a plastic bumper to prevent damage on loading. Bumper has a fill valve which allows to regulate amount of air. |
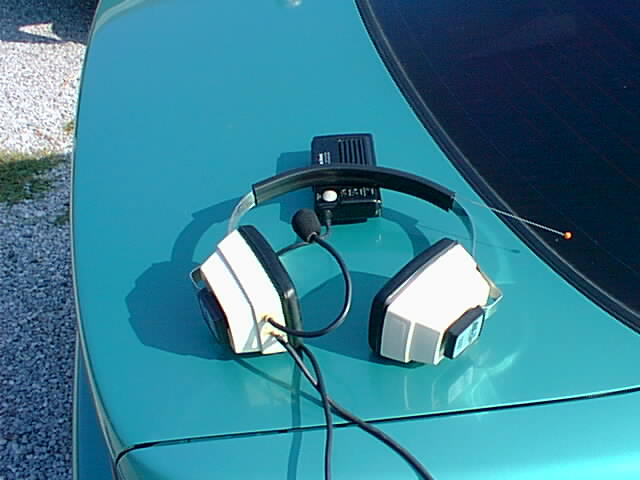 |
Headset: Works well. Took about an hour to reconfigure. Used silicone glue to fill holes and attach. These headsets are absolutely the greatest.....as Verdon and I have a pair. The real cat's meow and save you $$$$$$!! |
 |
Muffler Cap: I like to carry spare gasoline, however, exhaust was a problem. Used sheet metal to make the deflector and riveted to the muffler. Works well. |
 |
Dry Storage is a cargo net designed for a pickup truck. Works well for life preservers, etc. |
 |
Paddle holder is just plywood painted and glued/screwed to side wall. |
 |
Oil Drain: Installed brass "L" and nipple with gated valve and plug in the end. I have a plastic hose that attaches. Works well. |
Thank you Martin for representing hovercrafting so well in your state!
![]() to More Ambassadors!
to More Ambassadors!

Back to Weber Hovercrafts!