Flooring Framing in Byron House

Progress
July 2005
Aug 2005
Nov 2005
Jan 2006
Feb 2006
May 2006
July 2006
Aug 2006
Oct 2006
Demolition
Back Porch
Pecan Tree
Kitchen 1
Kitchen 2
Kitchen 3
Footer/Foundation
Dig Footers
Build Foundation
Filling an Antique Septic Tank
Piers
Framing
Floor Joists
Framing Day 1
Framing Day 2
Framing Day 3
Framing Day 4
New windows
Wiring
Plumbing
Sewer Line
Water Line
Painting
West Wall
East Wall
South Wall-West Gable
Front Door
New East Wall
New West Wall
New North Wall
Last New Wall
Front Porch
Repairs


Jim and Elizabeth built the foundation and framed up the flooring. They are shown here installing pressure treated 2"x10" floor joist. Elizabeth held the square to align the joist vertically. Jim secured them with his framing nailing gun.


Cutting boards in multiple saved time and ensured they are all the same length. The large opening in the foundation is for a steel access door. The smaller opening is the exact size of a concrete block and is for a ventilating grid. Vent holes are required every 15' by building code.


Adding bracing to stabilize the 14-foot long joists. Building codes vary concerning bracing depending on earthquake susceptibility. Bracing prevents floor joists from lying down like Dominoes in event of lateral movement. The close set joints in the foreground are for the closet/bathroom wall.

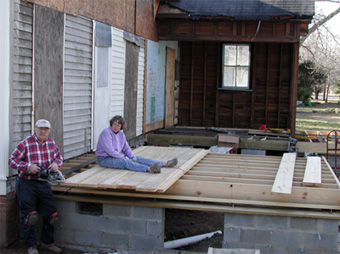
We had planned to frame the walls ourselves and hire a real carpenter to frame the hip roof. Circumstances beyond our control caused us to weigh our options and we ended up hiring a builder to frame and enclose the addition. Neighbor Matt had some time between jobs, so bright and early on a March Monday morning he and his crew started work on our addition. Since we had not planned on hiring the job out, our "blueprint" was an 8.5" x 11" printout from our CAD program of the floor layout only. In four days they accomplished what would have taken us much much longer and we can't thank them enough for a job well done.