Tutorial on Quilting with Clip Art
I am using PSP 5 but this can be used in any Paint Shop Pro application....
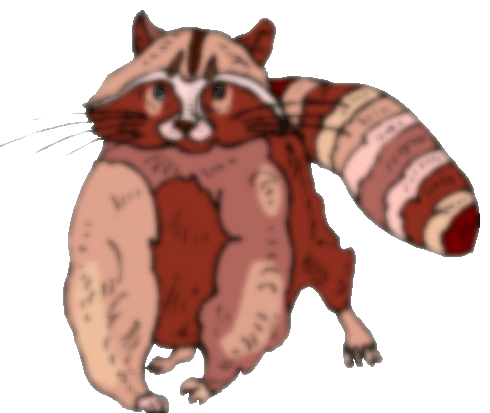
This is the original photo that I am using one of a raccoon...

Once you have your clip art open then use the magic wand or selector tool and select your background... hold down the shift key to select more than one area of the background till the ants are marching all around all of the background.
After that go to selection and click on Selection Invert....... so that the ants are marching around the raccoon only....
At this point go to the Layers.... and hit duplicate.... this will give you two layers the copy and the background you are going to be working with the copy layer.... which is the one that is on top.

Next, go to Image and then Blur then go to Gaussian Blur........ use Radius of 3.01.
Your clip art should look something like this...

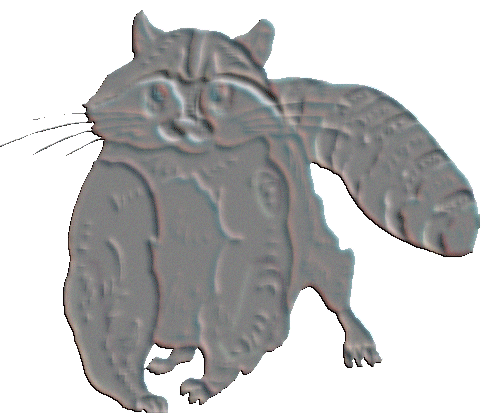
The next step is to go back to image.... click on Other then Emboss it should then look like this......


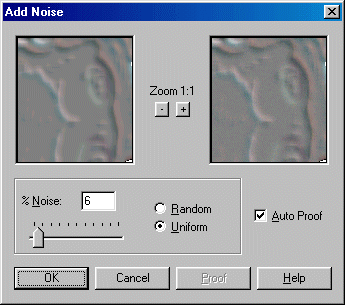
Next go back to Image ... click on Noise.... Add 6%.... Uniform then it should look like this....


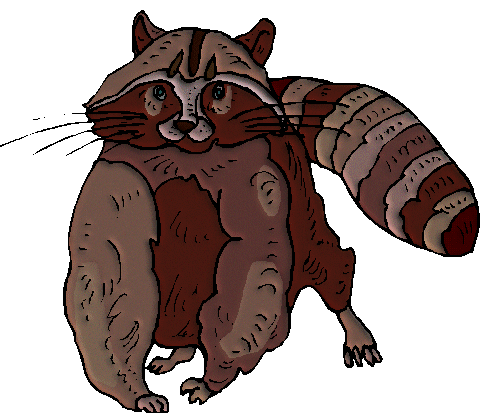
At this point click on Layers.... Properties....I usually use Multiply depending on the look you want you could also use burn or difference...as you can see in the properties box above if your photo comes out to dark you can use the opacity to lighten it a little bit.....then click ok

This is the finished product... a Quilted Raccoon...... at this point you can add a drop shadow if you like or resize it for what ever you need it for.......If you have any problems with this application of PSP please do not hesitate to contact me .......Susan
I belong to Paint Shop Pro Support Exchange, a Petsburgh Committee..... If you are having problems with PSP 5 or 6, or would like to learn a new technique...... check out the web site.... there are lots of tutorials and classes.... Just click on the button below.......