| Bill & Julia's Water Garden |
Step 3.
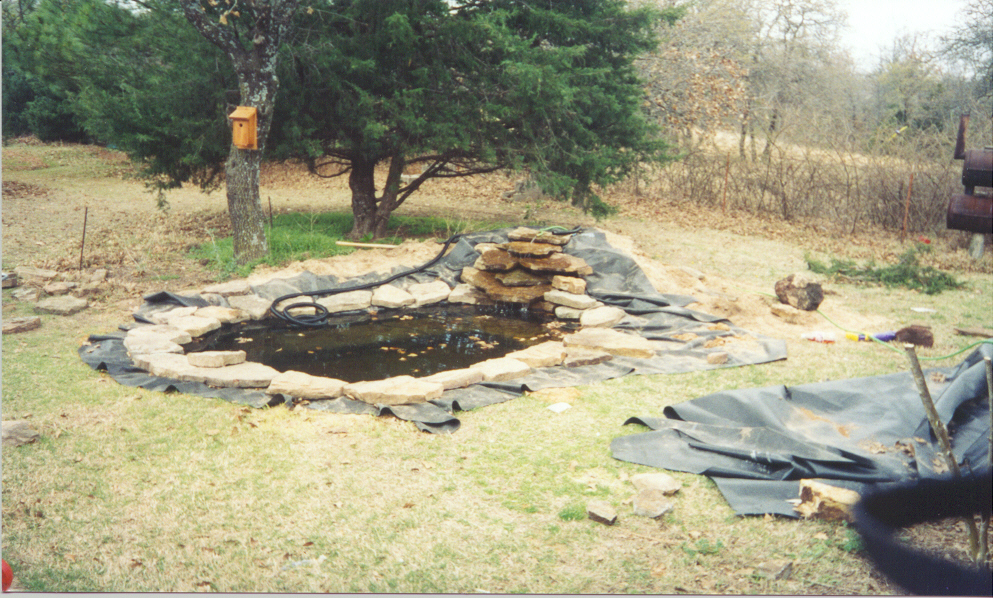
Placing the liner is next. I put scrapes of a old plastic liner down first, this gave me protection from rocks, and other things that might poke through to the real liner. You can use old carpet, even newspaper. Start filling up the pond with water, smoothing out the creases as you go along. Place a few stone on the outside to keep the liner from sliding into the pond. Once you have the water level about half-way above the shelf, start placing the rest of the stones around the edge.
In this photo you can see the flex hose that is connected to the sub-pump for the waterfallĀ running along the side of the pond, this was covered later with dirt. Once you have all your rocks placed around the edge of the pond, trim the excess liner off leaving at least 1 to 2 inches.
Here is a close-up of the waterfall, notice the water hose at the top, I was testing the rocks too see how the water would flow off them. A few things about creating the waterfall. I used most of the dirt from the hole the rest was used to create the burm on the left side of the pond. I cut 3 steps into the mound, then brought the liner up the steps. I then placed a second piece of scrap liner over lapping the first one, this keeps the water from leaking into the ground around the waterfall.
Another view of the pond with the stones in place and the waterfall working. The cord coming out of the pond goes to the sub-pump, which was later buried underground.
Ā ![]() Ā
Ā ![]()
![]()