 |
|
|
|
|
|
|
|
|
|
|
|
|
|
|
|
|
|
|
|
|
|
|
|
|
|
|
|
|
|
|
|
|
|
|
|
|
|
|
|
|
|
|
|
|
|
|
|
|
|
|
|
|
Step by Step.. Lowering a prelude |
|
|
|
 |
|
|
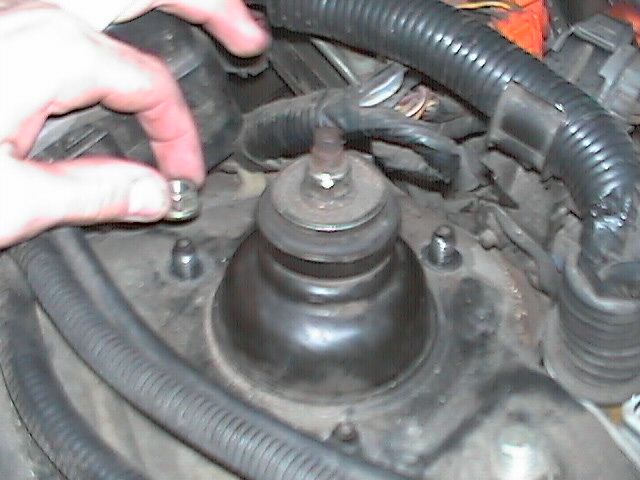
step 2: remove the 2 or 3 (depending upon car) nuts that holds the top of the strut to the car (under the hood). |
|
|
|
step 1: jack up car and take wheel off. |
|
|
|
|
|
|
|
|
|
 |
|
|
|
|
|
|
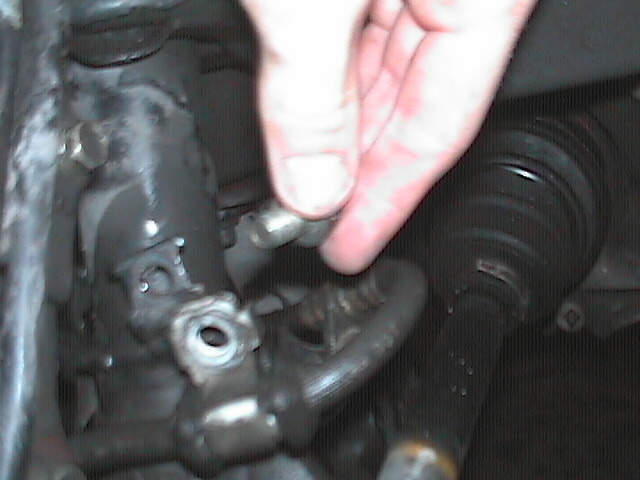
step 3: remove the bolt that holds fork to the bottom of the strut. |
|
|
|
|
|
 |
|
|
|
|
step:4 remove the 2 bolts holding the brake line on the strut. |
|
|
|
 |
|
|
|
|
|
|
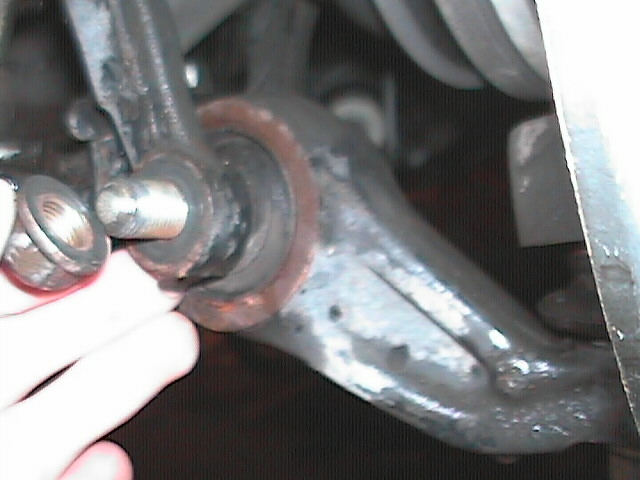
step 5: remove the bolt that connects the bottom of the fork the lower control arm. then seperate the fork from the strut. |
|
|
|
|
|
 |
|
|
|
|
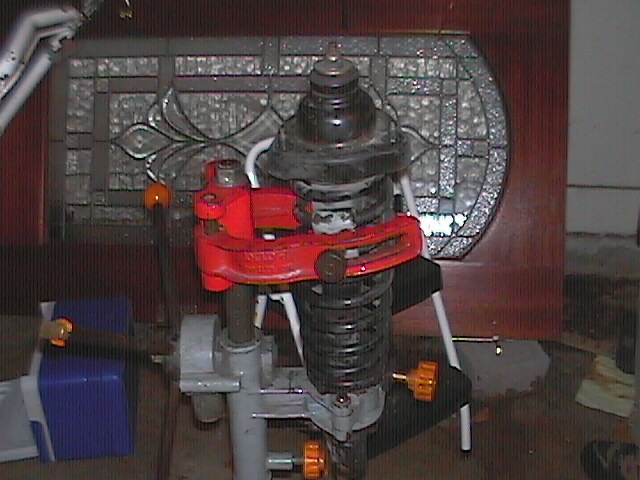
step 6: use a spring compressor to take the tension off of the spring. |
|
|
|
|
 |
|
|
|
|
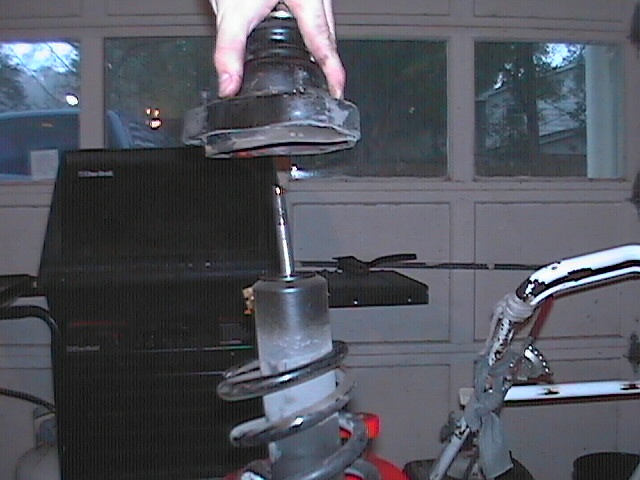
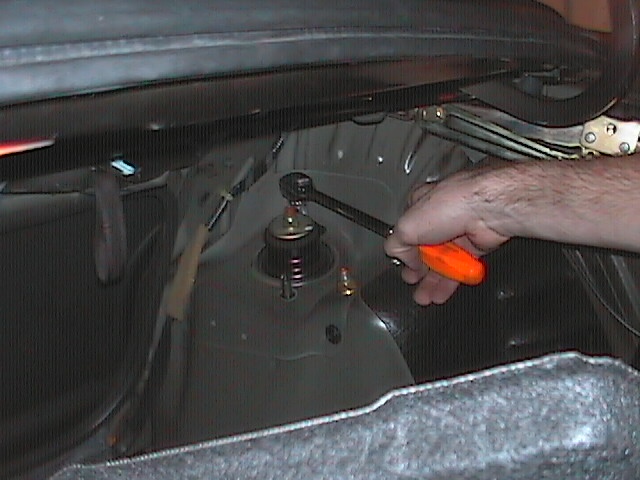
step 7: use a wrench and possibly a allen wrench to take the 14mm nut off of the center of the strut. And pull off the top assembly, keeping everything in order. |
|
|
|
 |
|
|
|
|
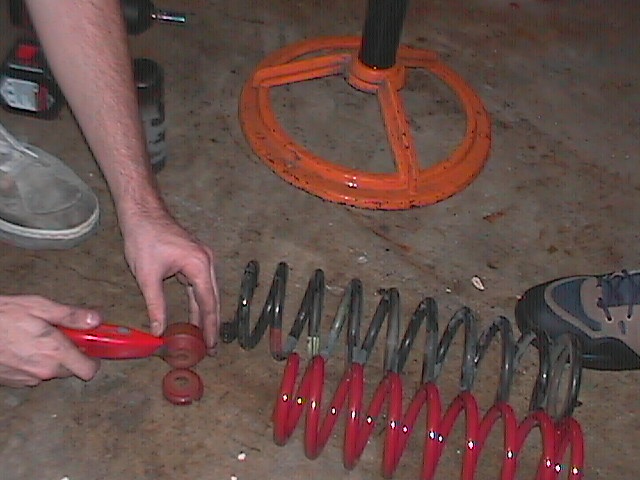
step 8: cut bump stops according to the amount of lowering you are doing. Compare the new eibach to the factory spring, this is the reason you will not need the spring compressor to install the new spring into the strut assembly. |
|
|
|
|
 |
|
|
|
|
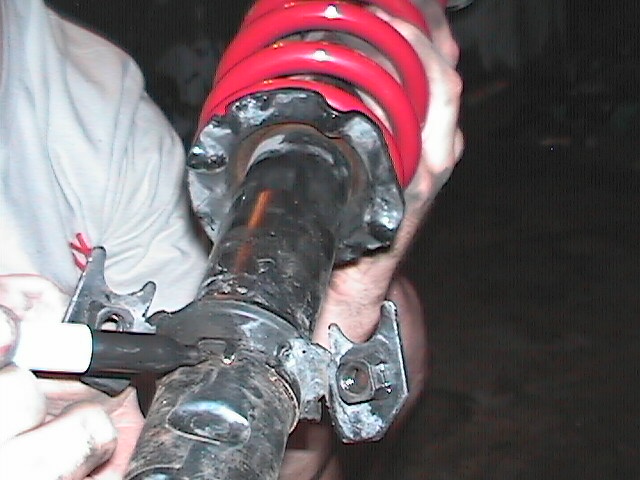
step 9: the marker is pointing to a small notch that must slid into the back slot of the fork so that the fork and strut will fit together all the way, if you do it wrong you will have a 2 mm gap. |
|
|
|
 |
|
|
|
|
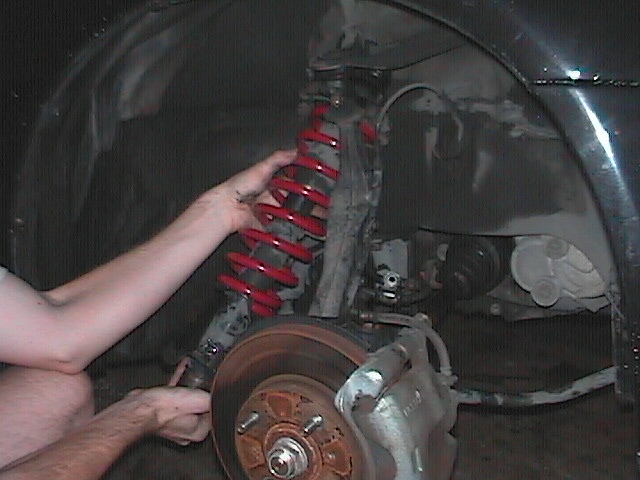
step 10: install entire strut back in, put strut in first, then put fork on it, because if you put the fork part on first, the assembly will not fit. Then put everything back together the way you took it apart. |
|
|
|
|
|
 |
|
|
|
|
|
|
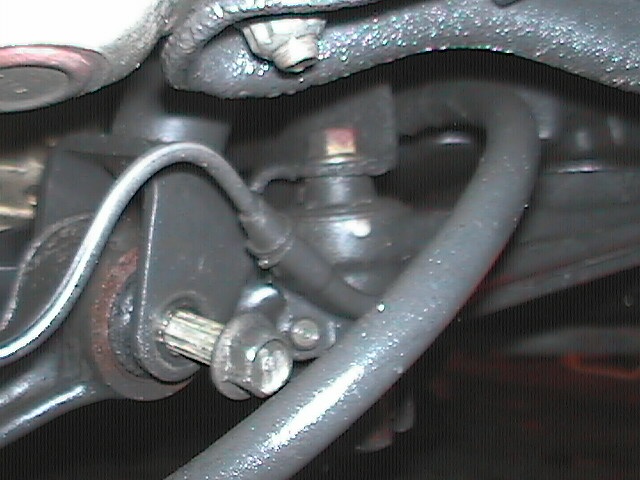
back step 1: unbolt the top 2 or 3 nuts on top of the rear struts, may have to pull out plastic trunk stuff to get to them. |
|
|
|
|
|
 |
|
|
|
|
back step 2: there is only one other bolt that holds the rear strunt in place, it is on the bottom. You may need to unbolt certain things in order to pull the strut out, because it is so long and hard to maneuver. reassemble opposite way you took it out. |
|
|
|
|
|
|
 |
|
|
 |
|
|
|
|
|
finished! |
|
|
|
|
|
|
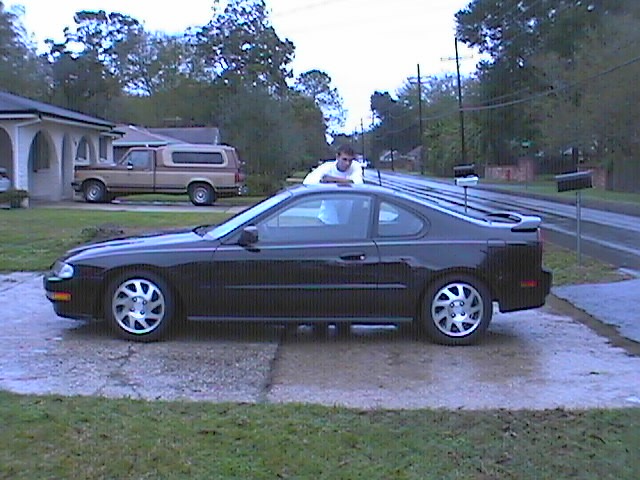
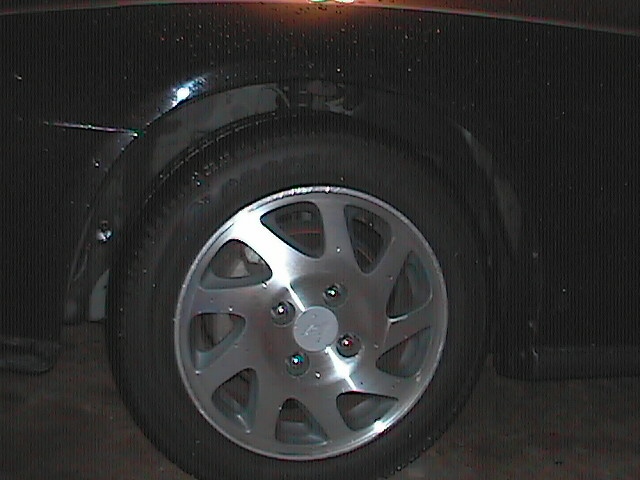
before lowering |
|
|
|
|
|
|
|


