Create the Ivy BrushMap
- 125 X 125 brushmap with wrapping around all edges
- Painter 5.0 with a growth brush which paints the ivy tendrils seen.
- Brown background so there is no antialiasing problems with a white
fringe
|

|
Create the Ivy Mask
- Use the magic wand tool in Photoshop to select the brown background
and change to white - transparent in Imagine when used as a filter map
- Inverse the selection and color the ivy black to make it opaque
|

|
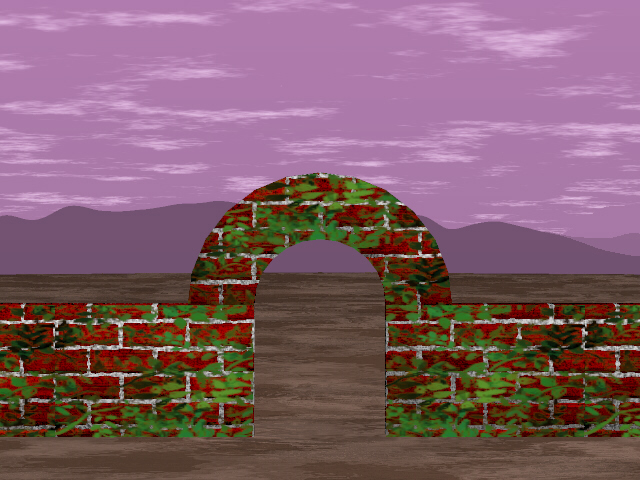
Create the Ivy object
- Original brick wall is three separate objects - two 100 X 20 x 5
walls with a connecting arch. The texture is oldbrick.
- To make the ivy object I just cut off the front of the wall creating
a plane.
|

|
Setting up the Stage
- Put the brickwall in the scene.
- Place the ivy map one pixel in front of the wall.
- Variations - Use subgroups to more precisely place the ivy or place
ivy on top of the wall or under the arch.
|
|

|

|