Way to low on right side.

I probably could work the height differences out, but don't want to try on a repro bumper, if possible.
That's my daughter Tess, my 12 yr old female gearhead.

After consulting the VMF, they pointed out that I could move the rear bumper around quite a bit to help fitment.
Will try again with an OEM bumper.

My goodness, this paint job is growing on me!!

See how nice and clean it is!
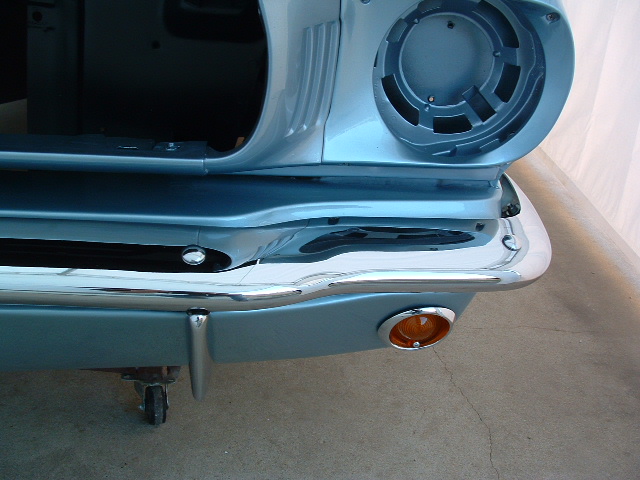
Unfortunately, the men who rechromed the front bumper overarched the right side a bit (see how the upper valance panel is not level with the bumper). Probably no one but me will notice; however, when I get the car running, I'll need to have them re-arch the bumper to make it fit better. That's a couple of years away, unfortunately...
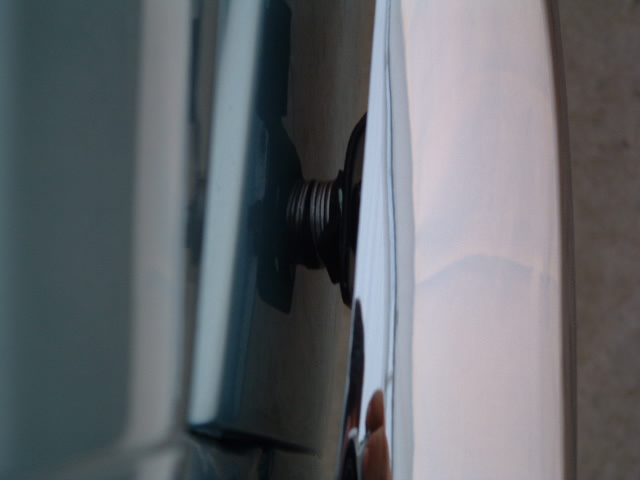
They did an amazing job with the chroming though!!