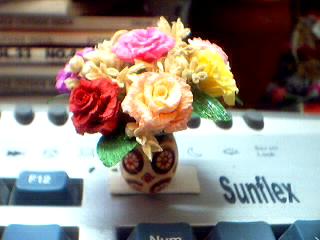
Mini Tissue Roses
Materials/Tools
Needed:
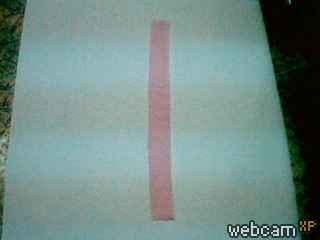
STEP 1: Cut tissue or toilet roll in strips 2cm wide, 14 cm long
STEP
2: Fold the tissue into 2 and keep folding till
the end. Draw a petal shape on the folded
paper & cut along the petal shape
 |
 |
STEP 3: Separate
tissue into single ply. Take one end of the tissue and first roll tightly to
form the inner
petals. Continue to roll the rest of the petals till you get
the shape of the rose
 |
 |
STEP 4: Tie the rolled rose tightly with a string. Trim the bottom of the rose carefully - cut away excess
STEP 5: Arrange the dried green leaves or moss in the mini pot around the edge only & glue it in.
 |
 |
 |
 |
STEP 8: Cut small pieces of the
stainless steel scrubber slightly tug at it to give that curly look.
Glue these “curlys”
in between the arrangement.
 |
 |
STEP 9: If you wish, dip your brush into little white acrylic paint and with gentle strokes brush against
 |
Note : If you do not wish to get into
the hassle of making the tissue roses, you can buy
readymade ribbon
roses for this arrangement. If
you wish to make a little sturdy roses, use double sided crepe paper and
make snips in between the petals before rolling. The trick in
making this roses is ensuring that each petal
overlaps nicely like real roses. Once completed pull open the
petals, dab with a paintbrush dipped in
little water to give it a blooming look & let it dry before
arranging them. Some pictures of the roses I made
using the same method with crepe paper is seen below.