|
|
|
|
|
|
|
|
|
|
|
|
|
|
|
|
|
|
|
|
|
|
|
|
|
|
|
|
|
|
|
|
|
|
|
|
|
|
|
|
|
|
|
|
|
|
|
|
|
|
|
|
|
|
|
|
 |
|
|
|
Mast Rebuild |
|
|
|
|
|
- OR -
Putting the Genie back in the bottle.
|
|
|
|
It was a brisk day back in early February, '08, as we sailed along south past the western coast of the Arraya peninsula in Venezuelan waters. We had just spent 6 wonderful weeks out cruising the islands of Blanquilla, Tortuga and Margarita, and were headed into the Golfo de Carriaco for another couple of weeks when the unthinkable happened:
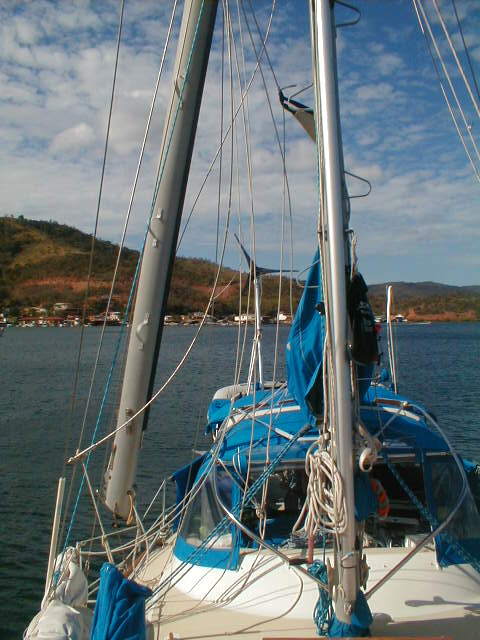
A big gust of wind funneled offshore and BAM, our port upperstay chainplate parted, causing the mast to break in half below the spreaders, just above the lower shrouds. Talk about heart-stopping, however, cooler heads prevailed and we hopped to it; heading upwind, gathering inboard and securing the mainsail, headsail and their associated standing and running rigging, cranking the engine, and stabilizing the upper portion of the mast for travel to the nearest safe harbor, about 10 miles southwest into the protected bay at Mochima Nat'l Park, on the Venezuelan mainland. |
|
|
|
 |
|
|
 |
|
|
|
|
|
|
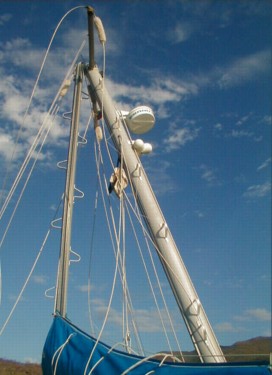
Side view of mast |
|
|
|
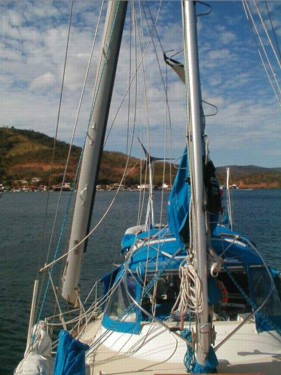
View from the bow |
|
|
|
|
|
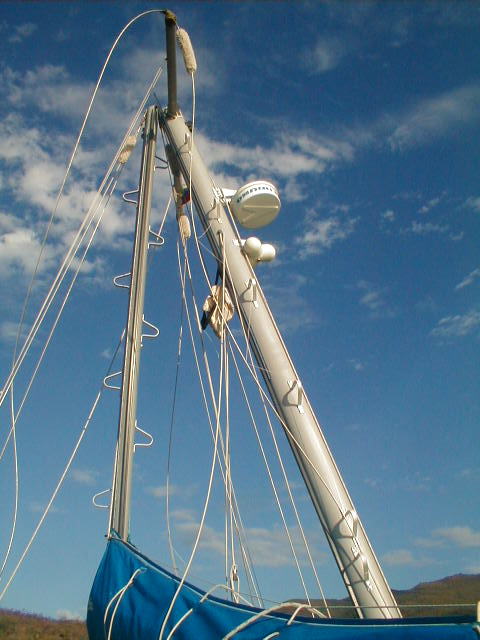
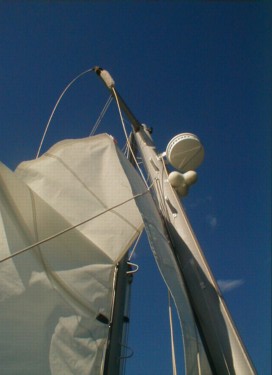
The next few days were spent removing the valuables from the upper portion of the mast, such as the radar reflector, the radome unit, the masthead light fixture, the windex and even the spreaders themselves. All the upper-mast standing rigging was taken down and coiled. The headsail and staysail were stowed away along with the roller furler drum and the furler extrusions. The internal halyards and external sail track (we use a Battslide system) and the various electrical cables were holding the upper mast in place. We pulled all cabling down inside the mast, let the halyards loose and cut the mast track in order the release the upper portion of the mast so we could ship it onto the deck for our travel back to the marina on the mainland.
The mast steps proved to be a tremendous boon during the triage process. When the rig went down, the mainsail ended up positioned below & over the break, so Ed had to climb up and take the pins out of the track cars in order to get the upper portion down and stowed in the MackPack. Of course, before any of that activity took place, we secured the lower portion of the mast by using various sheets and snatch blocks. |
|
|
|
 |
|
|
|
 |
|
|
|
|
|
Portion of mast that was removed prior to splicing |
|
|
|
|
|
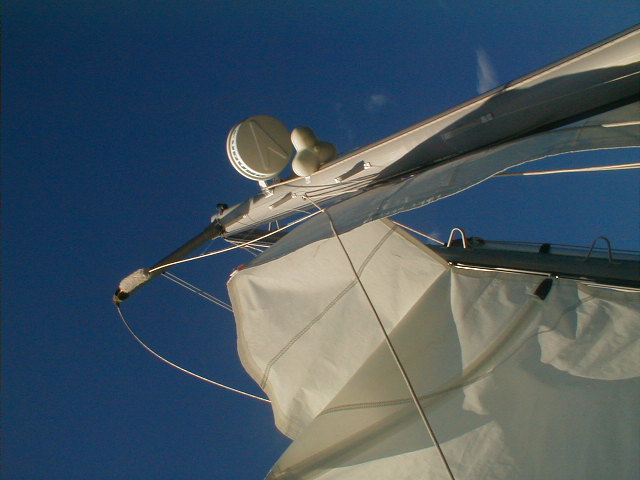
Mainsail splitting the difference |
|
|
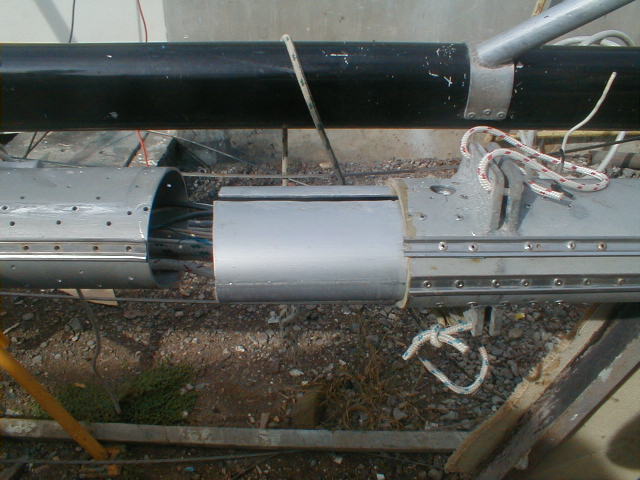
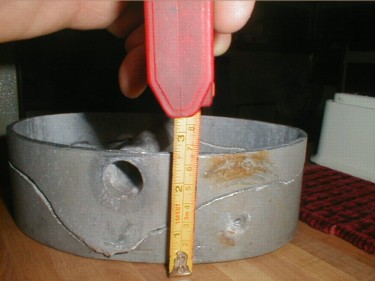
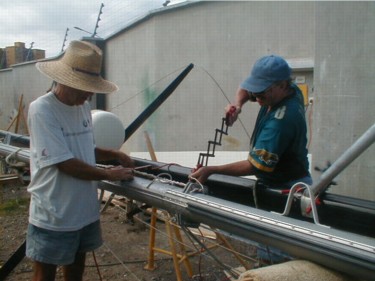
Since our insurance claim was denied, (see insurance rant), and the prospect of sourcing a new mast here in Venezuela was deemed problematic at best, we decided to splice the existing mast back together. In considering this plan we had to determine how much of the mast would be lost ( 2 3/4"), whether we could find suitable material for the sleeves, and how we would join the halves together. Thanks to Brian Toss's website and the internet we were able to determine the proper way to proceed with the splice. A portion of an appropriately-sized aluminum mast was found in a scrap pile, (thank you Lord), our good friends Marlene and Benno on 'Diesel Duck' loaned us their heavy-duty rivet gun and away we went.
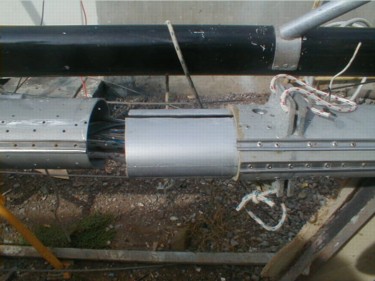
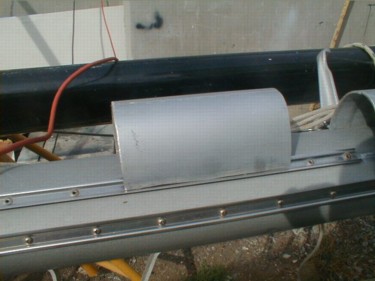
First the broken ends of the mast needed to be cut away so we would have a good, flush fit. Next the sleeves needed to be cut to size, using a mathematical formula to determine how many inches overlap on either side of the splice was needed in order to be secure. In the meantime we had all new chainplates made which Ed installed. |
|
|
|
 |
|
|
 |
|
|
|
|
|
|
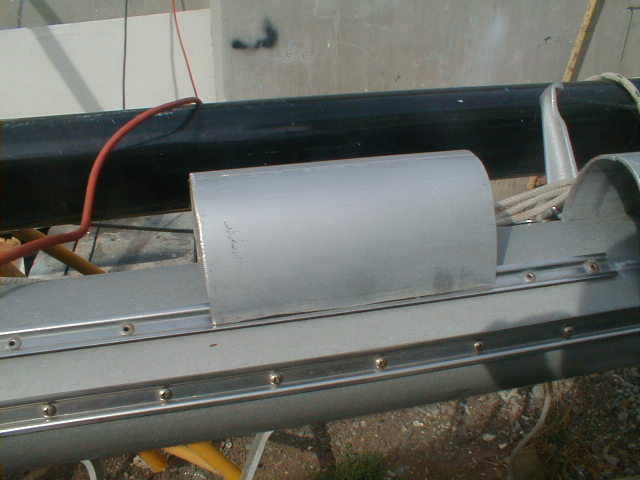
Spacer sleeve for the lower half, (1/2 the size of the actual mast sleeve) - needed to match up with the upper half since it had an internal factory sleeve at the spreader mounts. |
|
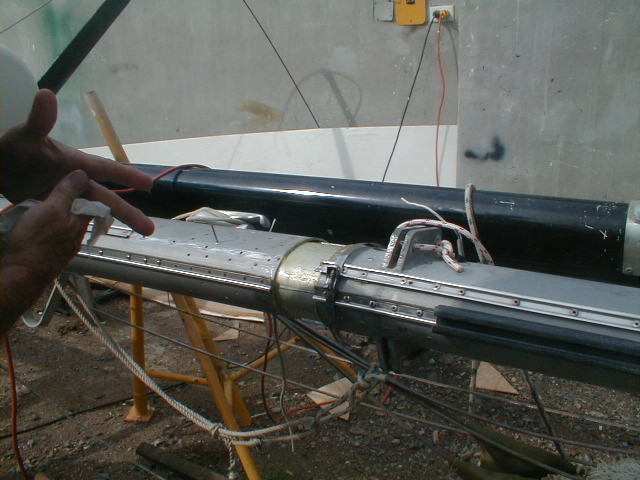
Both sleeves in place, epoxied and riveted in upper half, ready to insert into lower half which was pre-drilled for riveting. Note new location for lower tang throughbolt above the splice. |
|
|
|
|
|
 |
|
|
|
 |
|
|
|
|
|
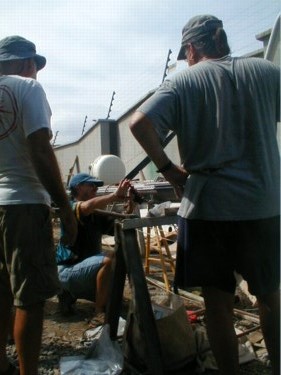
West's GFlex Epoxy was applied to the sleeve before insertion into the mast. This will fill in any voids, and stabilize the joint to prevent it from "working" while under a load. |
|
|
|
|
|
No project should proceed without proper supervision. |
|
|
|
 |
|
|
 |
|
|
|
|
|
|
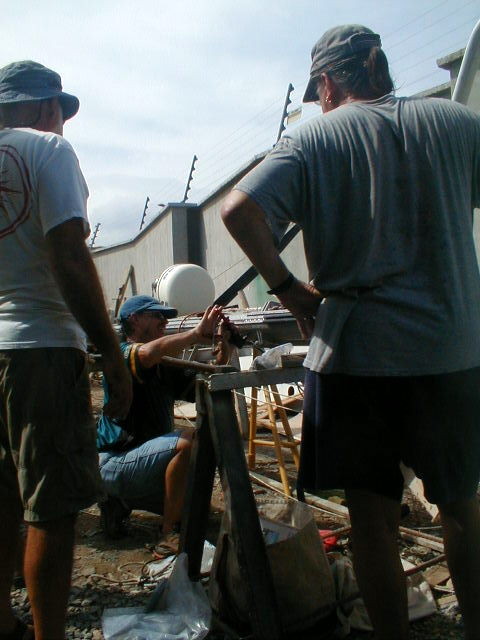
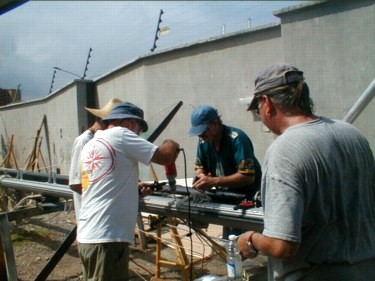
With temp's in the mid-90's and 100% humidity, these stalwarts really helped out, both with the physical efforts and moral support. Couldn't have done it without them! Just another great thing about the cruising community. Thanks to 'Zepherus', 'True Companions', 'Duchess' and 'Rainbow Rider' for their help with this project! |
|
|
|
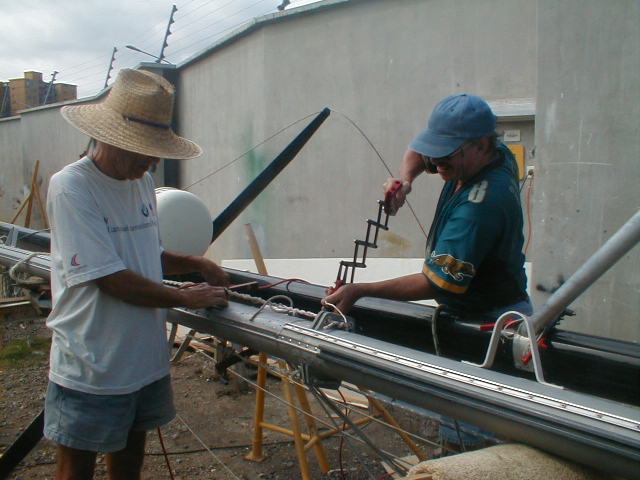
The Captain wields the "Mighty" rivet gun. No way a regular one would have handled the stainless steel rivets! Thanks Benno. |
|
|
|
|
|
 |
|
|
|
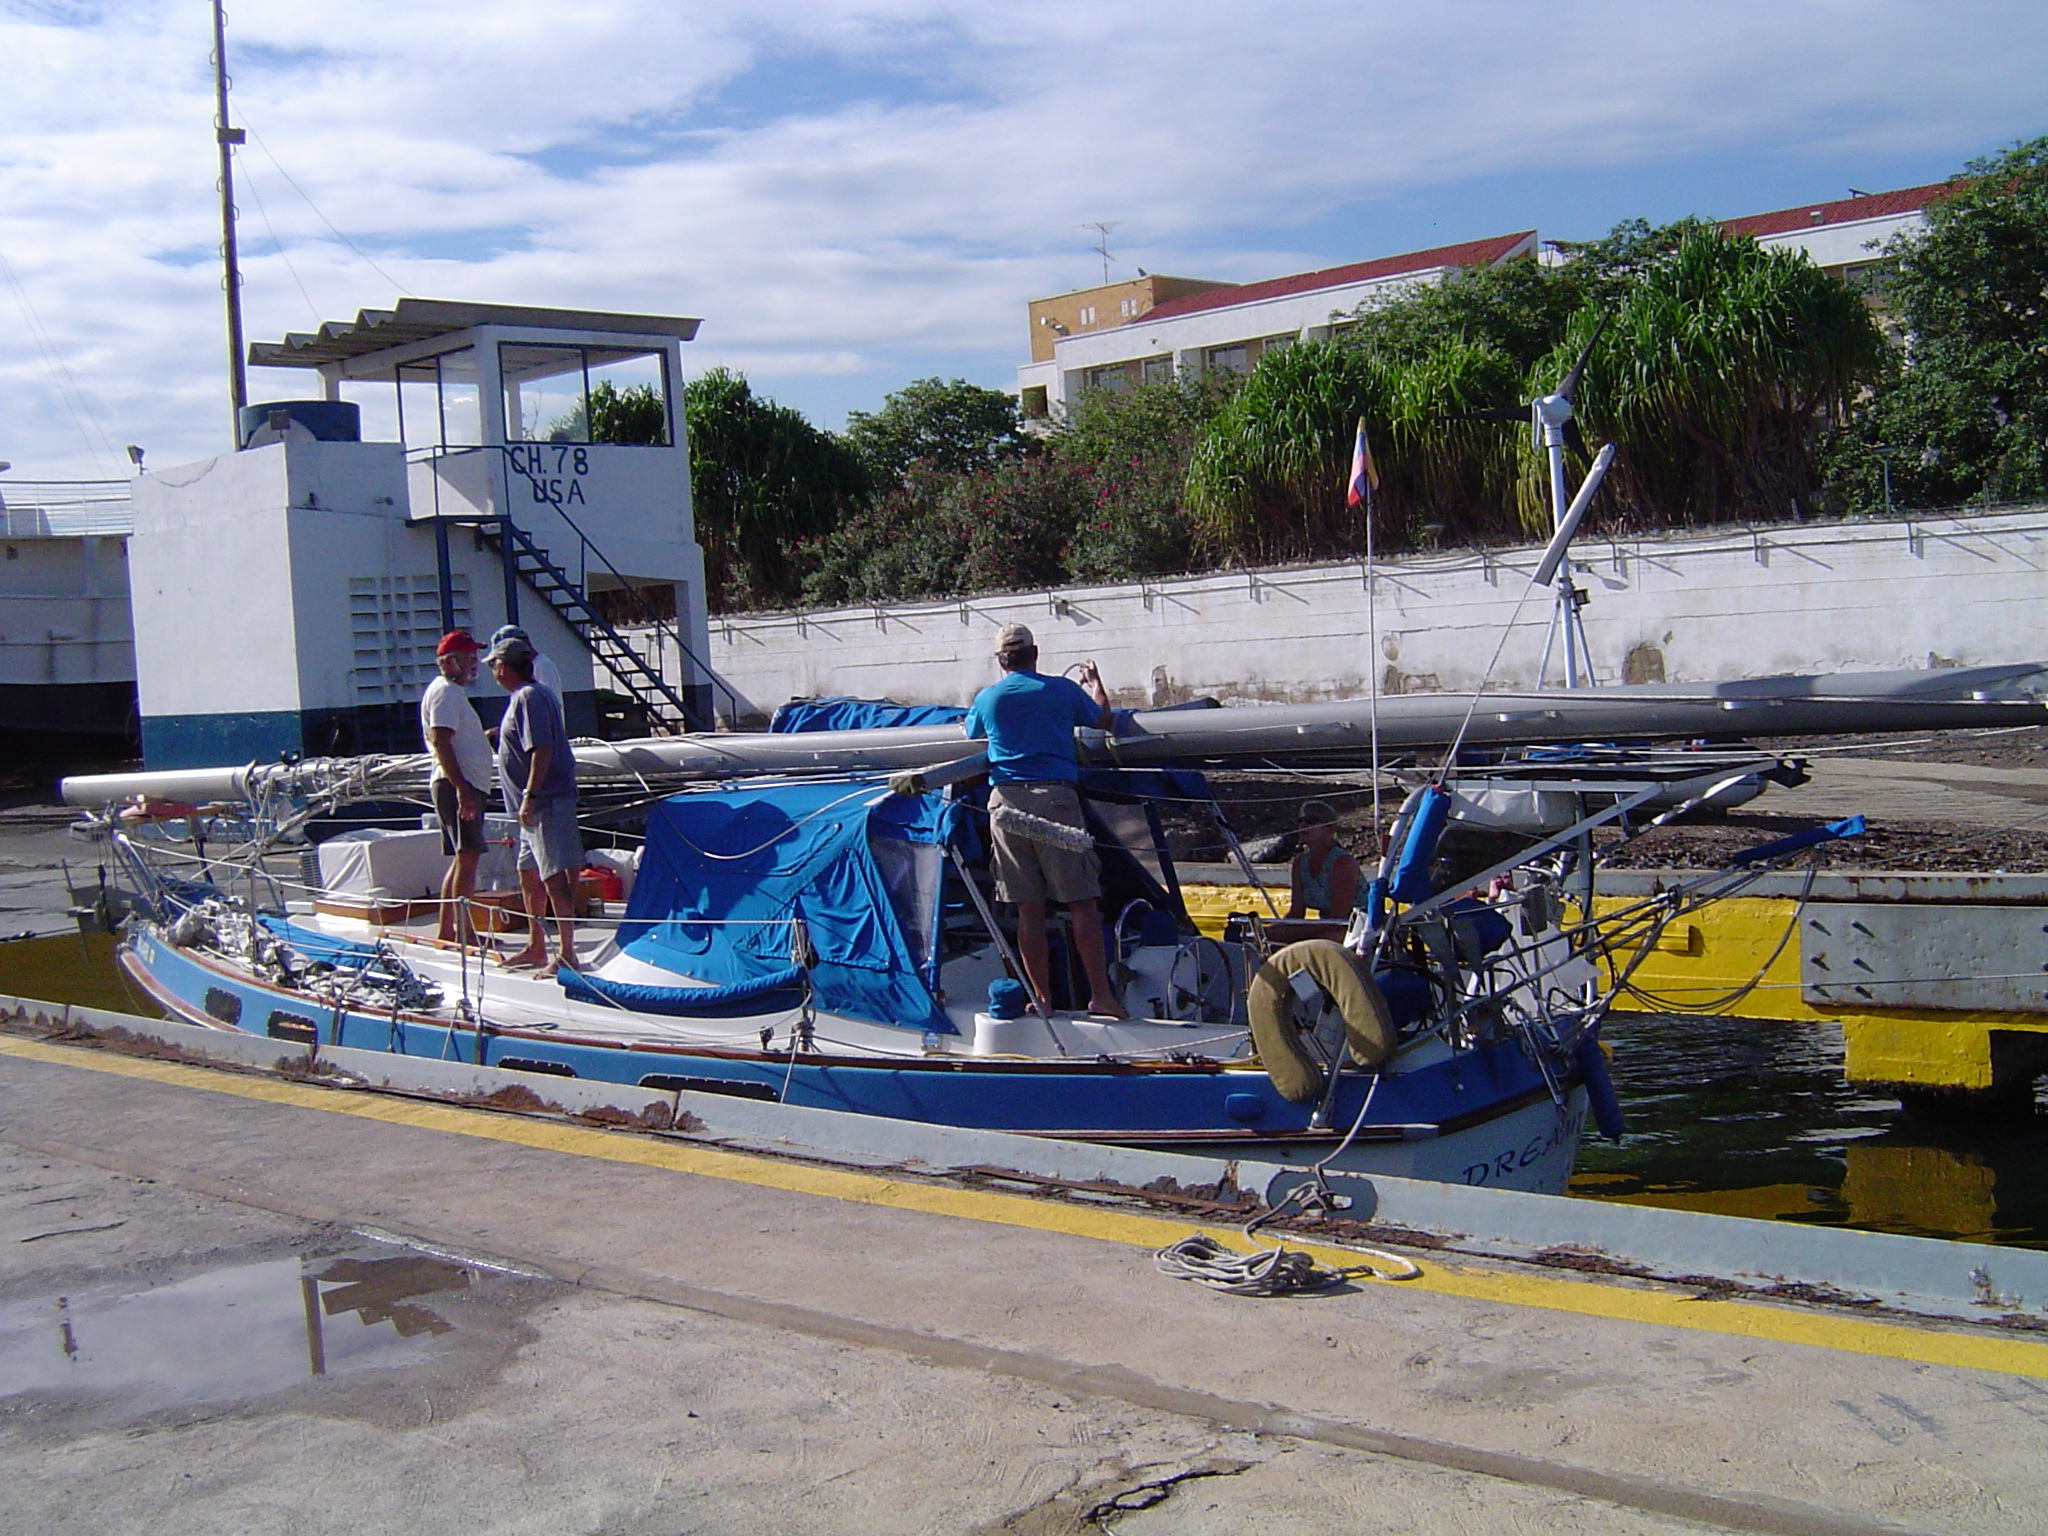
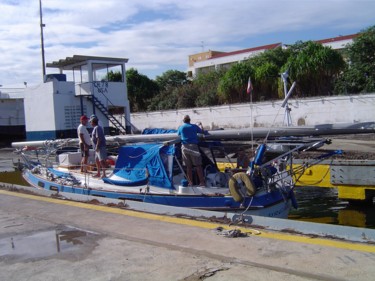
After shipping the mast onboard, and situating it across the boom gallows, resting on the arch and the bow pulpit, we awaited the travelift crane at TMO Marina. It would lift the mast up for insertion back through the deck and onto the keel. We had all the standing rigging ready to be attached and lashed to the mast. With the guys on deck to guide the mast, Ed went below to manage the lower half as it traversed through the salon and onto the keel socket. This sounds harder than it really was...although much sleep was lost during the planning stages.
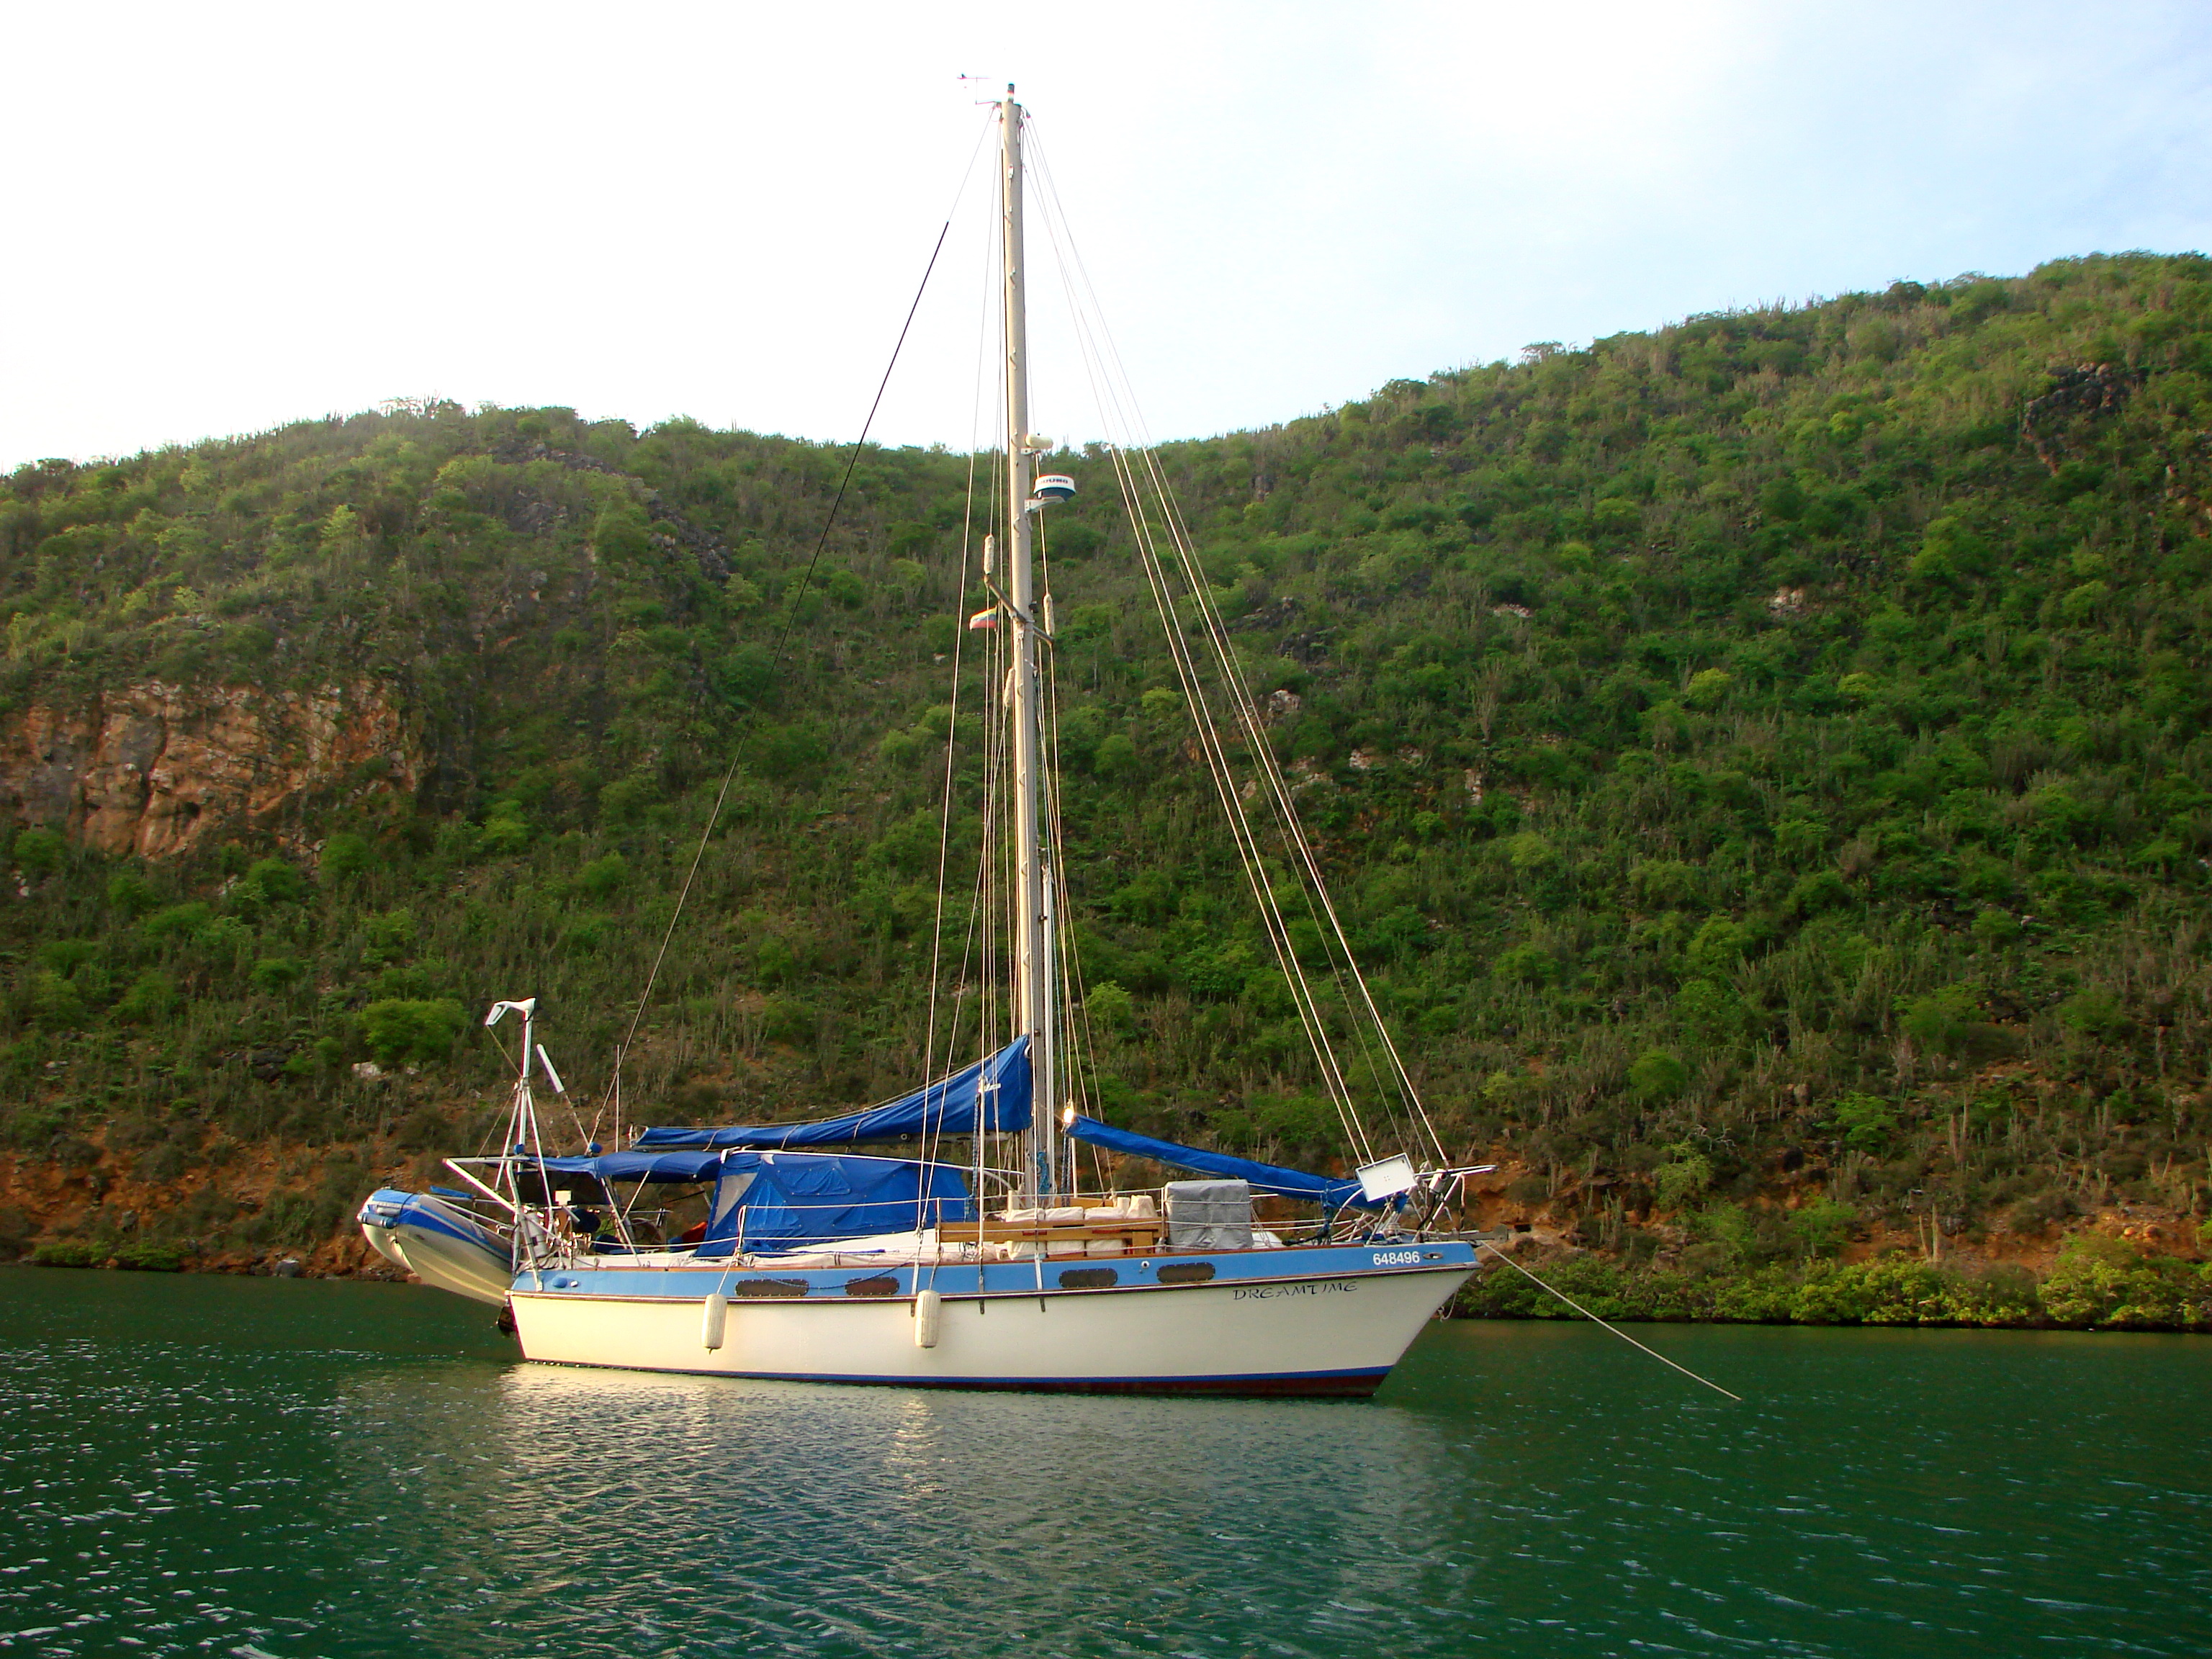
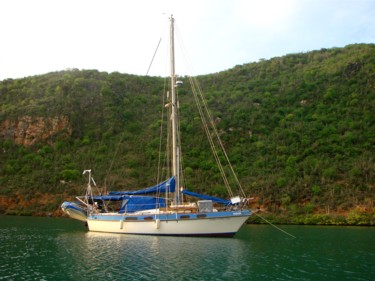
After the installation, we had to reconnect the radar cable, install the new masthead light, windex and VHF antenna, and then it was out for a sail to check things out. Here we are anchored out at Chimana Grande. |
|
|
|
|
|
 |
|
|
 |
|
|
|
|