Sewing Projects
Dinghy Cover, June, 08
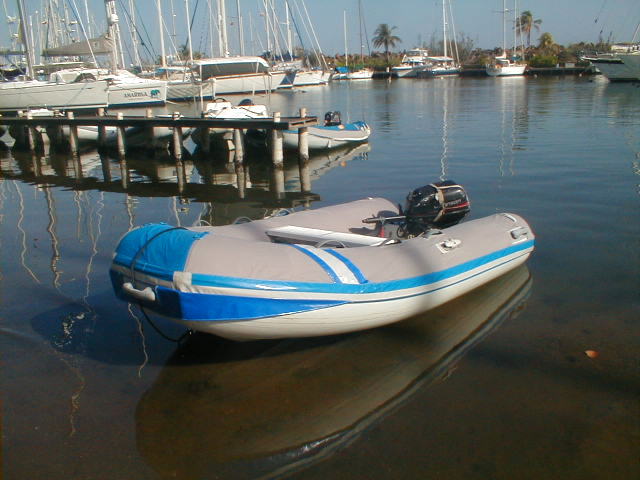
After a few seasons here in the Tropics we felt it was past time to make a cover for our dinghy, a 10' Carib. I  had learned from the Dodger project that the way to get the best results was to make a pattern. 

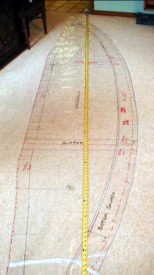
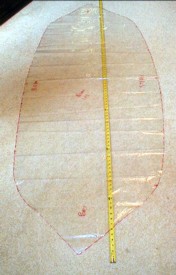
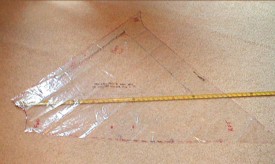
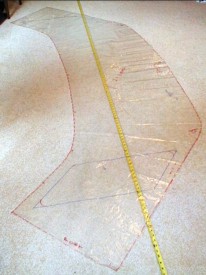
Using the same pattern making strategy as before, I affixed straping tape on the tubes where I envisioned a seam, then put double-sided tape on top of that.  As I couldn't locate any 2mil thick plastic dropcloths locally, I decided to buy some lightweight clear vinyl from the local fabric shop called El Castillo.  When this was stretched tightly and evenly, I outlined and measured the dimensions of all of the cut-outs for handles, seat supports and oarlocks then marked where the top  of the rubrail was all the way around the outsides. 

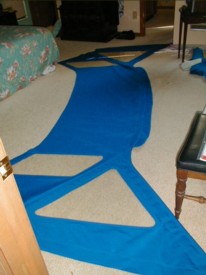
Materials used were heavy grey denim, Sunbrella being way too expensive down here at roughly $30/yard, medium blue PVC fabric for the bow and rubrail, and grey  rubberized vinyl for reinforcement purposed as it will resist scuffing much better than the PVC.
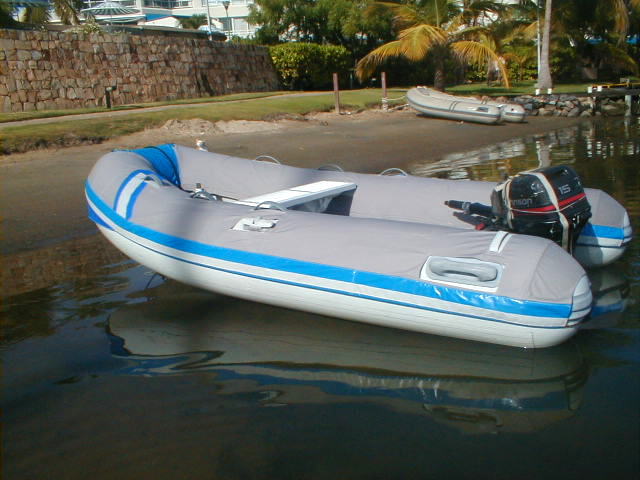
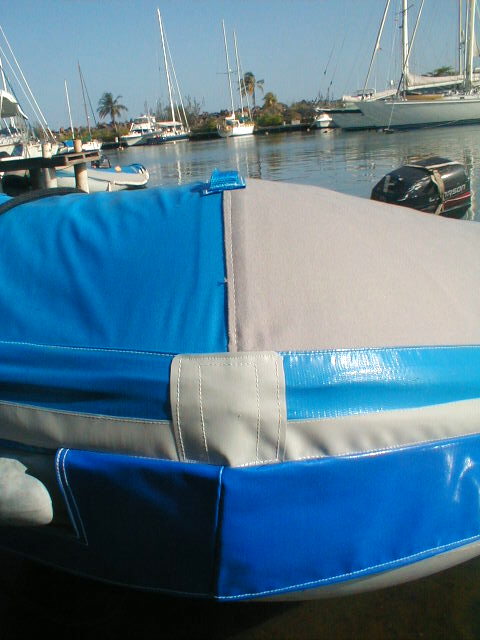
Sourcing heavy duty rubberized vinyl here in Venezuela has proved impossible, however I had a small supply left from St. Martin.  I decided to use it for reinforcement purposes.  The biggest need is to reinforce the widest part of the rubrail, so I added a 1 1/2" wide strip to the blue PVC fabric which makes up the lion's share of the rubrail. 

Additionally, the rubrail assembly included a casing at the bottom to accommodate the rope which would fall directly under the widest part of the rail and serve to hold the cover in place.  A separate assembly flap was made to "cup" the front at the bow, holding that part of the cover in place.

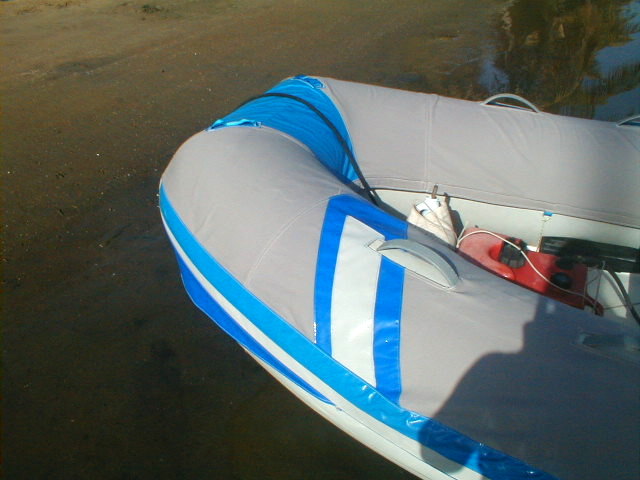
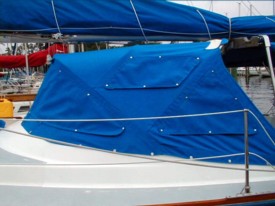
After a discussion with the Cap'n we decided to add reinforcement in the form of a "racing stripe" across the top of the port side where the davit rubs when the dinghy is raised up high and tight for passages.  Seen best on photo below left.

Finally the 2 front corners needed some extra oomph as they tend to bang up against pilings, docks etc.  Seen best on photo below right.

I also made a couple of small PVC and webbing assemblies and sewed them to the upper inside seams in the bow to be used for tying things off, such as fenders, anchor lines, and the like.
Dodger Construction - Feb, 03
After completing the rehabilitation of the cockpit coaming area, as outlined on the exterior page, it was time to build a new dodger.  We decided to keep the existing stainless steel 3-bow frame, and just turn it around for a more pleasing window configuration and a smoother fold-down appearance.

The old dodger was rather poorly made;  2 lengthwise portions of Sunbrella canvas sewn together just won't hug the frame and provide a snug fit, so there was point in trying to use it as a pattern.  It was time to start over from scratch - we love a challenge!

After purchasing a somewhat rudimentary but quite useful video on dodger construction from Sailrite, I felt like I had the conceptual ideas down enough to start.  First things first, make a pattern. Sounds easy, right?  It took an entire day.
Back half of the dodger pattern - fits between the second and third bow
Wrap around windshield and side windows - over 16' long! The easiest piece, not too large and no vinyl windows, goes between the first and second bows
Front windshield section - over 16' long!
Mid section, between first and second bows
Aft section, between second and third bows
The side curtains, not only a window but a raked sheer line as well
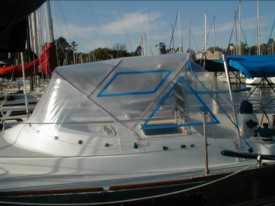
Dodger pattern on frame with windows outlined in blue masking tape
Side curtain section - one of the 2 needed.
Entire pattern on frame with windows outlined in blue tape.
The patterns shown above were made by using double-sided tape on the three bows of the frame, then forming each section individually.  The windows, except for the windshield, were determined using blue masking tape to delineate shapes and sizes.

We decided to use Pacific Blue Sunbrella and .0040 gauge Strataglas for the windows.  We wanted to be able to take the entire dodger off without having to remove the frame - meaning zipper casings for each bow.  We also wanted to either unzip and flip up the center section of the windshield, or take it out entirely - another 3 zippers.

We decided to rake the sheerline at the back of the side curtains to give the dodger a "racier" look.
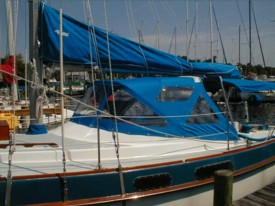
Full view of dodger
Snap-in window shades for UV protection and shade
Side view of the completed dodger
Dodger with snap-in shades
Back half of the dodger awaiting integration into the finished product
Looking through the dodger
Looking through the windshield after installation
Back half, shown after completion for an idea of the scale of the project
Binnacle Cover - March, 05
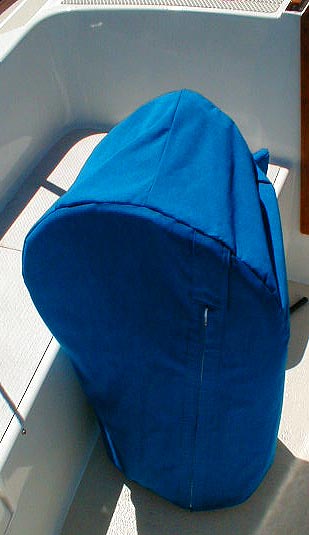
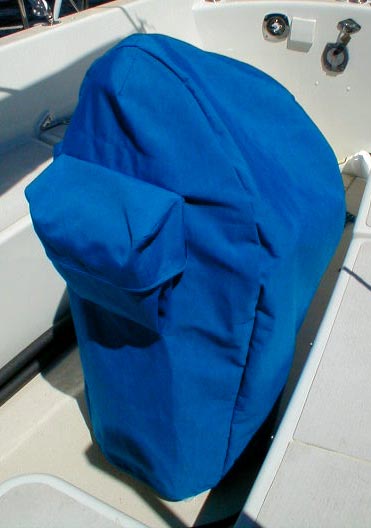
This binnacle cover was a fun but challenging project.  We wanted to be able to keep dirt, salt and UV off the instruments and sound system controls while chilling out at anchor or in a  marina environment (notorious for being dusty & gritty).  As usual, Sunbrella is used along with a YKK zipper.  I put a zipper in so we can crank the engine without taking off the cover, and made a pouch for access into the Binocular case.  Finally,  I added a small flap for access to the stereo controls (which can't be seen in either shot.)
Companionway Slat Cover  - Jan, 00
One of the first canvas projects I took on was to design and construct a storage "pouch" for the companionway slats. (Yeah, I know I could have bought a generic from BoatUS or West, but I love a challenge, don't you?)

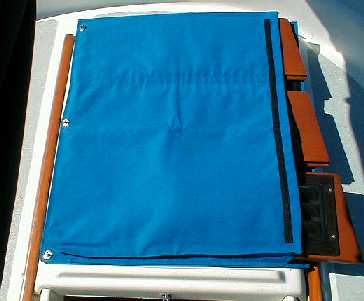
This was (finally) accomplished using Sunbrela and velcro, and is secured in place with stainless steel grommets. They hold it in place during heavy weather.
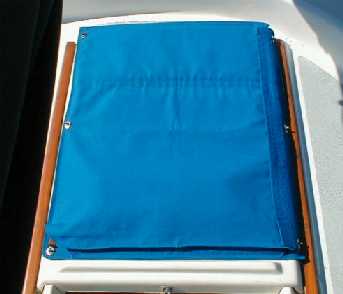
Companionway slats all tucked away
Slide the companionway slats in and close the flap
Soft Companionway Flap - Aug, 03
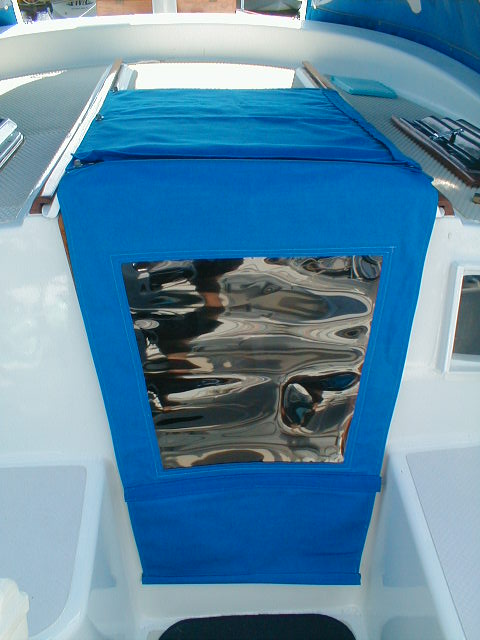
Companionway Protector which Flips up
This is a shot of our companionway with the sunbrella and stratoglas flap.  The stratoglas provides excellent visability and allows the light to come down below (nice during a rain storm).

We read about this in a cruising magazine and copied it with materials left on hand from the dodger project.

It is really wonderful when it's raining, No hassle mon, just flip it up and climb up or down below, then flip it back down again. 

I added a pair of snaps to the companionway slat cover (above) so this just snaps onto it and stays put.

Click the shot for an enlargement.
Dodger Bridge - April, 05
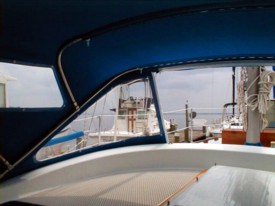
This is a shot of the new sunbrella bridge which closes the opening between the dodger and the boom gallows. You are looking stright up at it.

The obvious benefits being the additional shade both down below and in the cockpit, plus protection from rain which was falling straight down the companionway.

On one side I used a zipper that had been installed in the dodger tail when I made it, and on the other, some vinyl awning track was mounted on the boom gallows with awning rope sewn on the fabric side.

The other fabric in the shot, on the other side of the gallows is the bimini...kind of confusing, huh?

Click the shot for an enlargement.
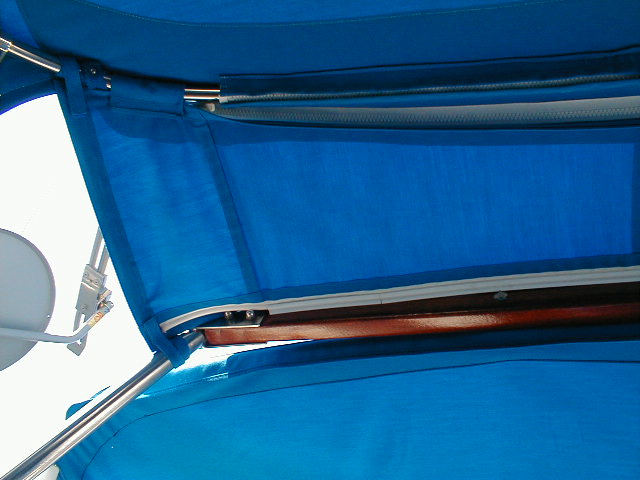
Fabric bridge between dodger and boom gallows
Vinyl Storage Bags
These shots show the solution I developed to make full use of our storage areas.  Since most of them lie along the hull, both in the galley and the salon, they are curved and vary in depth.  This makes hard-sided plastic boxes impractical.  The bags are easy to make and tuneable in size, plus you can add pockets and dividers or flaps for extra waterproofing.

The vinyl bags not only conform to the space available, but also contain leaks should they occur, and the contents are readily visible, making it fast and easy to find a particular item.  They are also great for use in the dinghy.  With a velcro flap they are fairly waterproof.  In ours we carried the handheld VHF, the digital camera, pocketmail device, dry clothes, beer etc.  Also quite useful for showering at marina facilities, outings to the beach and all.

Click each shot for enlargements.
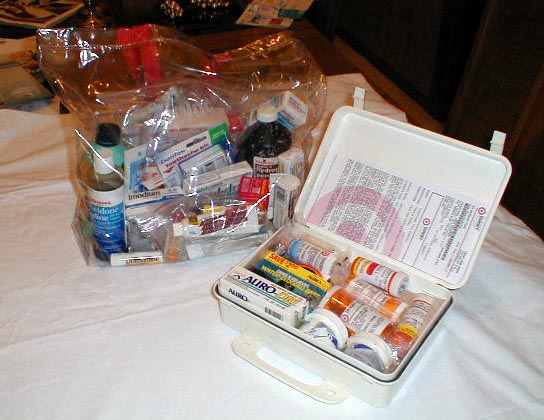
Meds are much handier when stored in a clear bag.
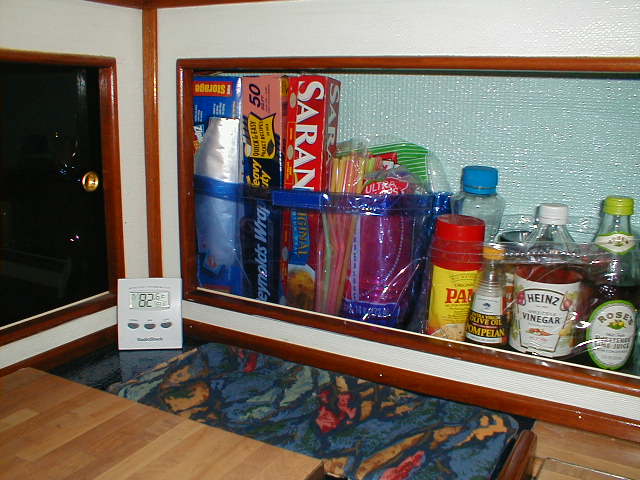
Vinyl Storage bags pressed into service in the galley
This shot shows a couple of bags used in the galley - one with foil, baggies, straws and stuff like that, the other with condiments.  We grouped like things together, such as the hot drink items like coffee, tea, hot cocoa, sweetener and so forth, making storage more logical.
Medical supplies are easy to find when stored in a clear vinyl bag. 
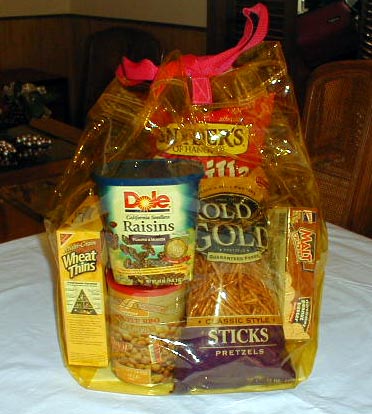
Snacks are a cinch to find for the person on watch
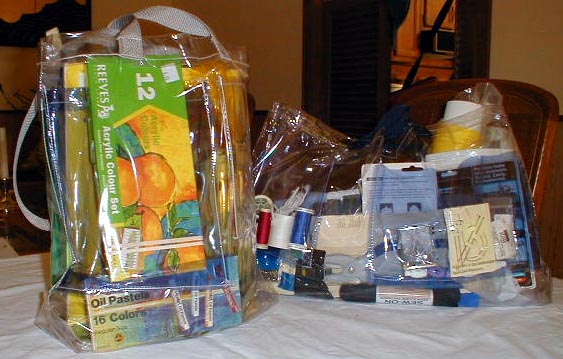
Art Supplies and the Sewing Kit each had their own bag
Art supplies and sewing kit in their own bag.
Simple for the person on watch to find a snack. 
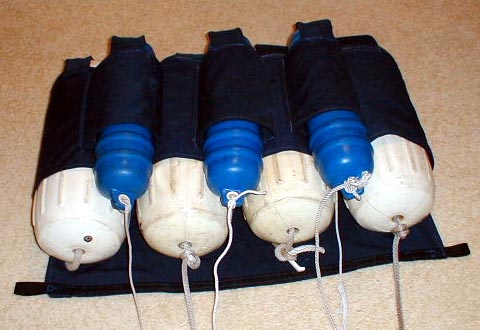
Fender Storage System - Sept, 03
This past spring on our shakedown cruise, May '03, we found it very difficult to access our fenders during docking manuevers. 

I guess we all know how cockpit storage lockers can get regardless of how disciplined one tries to be - so the Capt'n requested my assistance in making an idea of his become a reality, something on the order of "Make it so, Number One".

He envisioned a compartmentalized assembly that would hold both our large fenders and the small dinghy fenders in such a fashion that it would be easy to pull just one fender out and put it back.  He also wanted loops made of nylon webbing at each end (it turned out all across the top line) so that he could mount it outboard of the lazarette engine compartment access.
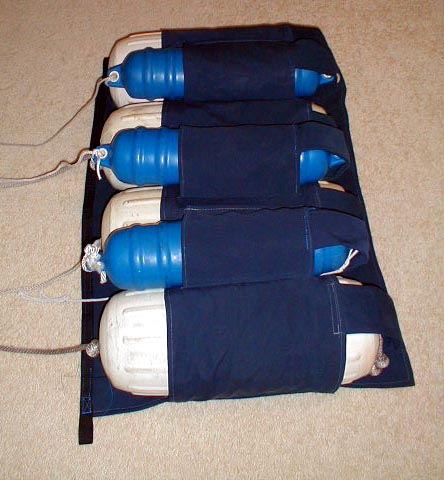
Fender storage with top openings facing left, click for larger shot
Fender openings at bottom of shot, click for larger view
This shows the openings at the bottom of the shot, and the footers are readily viewable at the top of the shot.
Fenders insert from left in this picture.

Each compartment has a footer sewn  in to prevent the fender from sliding right on through.
Dreamtime Flag - Dec, 03
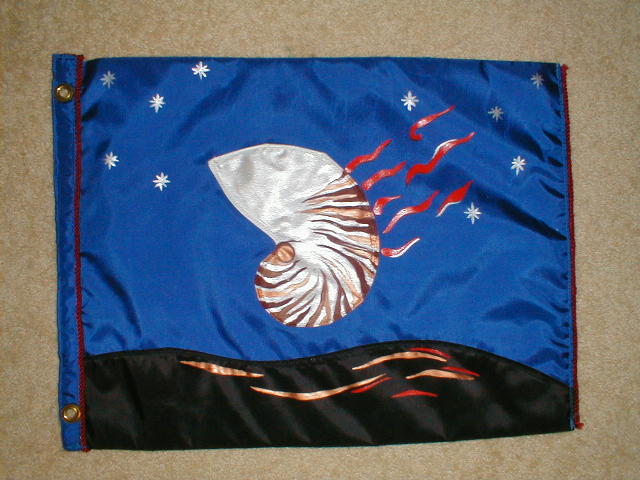
Every well-loved vessel needs a personal standard, so here is ours.  We once had a poster out by our jacuzzi that featured a nautilus falling from the sky into the sea and we used to stare at it and dream about our fulltime cruising plans... this is to honor the "dreaming-time".