 PART 2: LESSON
- DRAWING A FORK PART 2: LESSON
- DRAWING A FORK
TIME:
Aim:
Materials:
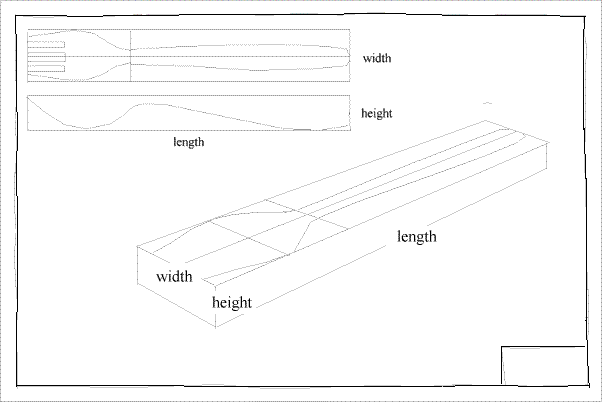
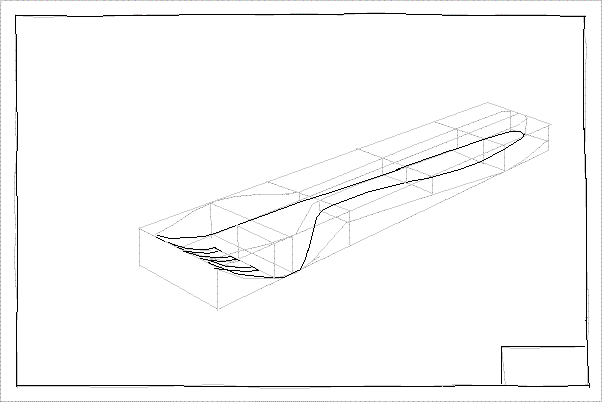
Prepare the sheet as usual then using the prepared top and side view of the common fork draw a box of appropiate dimensions as shown.
On the top surface draw a 'flat' top view of the fork.
Draw a side view on the front right hand surface as show.
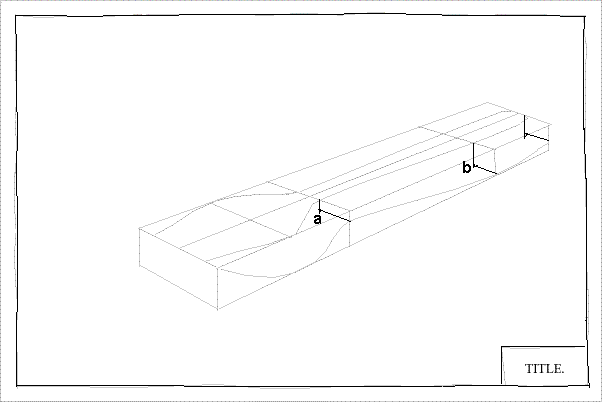
If we now project light lines 'in' from the front view and 'down' from the top we can locate as many points as we like on the edge of our fork ('a' and 'b').
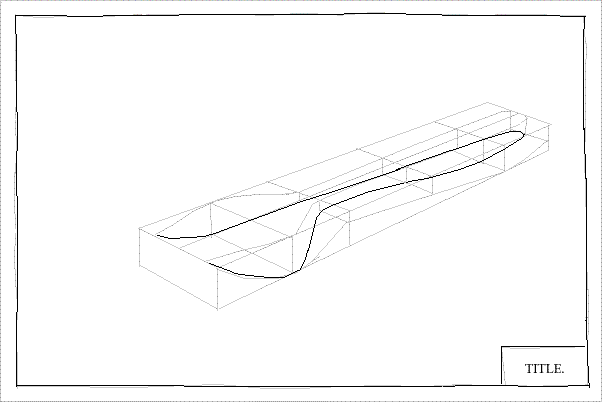
Join all these points up with nice smooth freehand curves as shown.
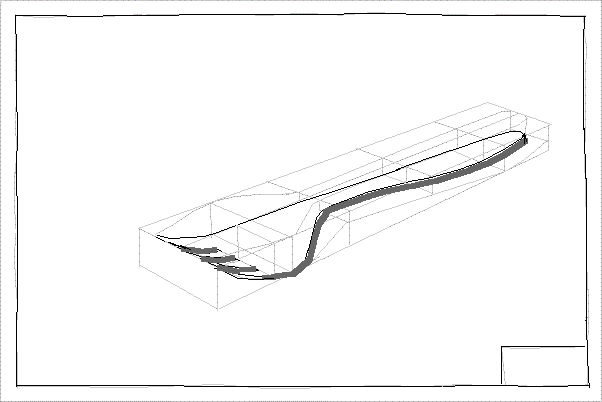
Complete as shown above taking extra care with the prongs.
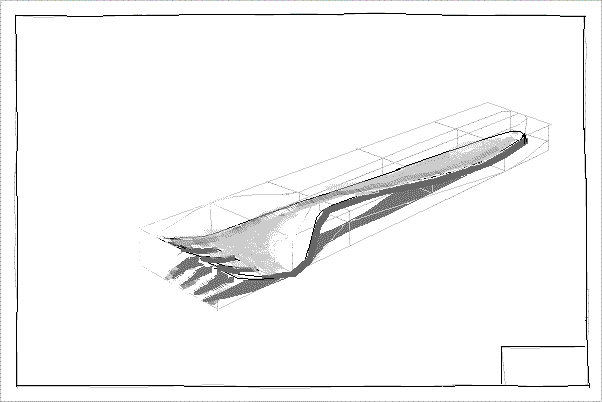
Now let us give our fork a little 'thickness' using shading on the front edge.
Shade in the rest of the fork and add a shadow where appropiate. If you have a fork with you on your desk you can adjust the shadow as you see it, otherwise just copy mine.
HOMEWORK
|