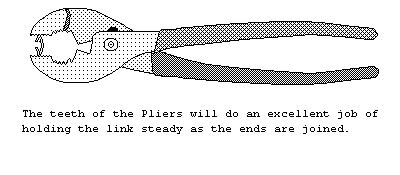
You may notice that the closed link is slightly oval in shape. The extent of this misshapenness will vary depending upon the size of gap you left in the metal. To correct this, simply give the link an additional squeeze with the pliers, in a perpendicular direction. This will serve to both make the link more circular, and tighten the butted ends together.

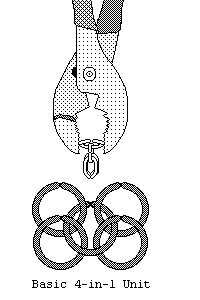
The only time you will need to close a single ring on itself is when you are beginning a new set of rows. Otherwise, you will always be connecting one ring to at least one other (for a 4-in-1 pattern, each ring will connect to four others.)
The basic European four-in-one maille style is the most basic design for chainmail projects and is by far the easiest, lightest, and quickest technique to use. As such, I will give detailed instruction on the construction of pieces of maille, based on this style. For more complicated, dense, and ornate styles go to the sections on 6-in-1, 8-in-1, King's Maille, and Japanese 6-in-1 patterns.
The building block of the 4-in-1 style is the basic 4-in-1 unit (as shown.) To make a unit simply connect four outer links to a single inner link. Once you have a number of basic units, you can begin to build long chains of units. To do this, simply connect two outer rings of the basic units together. Then connect a basic unit to the resulting chain and continue until your chain reaches the desired length.
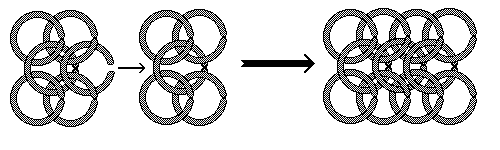
Once you've created chains, you can simply connect two chains together using the same method you used to create them. By repeating this process, it is fairly straightforward to create sheets of maille of any size and shape to suit your needs.