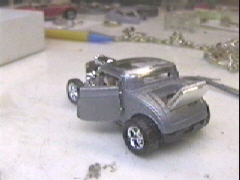
As you can see the drivers side is attached. It wasn't terribly difficult once I figured out how :).

Probably the most improtant part of this step was making sure the body lines lined up and that the door is basically centered in the opening.

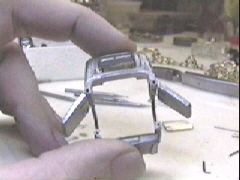
Look ma no hinges, hehe. Well at least they arent easy to see. You might have noticed the two small holes on the outside where the hinges are. They are there to allow the door to open fully, a little more than 45 degrees.
Sorry for the delay in updating, I had the chassis sitting in stripper all day. Getting the body prepped for paint will take some time also.

A few of you following this have asked for more detail on the hinges so here goes :). This is the channel the hinge will rest in, just under the surface. I used a ball bur slightly larger than the pin so it would not bind up when assembled.
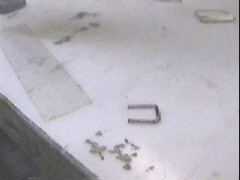
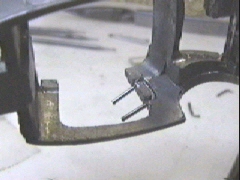
Made from a paperclip, not much to say about it other than that.
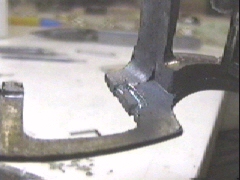
The horizontal channel cuts need to be at roughly a 45 degree angle.

Probably the most critical part of this is making sure that the cuts in the door line up with the cuts in the body and that they are parallel with each other.

I'm using a #52 round point graver to push metal over the pins, holding them in place.

It takes a fair amount of force to do this. If you try it be carefull, a friend of mine slipped while using this technique and the graver went through his finger, lodging itself in the bone. Can you say PAIN.