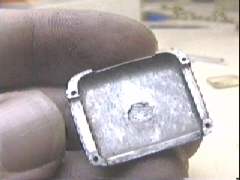
I think the best way to reattach the roof will be to use a combination of pins and J.B. Weld. I've drilled holes in the roof and chassis to accept pins, about 1.5 mm deep each.
Again, making sure they all line up with each other is very critical.
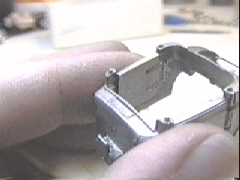
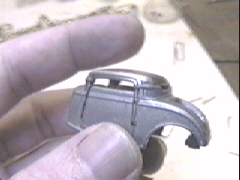
I coated both halfs with J.B. ,just enough so that when pressed together there is a nice little bead of overflow all the way around the seam.
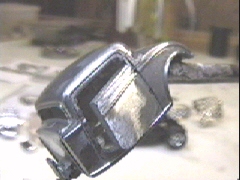
Started sanding, Paying close attention to the raised body lines. If the body isnt prepped good then the paint wont come out good.
Filled in all the door and trunk seams that I didnt use for cuts. It would look plum goofy if these were left.
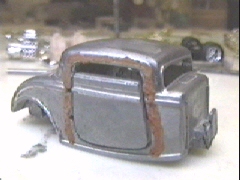
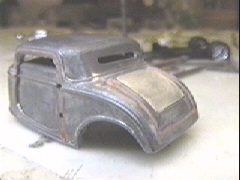
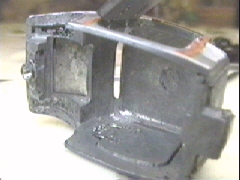
Cleaned up the J.B. overflow.
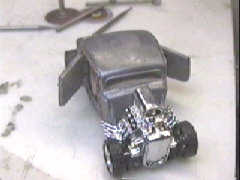
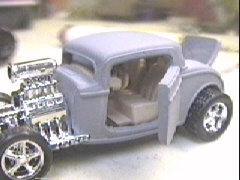
Got all the body work done, seams filled and sanded. I used two light coats of primer.
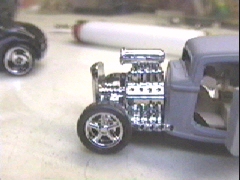
Didnt do too much to the engine but I did open up the header pipes and put flat black paint in the openings. Also took the chrome off of the blower drive belt and painted it.
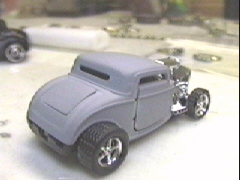
Ready for paint, My bud didnt bring his airbrush but thats ok, I need my own to learn with anyway.Should have the first coat on by Sunday. BTW, I havnt decided on a color scheme yet.
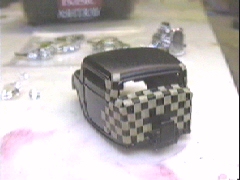
Got the basecoats of gloss black on and let dry for 12 hours. Started laying my pattern out.
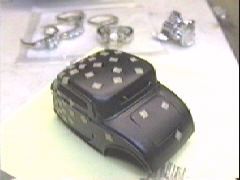
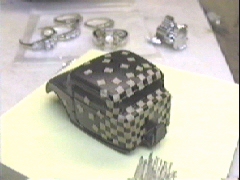
Man it took about 3 hours just to get it masked. I put each one of those squares on, one at a time. I cut them out of packaging tape BTW.