Modelling the Table Top
By
Pat Connelly
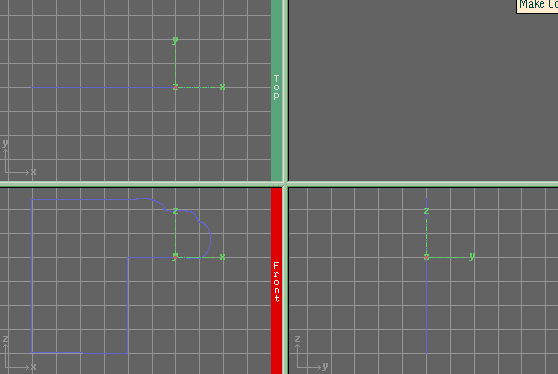
Unfortunately, I had no photo to trace. I made accurate
measurements of the top and traced a crude outline using a table leaf. Then, here in
the Spline Editor I freehanded a reasonable facsimile of the edge outline of the table
top. I then added and saved points to create a Detail Editor object.

Here is the outline in the detail editor. I have removed all lines
not needed for the outline. I will sweep the outline to form circular tabletop.
This round tabletop has a diameter equal to the width of my rectangular table.
Basically, my table is composed of two half circles with a rectangular center.
It is 72 in by 44 in.
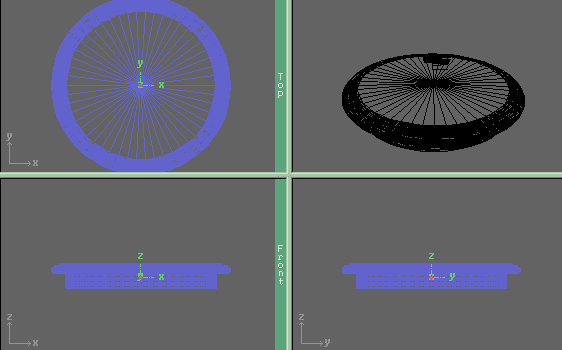
Here is the circular tabletop after the sweep.
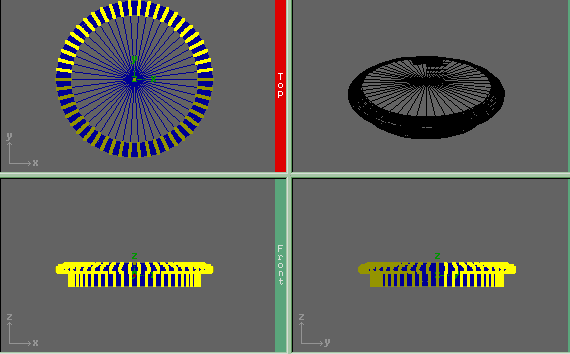
Now I am in pick points mode and I have selected 1/2 of the table points.
I will translate them the needed distance in the y-axis to create a rectangular
table. The transformation requestor is a very precise tool for changing your objects
shapes and dimensions.

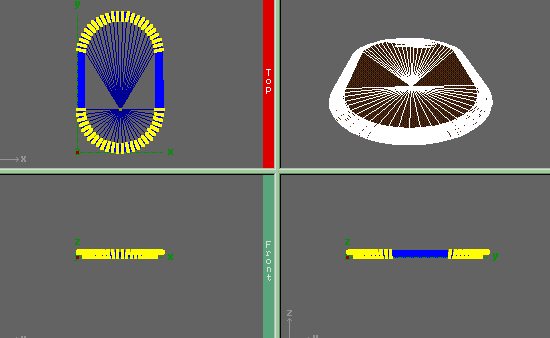
After translating the points in the y-axis, I now have a rectangular
tabletop.

I need to precisely rescale my tabletop though the dimensions are very
close at this time. Reposition and scale the axis so the aixs dimensions and the
object dimensions are one and the same. Then the transformation requestor will scale
all dimensions accurately.

Here is the transformation requestor with the correct dimensions filled
in the boxes. My object's scale is one inch = 10 imagine units.
The tabletop object is essentially complete. However, I did diddle
with it a little more but I have no pictures. I stated elsewhere I believe all
objects in imagine look better with some thickness. The tabletop above has no
thickness. This is not critical for the top but the trim and edges look better with
some thickness. So.... I fiddled and finally selected the edge only. I
translated the points a large distance away from the top. I then scaled them .95 or
so of what they were and then moved them back. This technique is nicely explained in
a tutorial by Steve Blackmon. It is not a critical step but the table edge looks
better on angled views.
Return to Main Menu or Tutorial Menu
Address comments and suggestions to Pat Connelly (fnadoc@erinet.com)