 |
|
|
|
|
|
|
|
|
|
|
|
|
We do not promote or endorse the above add (which normaly offends us).
|
TALBOT PHOTO PAGE |
|
|
|
 |
|
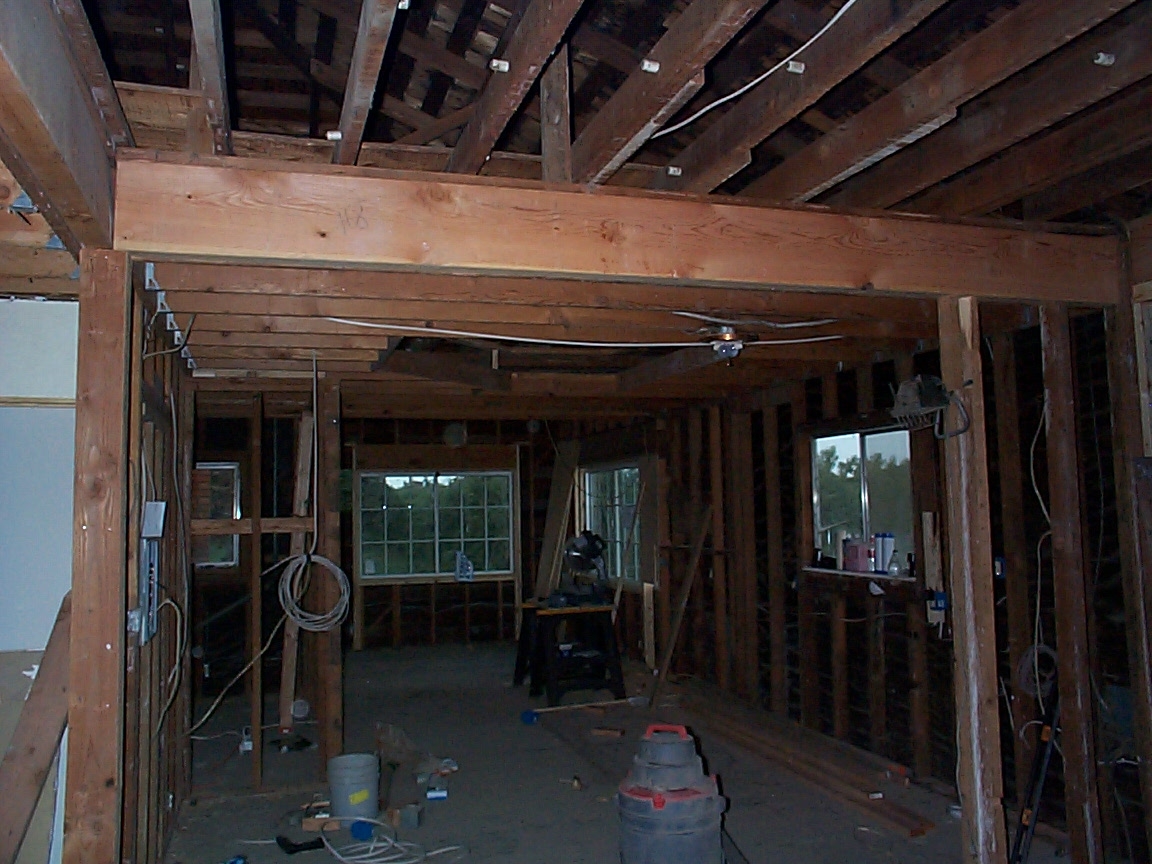
First we gutted the house and evicted the various residents (e.g. mice, rats, termits, ants, goat droppings, etc.) |
|
|
|
|
|
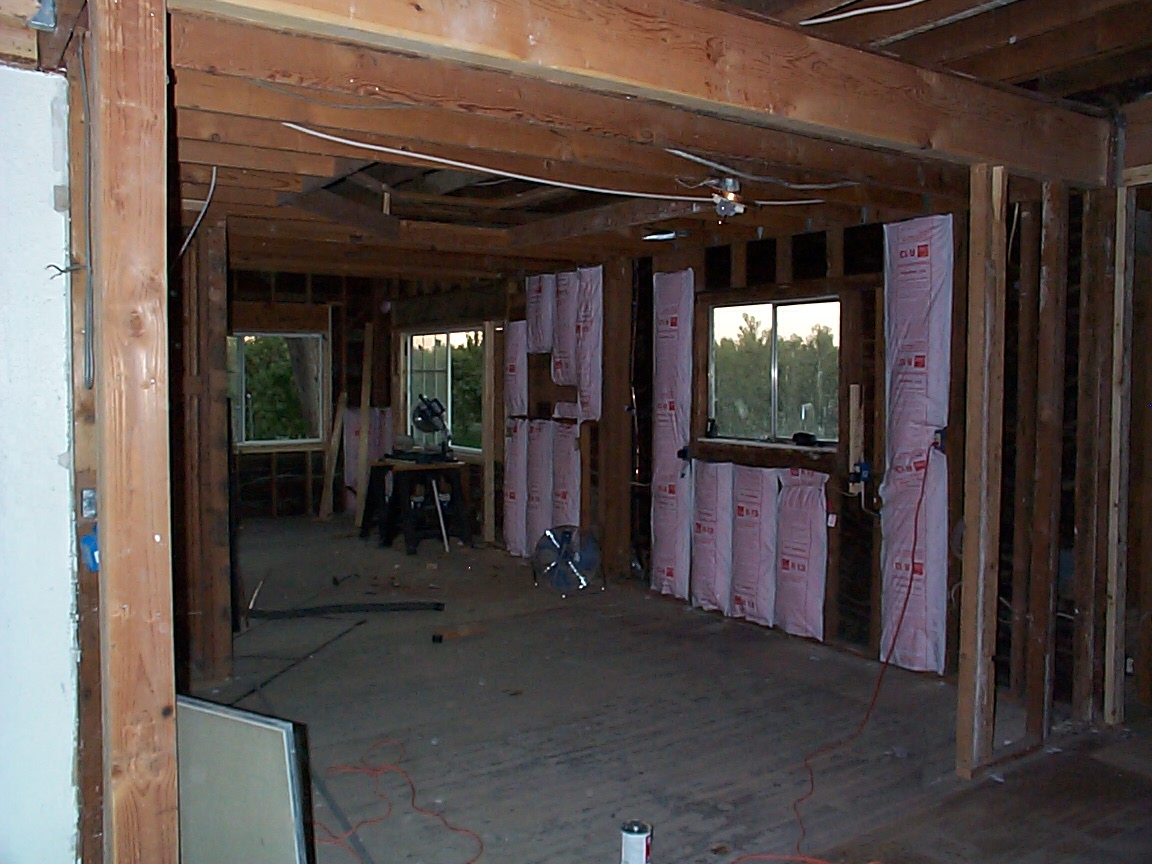
Next the wood was replaced as needed. Wiring was replaced as well as the plumming before we started insulating. |
|
|
|
 |
|
|
|
|
|
 |
|
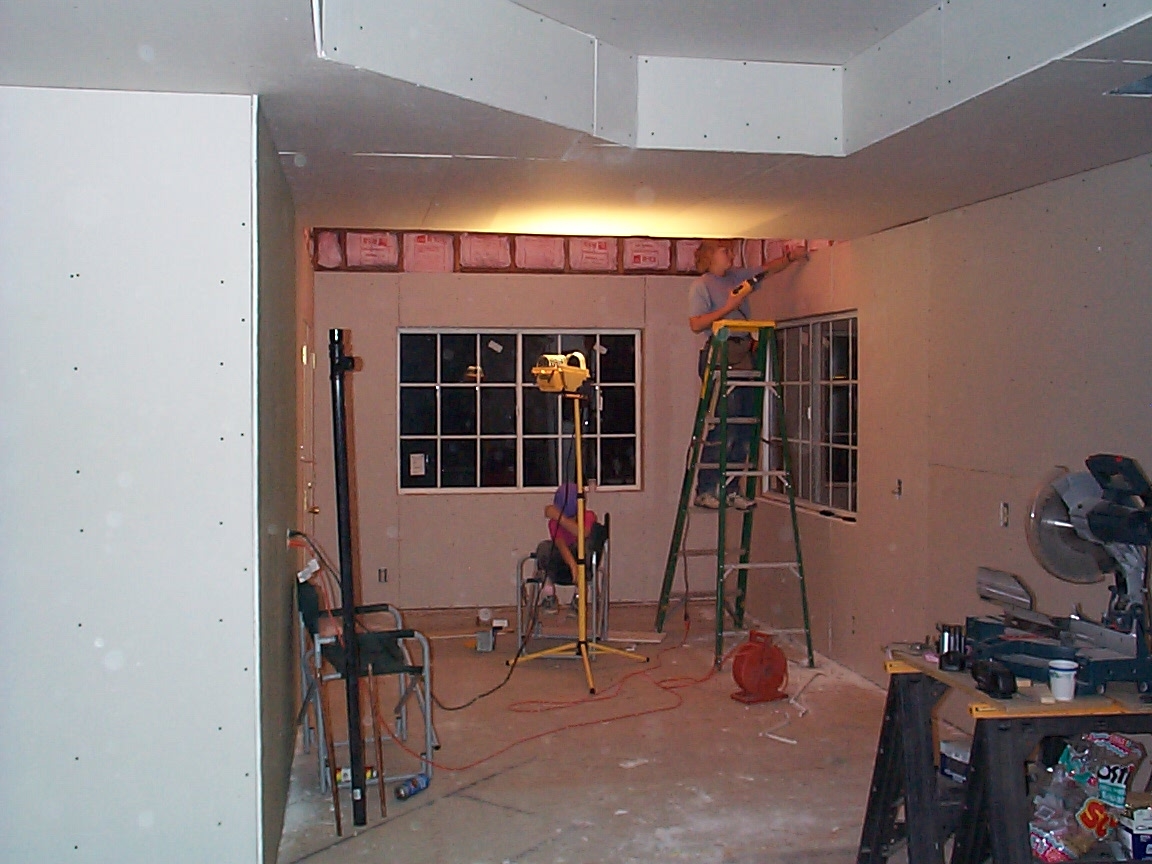
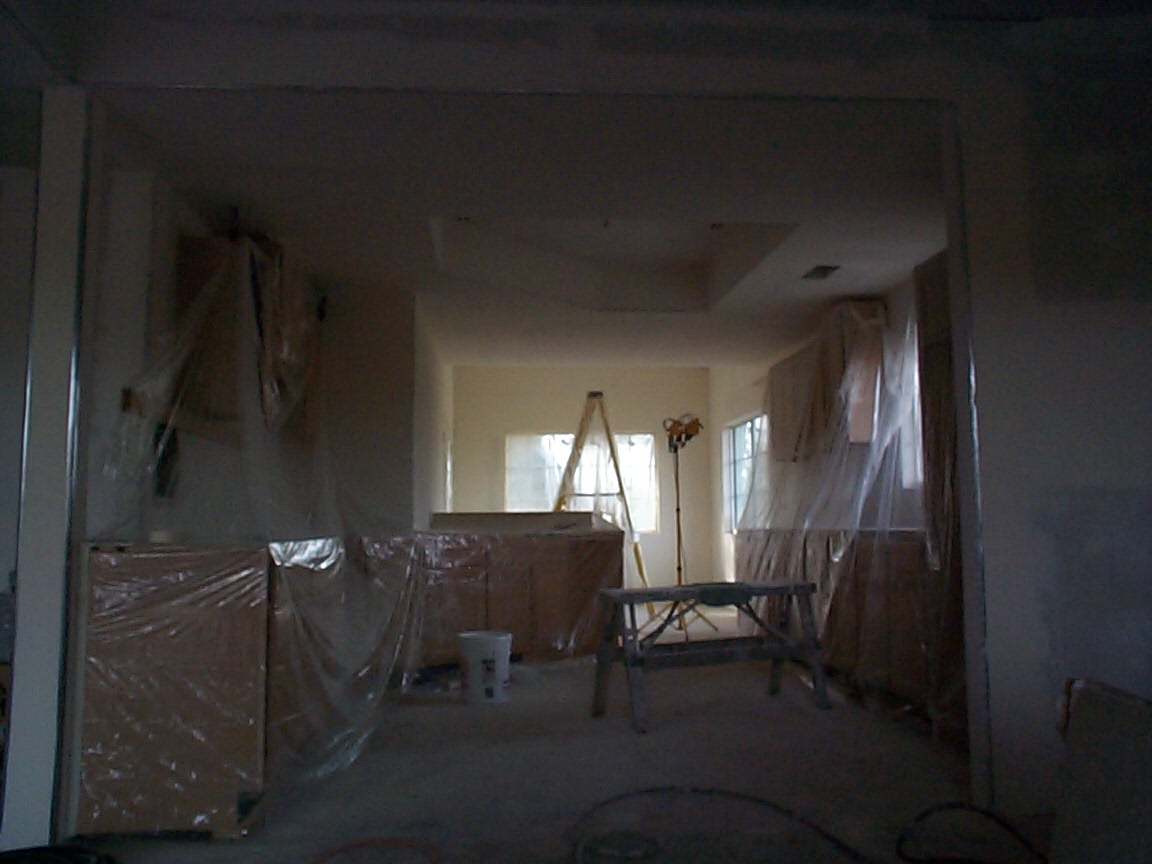
Then the sheetrocking. Notice the extra challenge of baby sitting too. |
|
|
|
|
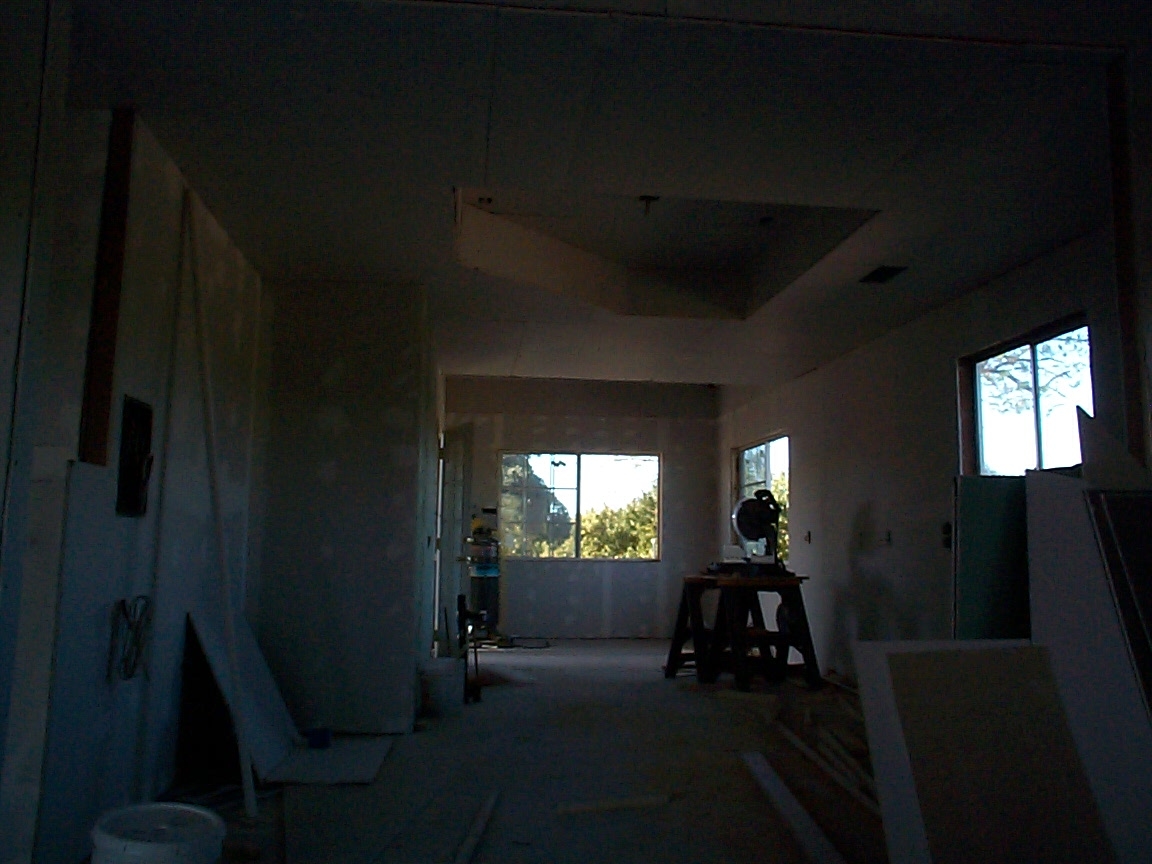
Taping and texturing takes an amateur about a week... We did it in only 4 weeks. |
|
|
|
 |
|
|
|
|
|
 |
|
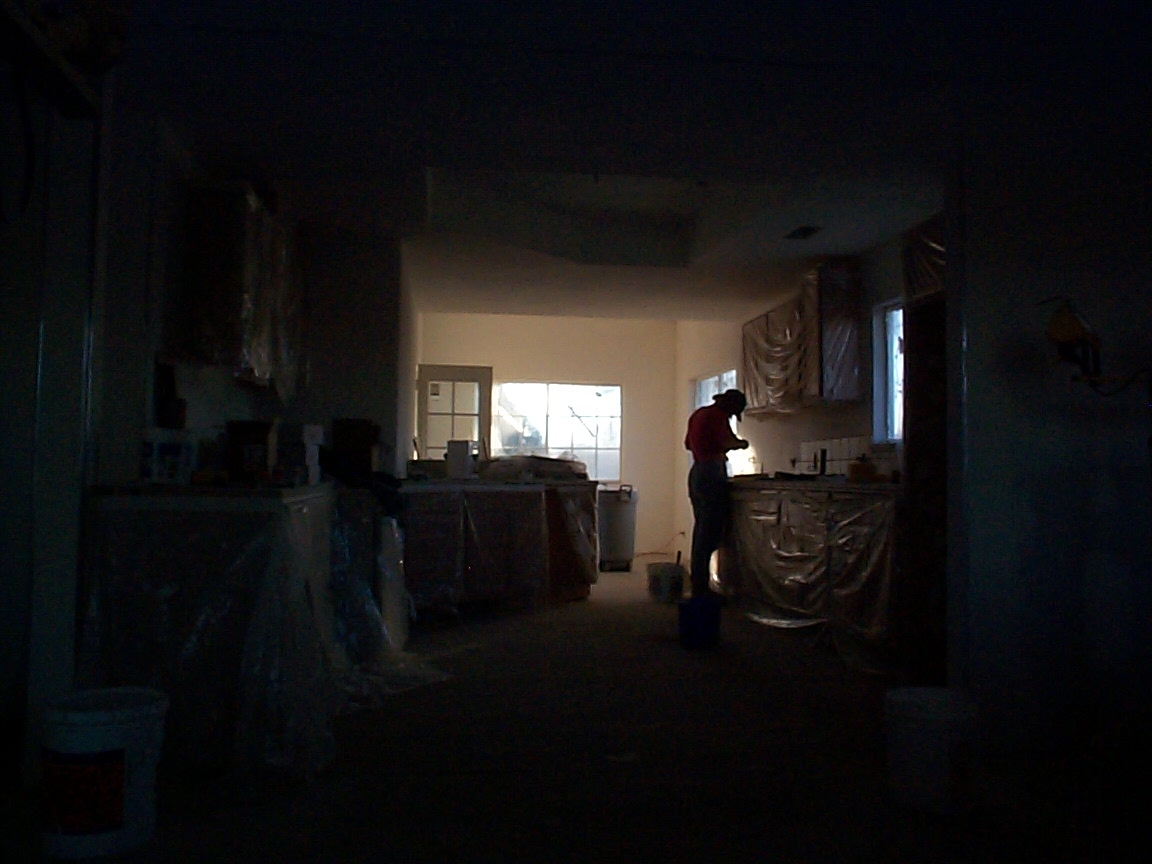
We installed cabinets next in hope of staying ahead of our good friends doing the tile work. (Bad step as we never did get it ready for them in time.) |
|
|
|
|
We ended up laying the kitchen tile ourselves anyway. Oh, ya. The tile work was done during the wall texturing. |
|
|
|
 |
|
|
|
|
|
 |
|
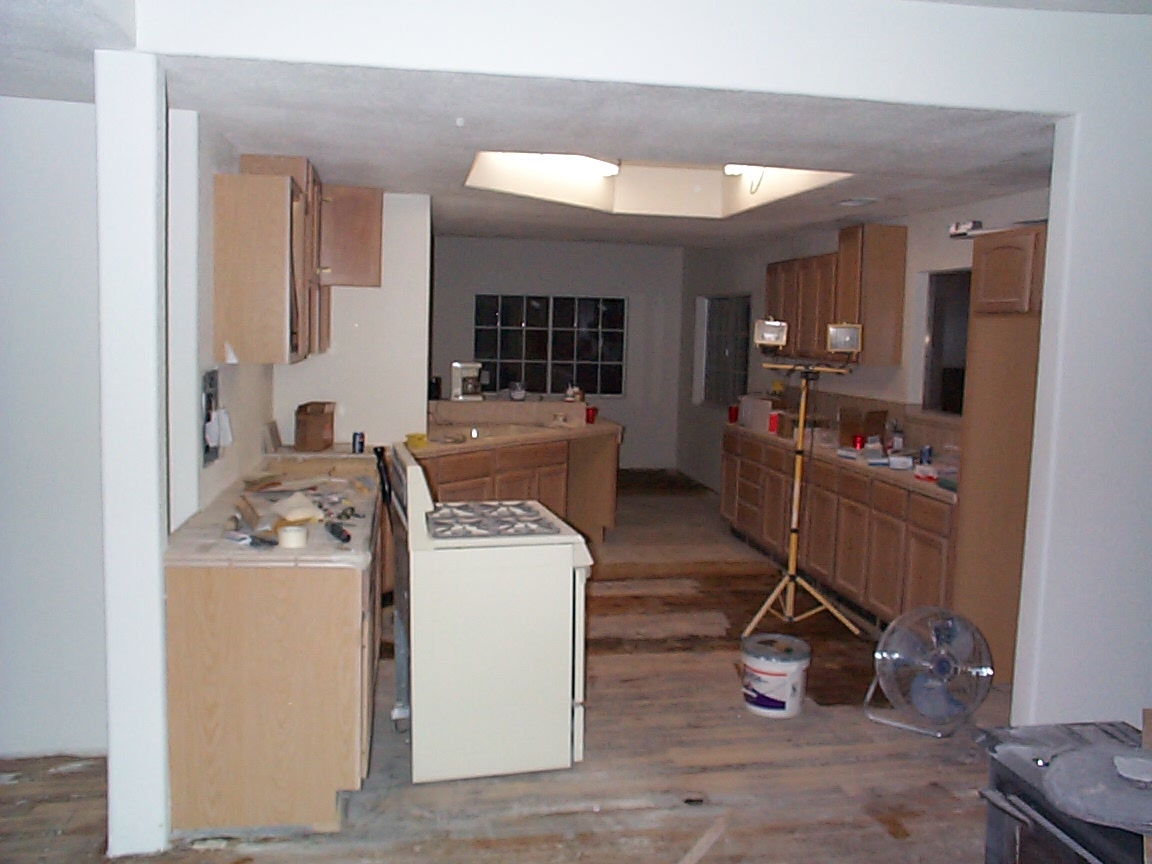
With walls finally painted, it was time for the flooring. This was fast compared to the sheetrock drama. |
|
|
|
|
We started the flooring in the center design. Here it's protected with a ladder. We had moved in by now (another fun moment!) |
|
|
|
 |
|
|
|
|
|
 |
|
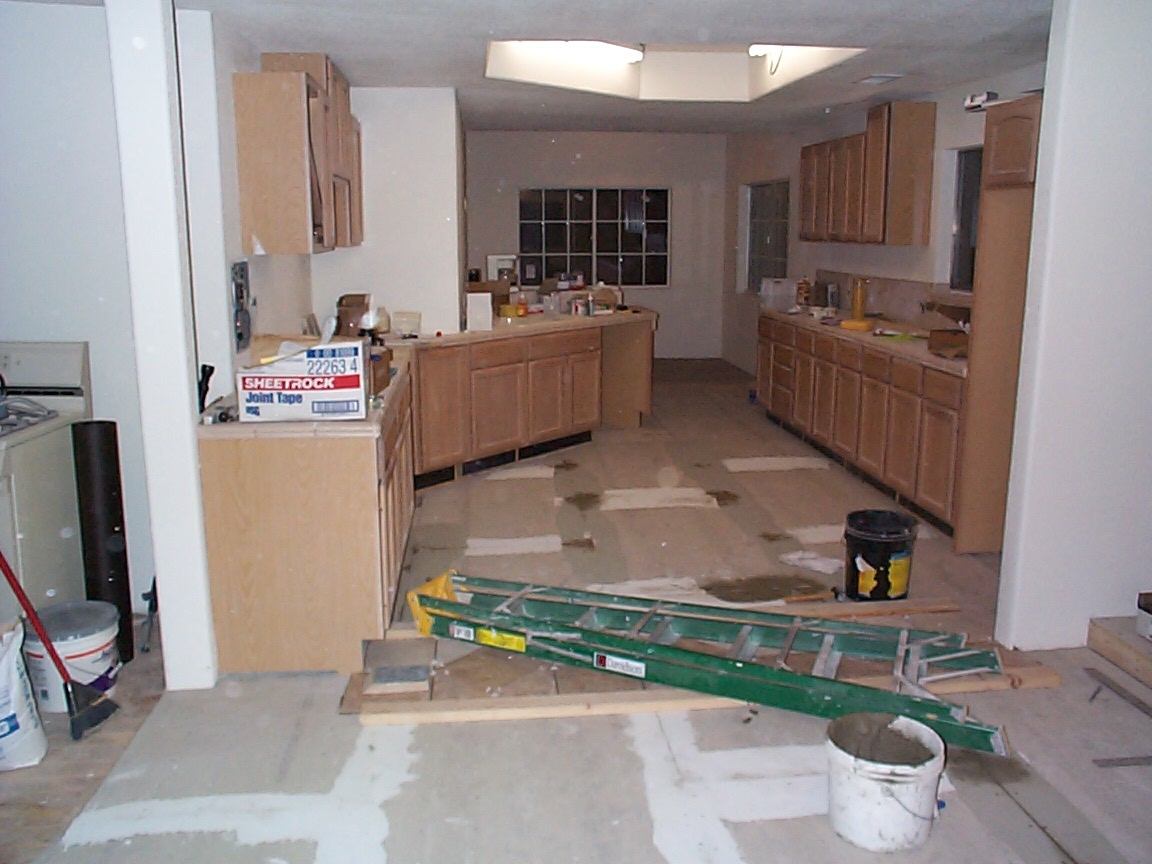
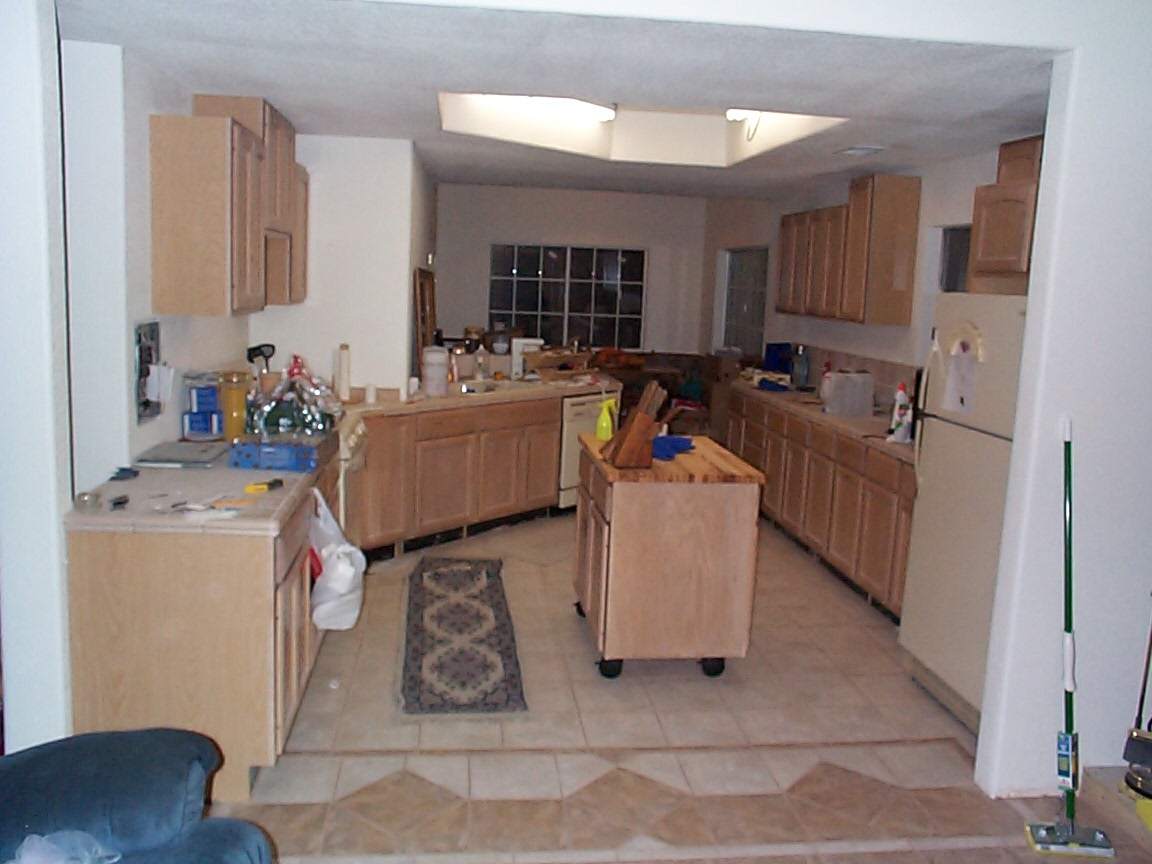
Once the flooring was some what complete, it was time for a rest from our 5 months at 7 days per week work schedule. (Yes while also working our normal jobs.) |
|
|
|
|
Here is the curent photo. We are not yet done in this area, but we have rested and think it's possible to reach the goal. |
|
|
|
 |
|
|
One openning comment. If anyone has ever thought about diving into a full project like this and show their skills off, please give me a call first so I can try to talk you out of it! This is a task that I would never had wished on anyone and I would feel real sorry for you if you did not first have someone like myself open your eyes and ask, "ARE YOU CRAZY??"
|
|
|
Return to Talbot Main Page
|