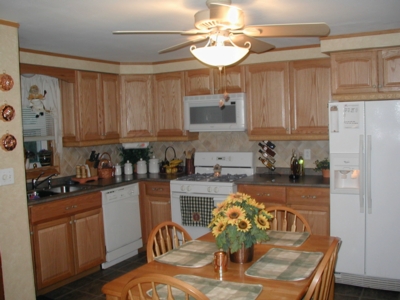
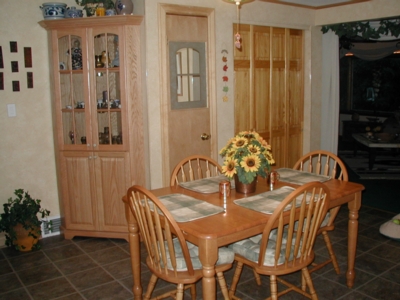
The Kitchen Remodel

When we moved in we knew eventually we would redo the kitchen.
We both 'hated' it, EVERYTHING was white, white painted cabinets, white linoleum floor
(A big No-No with a 12 year-old and two large black dogs), white tile backsplash,
white walls, it looked like a hospital. So after living with it for 3 years
we knew it was time for a change.


Old Kitchen


Old Kitchen


I didn't take the two pictures above until we were allready in the middle
of the remodel. We allready had removed the linoleum floor,
leveled the subflooring, repainted the ceiling and installed the new ceilingfan.
But you'll get the general idea what it looked like.
After removing the linoleum Bon suffered from major back problems,
so it was up to me to finish the project.

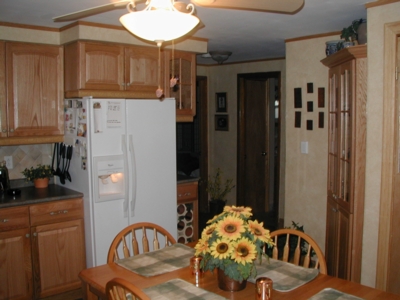
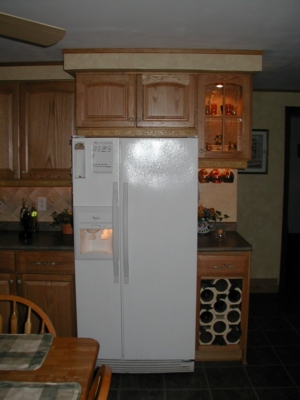
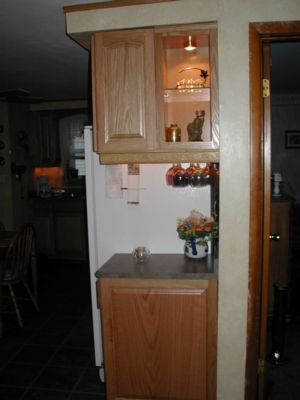
I build out part of the soffit over the fridge since we decided on a 24" deep
upper cabinet for that space. Then painted the walls a tan color and used a glaze
and a ragging technique to give the walls an "Old World" look.
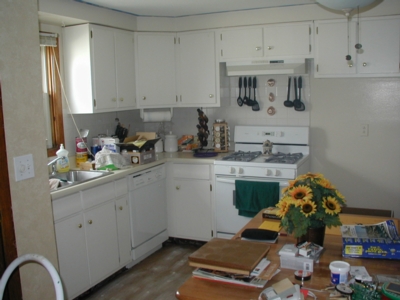
After ripping out the cabinets I figured I really 'should' redo the backsplash
as well. But first I had to put the cabinets in.
After that was finally done (a weekend) we had the countertops installed,
the only part of this project I didn't do myself.
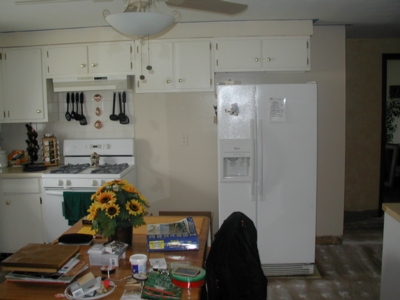
When the countertops where in, I tiled and grouted the backsplash. There is some raised tiles
with grapes scattered throughout the backsplash and a 12"x8" raised tile
with a fruitbasket over the stove which didn't come out in the pictures.
The floor is slate tiles, and the formica countertop matches the floor perfectly.

View from the Livingroom


The cabinets are Kraftmaid in red oak, I was too cheap to buy their molding,
so I got a decorative molding at HD and put it on the bottom of the upper cabinets.
It worked well to hide the rope lighting I installed on the underside of
the upper cabinets


View from the Kitchendoor


New Kitchen

I took this picture because of the 'winerack' I put in the bottom cabinet.
I used terracotta drainage tiles that I painted and glazed in the wall color
and I added grapevine picks in to the spaces between the tiles.
The whole winerack project only cost me $12.


New Kitchen

This is the sideview of the winecabinet, looking from the Bathroom doorway.


New Kitchen

There used to be a 'HUGE' floor to ceiling cabinet filling this space.
We decided to open it up and use this corner Hutch instead.


New Kitchen

This is looking towards the livingroom standing by the dishwasher.
I bought a cheap mirror and put in on the pantrydoor.
I used etching cream to repeat the shape of the glasscabinet doors, another $12 project.


Home Projects Index Gypsy's
E-Mail