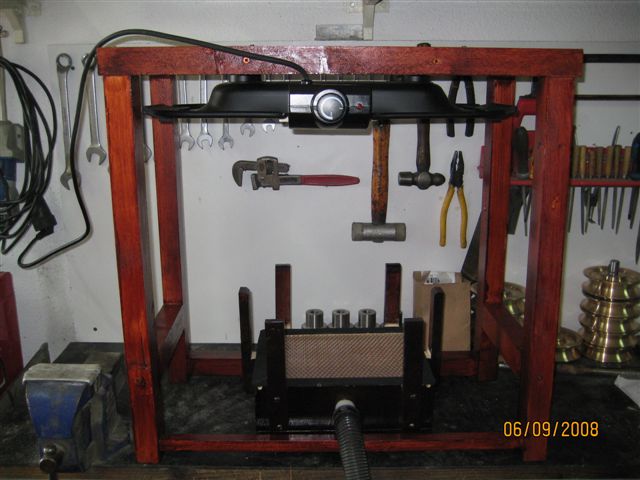
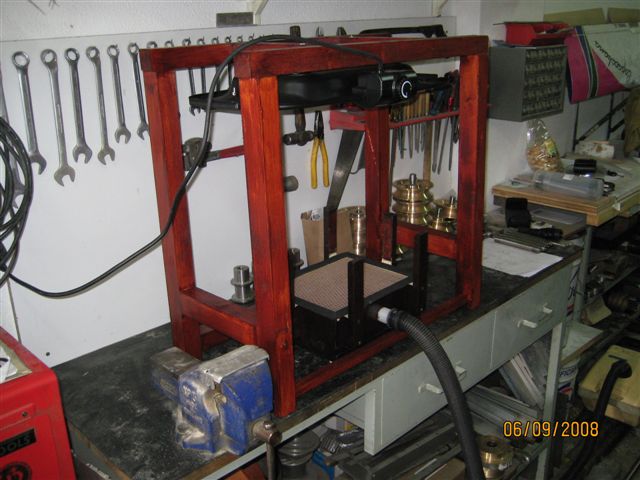
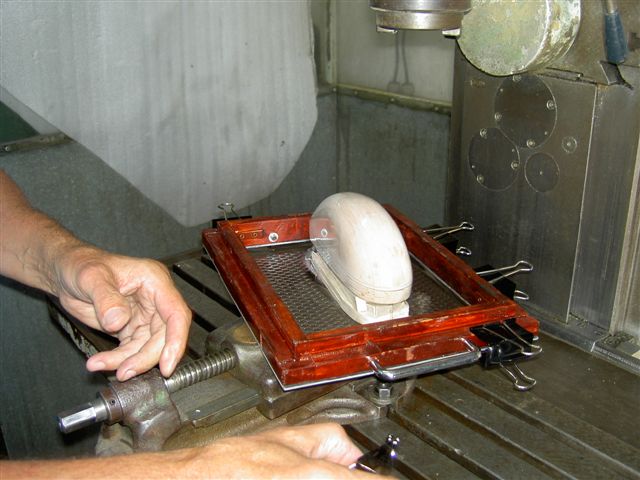
1 - Complete cockpit building device gauge
2 - Complete cockpit building device gauge
3 - Vacuum cleaner connection
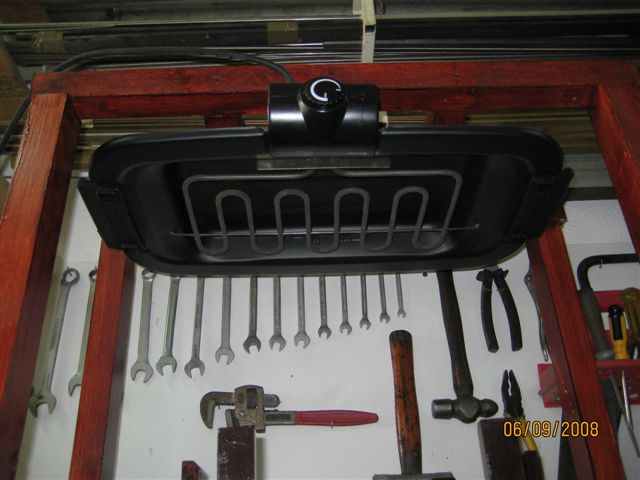
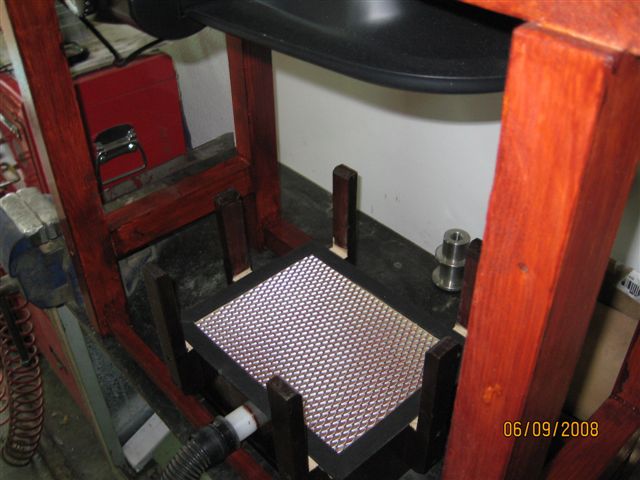
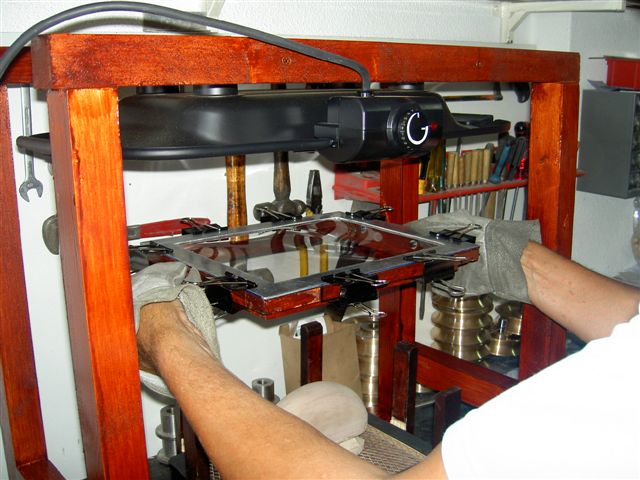
4 - Pre-heating system in the top
4 - Vacuum cleaner conection in the bottom
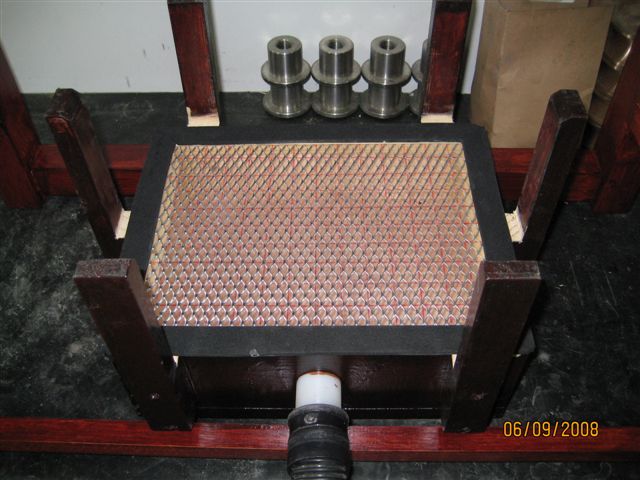
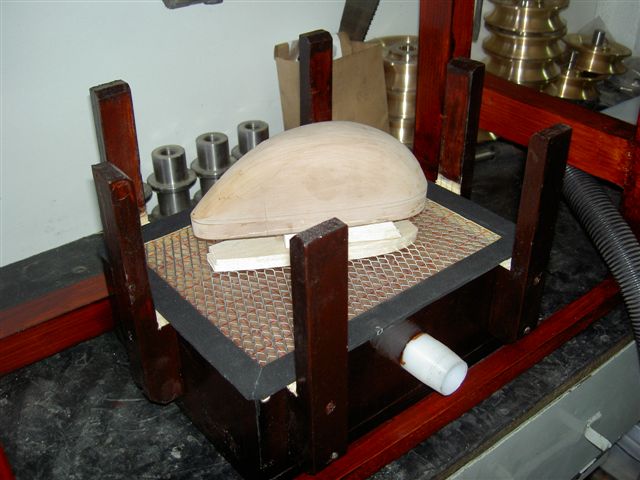
5 - Cockpit molde
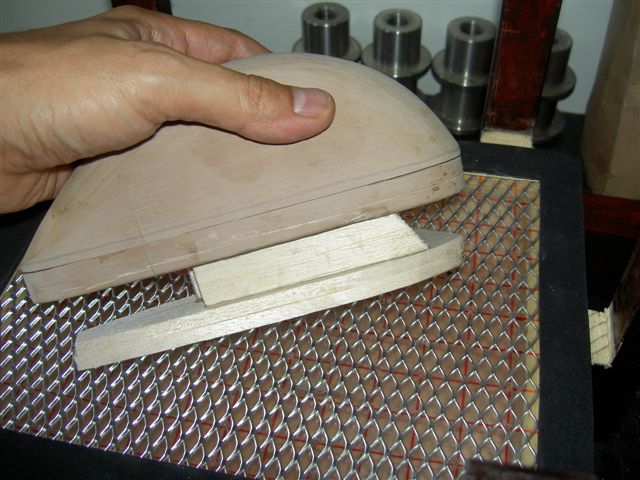
6 - Cockpit molde
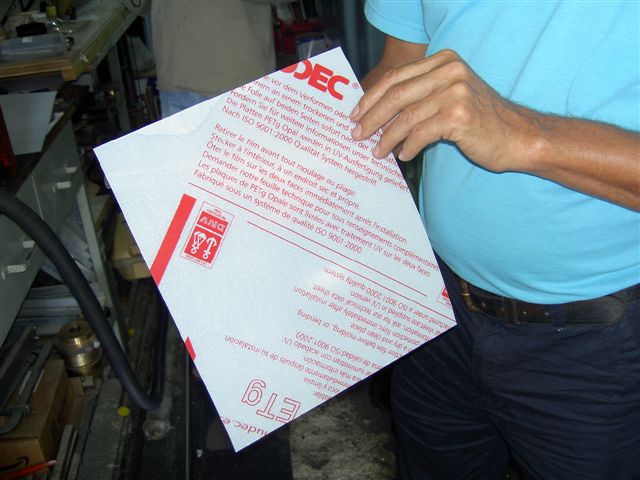
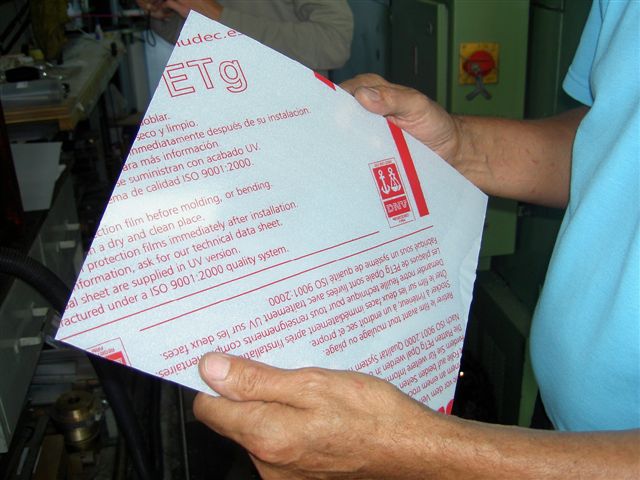
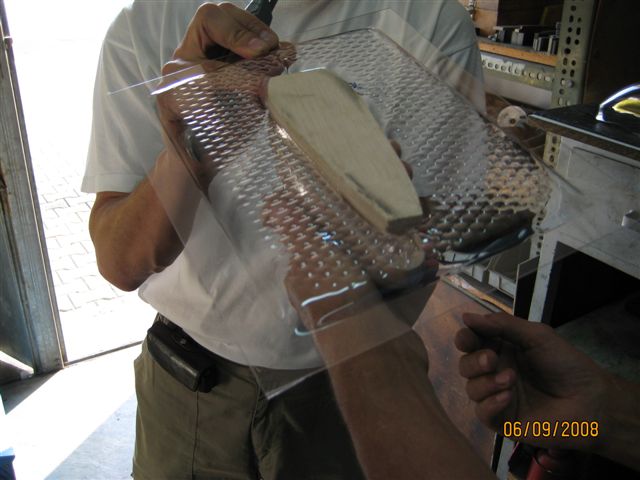
7 - The Plastic , is the same used to build the Coco-Cola ; Fanta ; Sprite etc,... bottles
8 - The thickness is around 0.70 mm
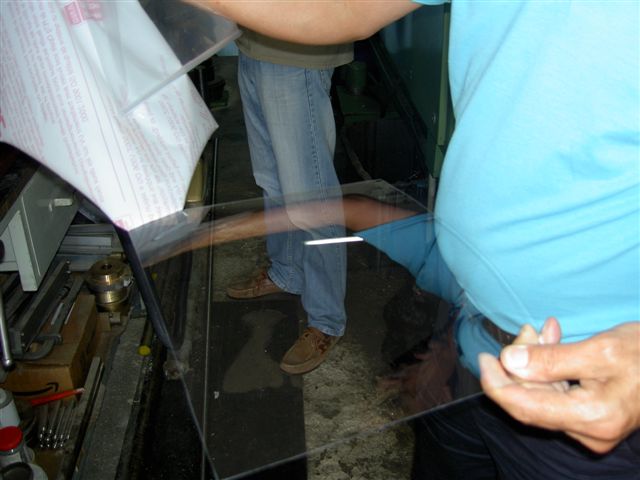
9 - Is also nice to use different plastic colours in this case is transparent
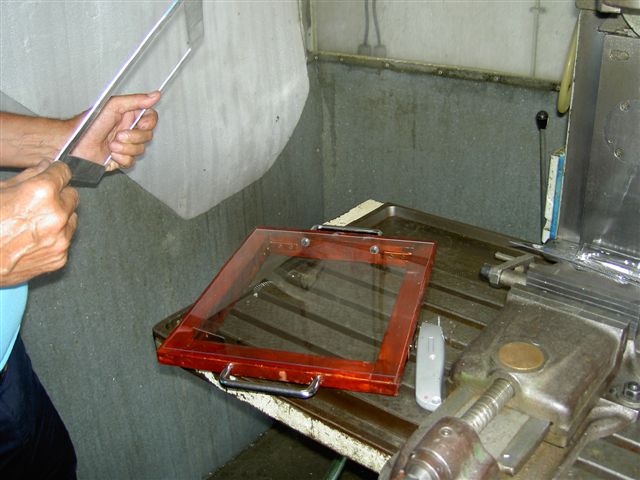
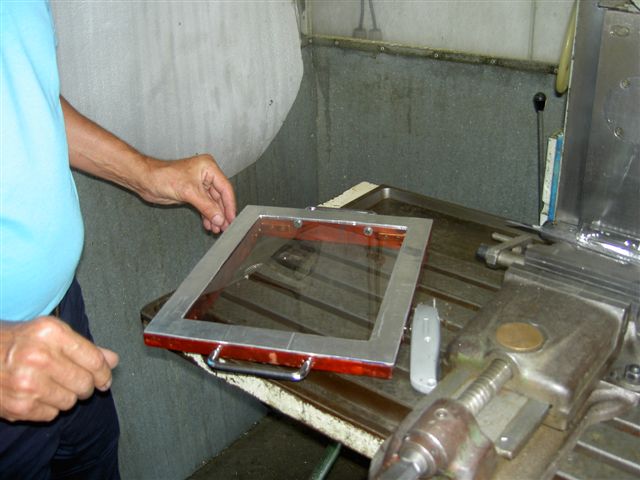
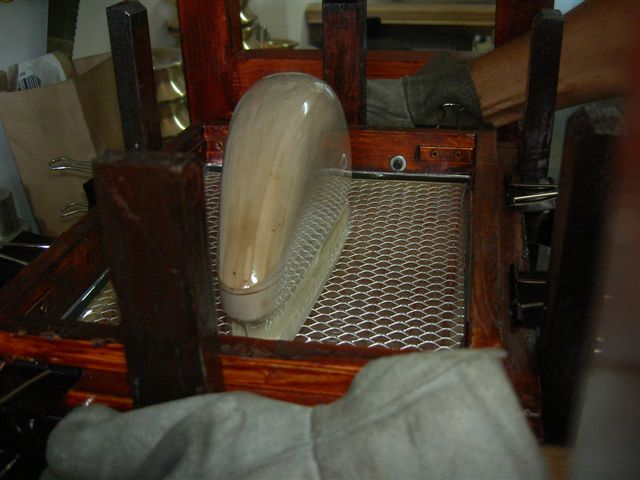
10 - The plastic is placed in to the gauge
11 - The aluminium frame will help to make the correct positioning
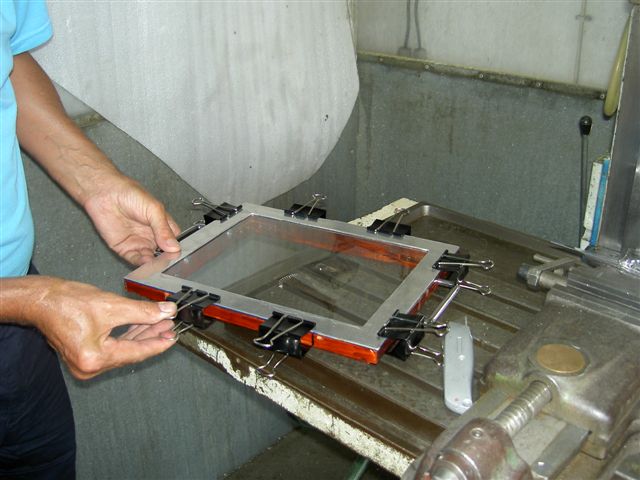
12 - fixing the frame
13 - Pre-heating the plastic +\- 30 seconds
14 - If the temperature is to high the plastic will became wait and will became scrap
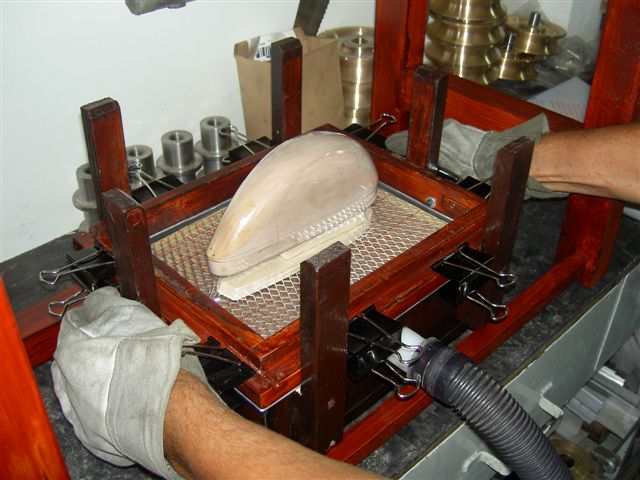
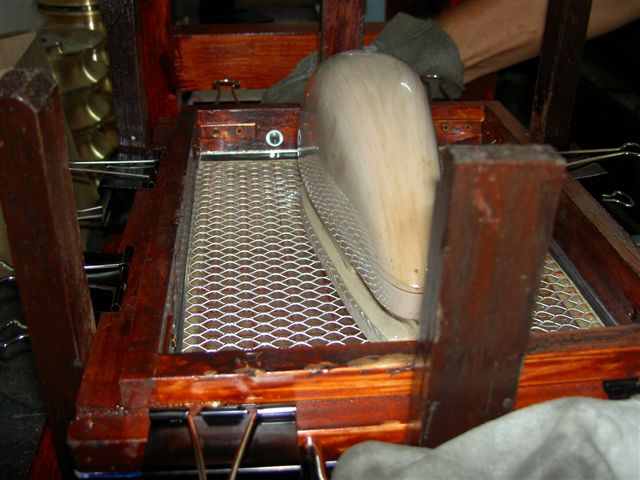
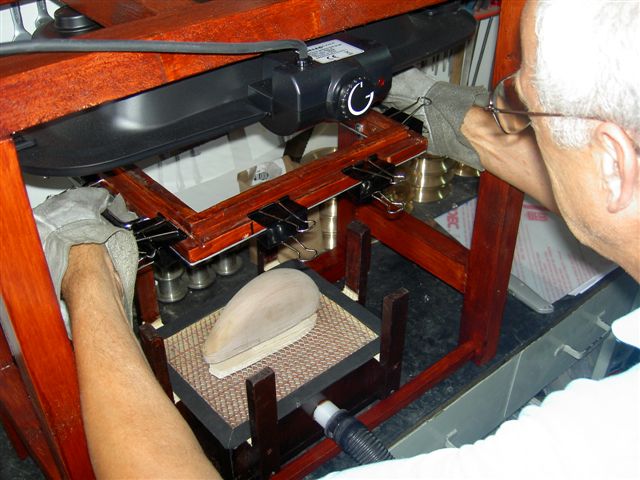
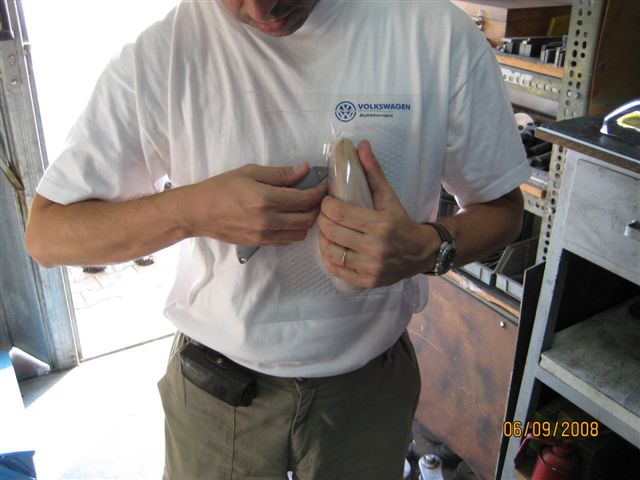
15 - After the heating time the plastic frame should be forced down and the vacuum cleaner will assure the cockpit contour
16 - The frame should be maintained in this position until the plastic temperature will go down
17 - After the plastic temperature will get cold, the vacuum cleaner should be disconnected.
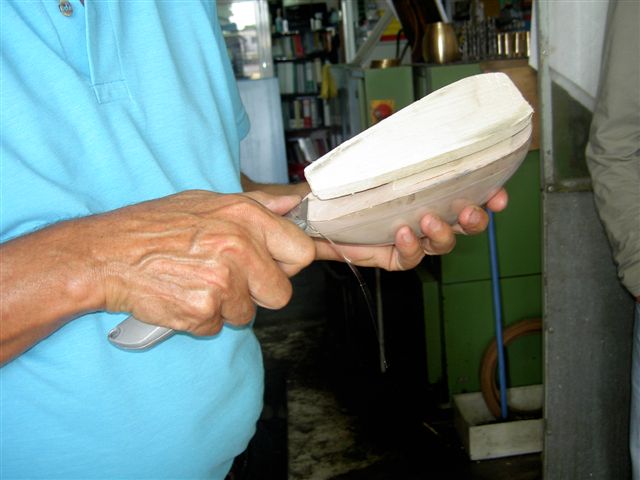
18 - Frame Disassembling
19 - In this phase the plastic should be separated from the cockpit gauge
20 - Defects analysis
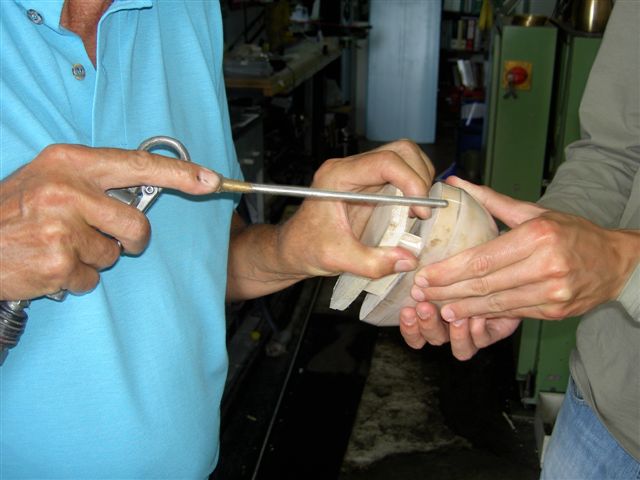
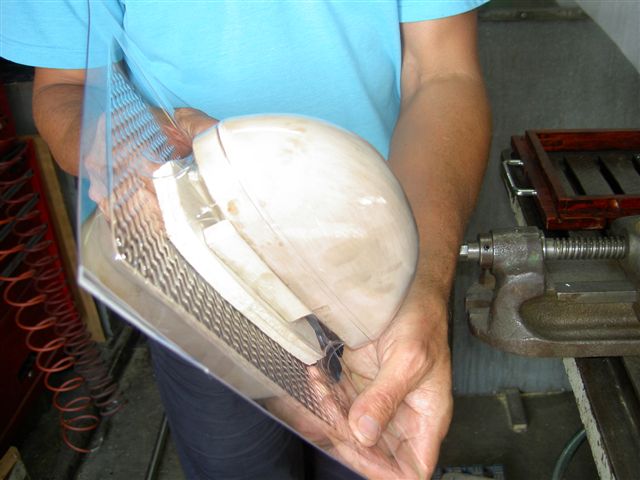
21 - Separation process
22 - Separation process
23 - The compressed air is a very important tool to separate both parts (to avoid damages)
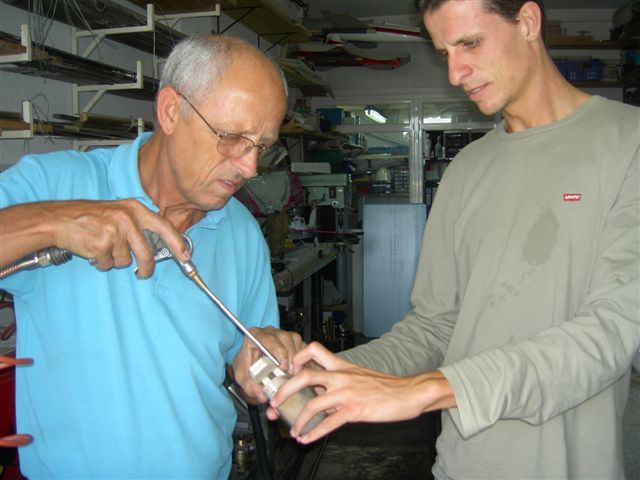
24 - This separation process ( with compressed air ) is the best solution ( fast and easy )
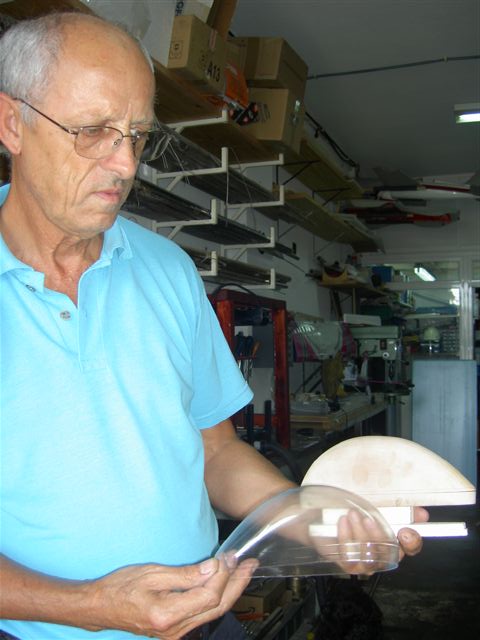
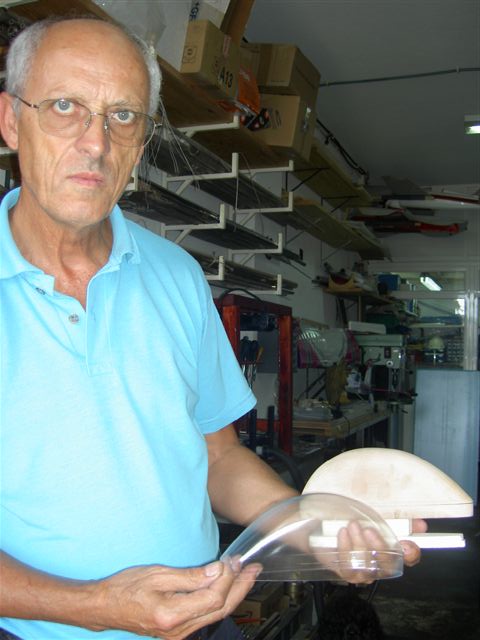
25 - End of the process
26 - The Cockpit