a pictorial demonstration of hand made bookmaking
Here you see the components that will be assembled into this book:
the printed pages, above that a laminated cover, next to the pages is a graphic insert that will be inserted into the back of the book, and above that you can just see a thin paper cap that will go on the spine of the book.

After inserting the graphic into the pages and clamping the pages together, I place the entire thing into a cutting and drilling press and trim off the excess paper from the bottom.
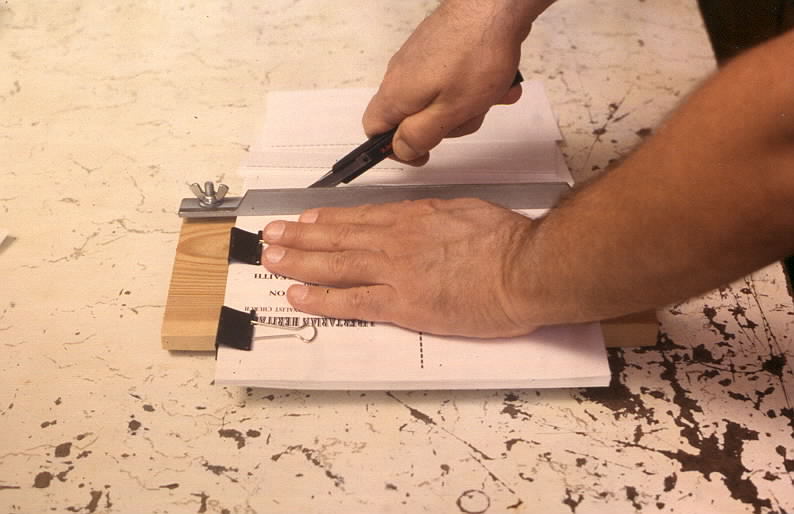
Then I turn the pages and trim off the excess paper from the side.
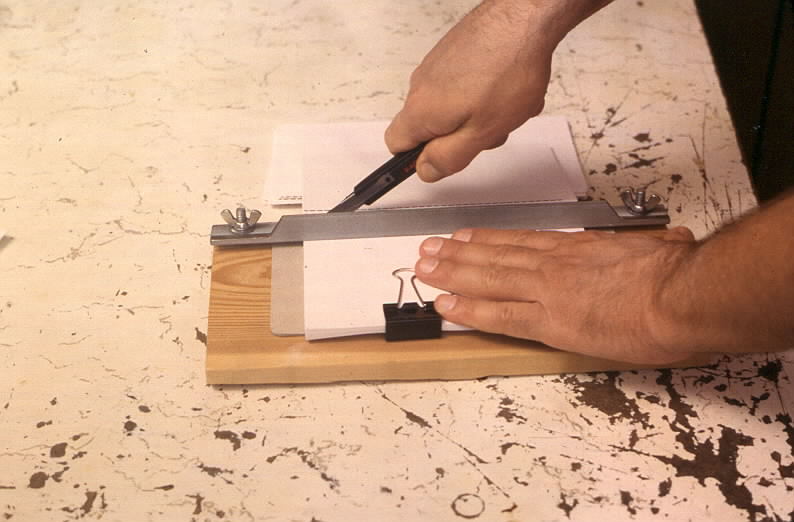
Drilling the ends of the paper comes next.
The paper clamps cannot be removed until the sewing is complete. This kind of binding is called crossbound, because of the way it is sewed. It is the strongest method of binding a book.

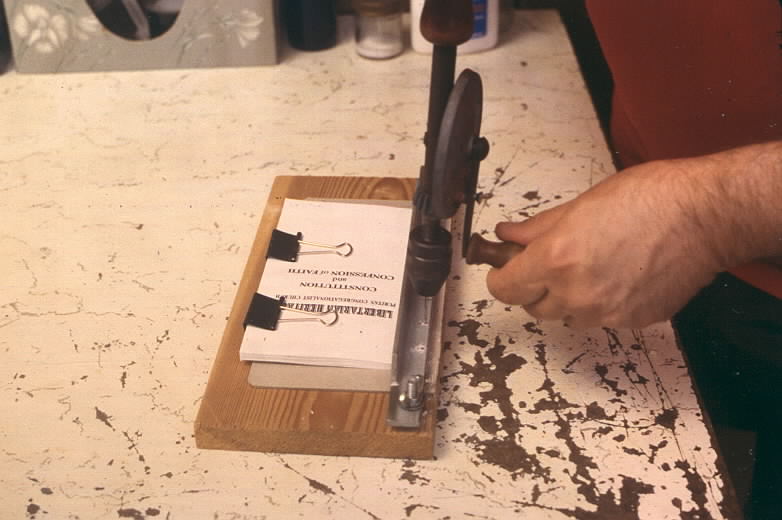
Now the book goes into the gluing press, sometimes called a vertical press. This is a complicated step in which the glue is worked into the ends of the paper and a narrow paper cap is placed. Books that are bound and glued in this manner will never have the pages fall out.

While the glue is still wet the cover must be attached and the book must be placed in the finishing press to dry.
The book must remain in the finishing press until it is completely dry.

When the glue is completely dry, the new book is born.

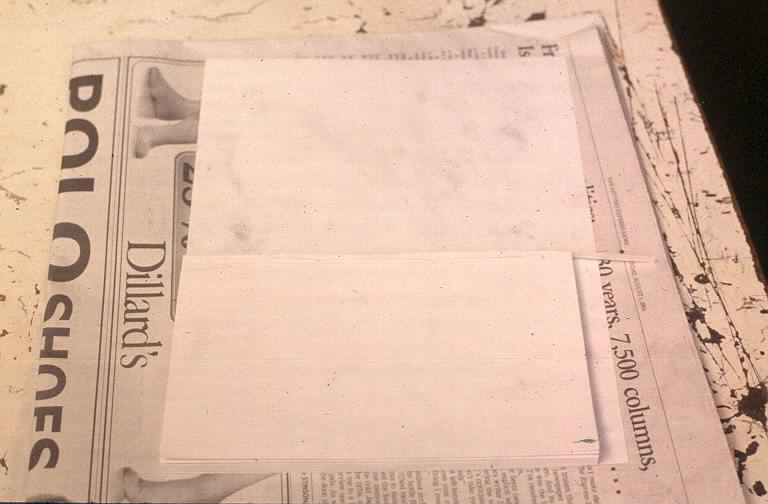
Before it is finished a little trimming is needed. This can be done right away, waiting eight days is not required.

Here you see the finished product.

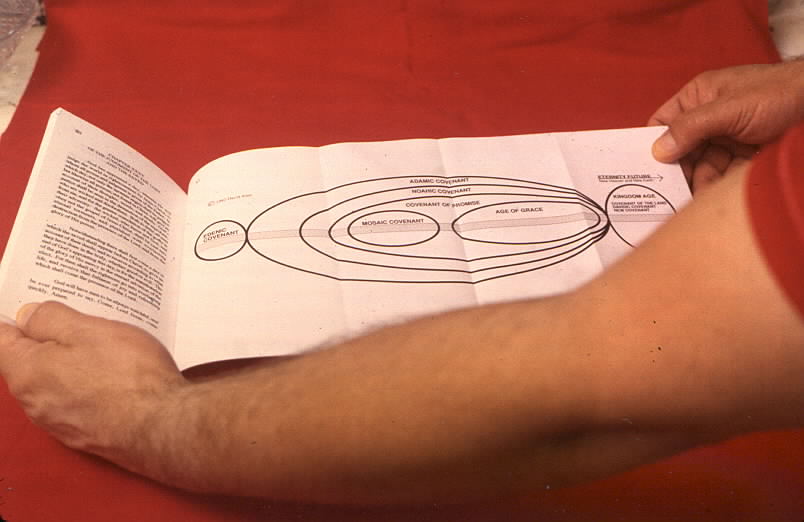
The last page unfolds as a graphic insert.
Hope you enjoyed the show, thank you for coming.
Back to the main page