NJAPF (P-30)
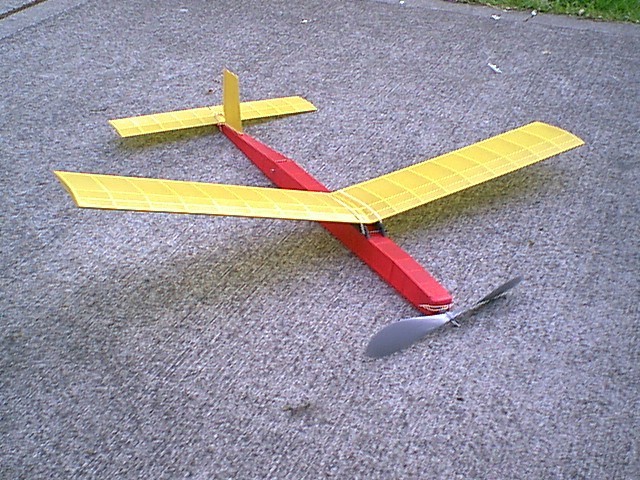
Done and ready for flight
NJAPF, Not Just Another Pretty Face, is a rubber powered FreeFlight plane intended for P30 competition. The basic rules are that no dimension exceed 30", the airframe must weigh at least 40 grams, it must use a commercially available (unmodified) 9" plastic prop, and the rubber motor can only weigh 10 grams. The plane was designed and kitted by Al Lidberg , also known as Arizona Air Hog Al. The plane is covered in the same basic color scheme as Al's prototype and finished with Crystal Clear Krylon. So far I'm happy, but I haven't had it land in wet grass or need to be repaired yet. The finished plane weighs 35.0 grams without rubber or DT fuse. I have a little room for ballast and repair before hitting the magic 40 grams.
These are not indoor planes. They contain some serious wood, and are pretty sturdy. The weight limit on the motor means that you'd have to be pretty good at "reading air" (i.e., finding a thermal) to get the 2 minute maxes. I'm not a competition flyer as a rule, but I think I will begin to dabble with P30's. Not that I can read air, but I love to fly and get laughed at.
The plane goes together quite quickly. I pinned the plan sheet down and 8 hours later I took the picture at the bottom of the page(I also did some house cleaning and played with my kids). I was low on Duco, so I built the fuselage structure using Titebond. It is a little slow to work with, but it does allow a lot of fussing with those sticks that look okay until you take a walk around the board. To speed things up slightly I pulled the pieces from the board when they were still a little "green", and set them elsewhere to dry flat.
For the wings and stab I went a different route. In kits that have a nice tight parts fit (this one does) I like to pin everything to the board and tweak everthing with a pair of tweezers until it's perfect. Then I take a syringe with some thin CA and touch a drop at each joint. No lie, I built each of the three flying surfaces in about 15 minutes each.
I really love Al's directions that come with his kit. It's not really a step by step, but it does flow easily with the process. He includes many helpful hints that can apply to all model building, so do read. I am convinced that someone could almost begin FF with this kit. They certainly could if they are coming from the r/c side of life.
I did depart from the directions only slightly. The fuselage design is a basic box with a sharp taper from the rear peg to the tail. Instead of building the two fuselage sides complete, I merely built them as four sub-frames. I then built the two forward pieces in to a box using the top view, then added the rear halves. Came out very straight, especially considering my time investment. The only other change I made was to add a shear web at the wing center joint. Then I remembered that it was supposed to have a center rib and added that.

Update 8/14/99:
I updated this page once, but was surprised to recently find that the server had dumped my changes. Here goes my second try:

Nose block detail
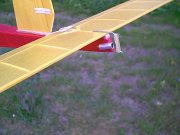
DT detail
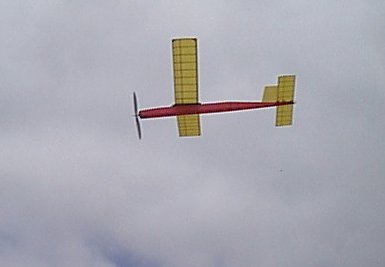
First flying session. I don't think there was any doubt it would fly...

Recent school yard flying
© 1999 alexmunro@juno.com
![]()