DIY SOUND TRANSPARENT PROJECTOR SCREEN
Most
audiophiles would encounter the problem of placing the center-speaker with a
height not compliant to the ear level. After contemplated for a few days over
the idea of DIY sound transparent projector screen, I took some times to go to
a local cloth supplier to find the suitable one with weaving pattern that is acoustically
transparent.
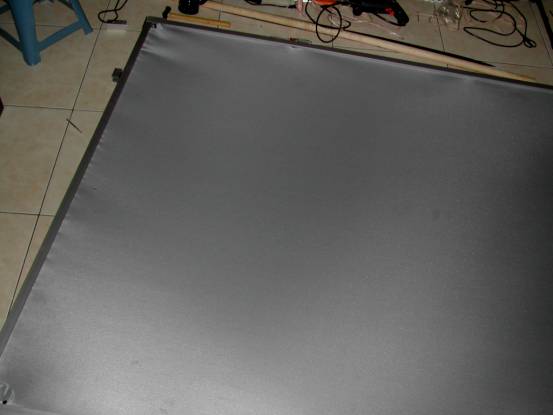
This
grey elastic cloth I hanged loosely in front is translucent to the eyes. I have
tested it together with another black elastic cloth for sound transparency by
covering the front speakers directly. The tea-table before the sofa is typical
for a busy man on relaxation.

So I
placed a black cloth behind and make an initial test with the backlight on.
Ahh! It should be OK. However I stretched the upper and lower ends, the sides
are loose. I know that I need to fix the sides.
So I
went for shopping for the materials to frame the 4 sides. I was thinking of
hanging down the frame from the ceiling, so I weighed the materials and compared
to the 6-kg grey screen. They weighed the same.

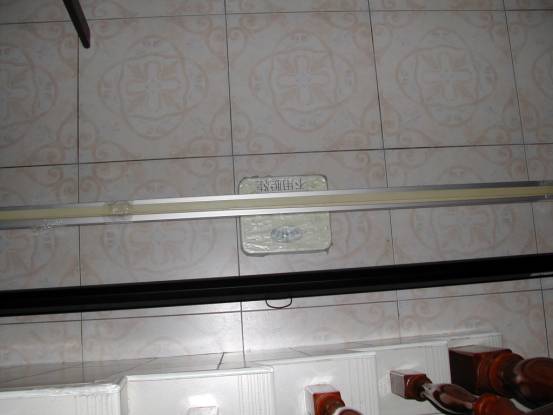
The
upper and lower sides are easy to fix.
…But
the 2 sides are stretched hard to the limit.
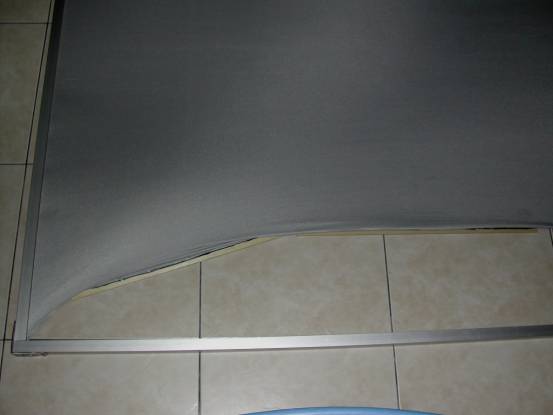
So I
have to cut down the frame size by equal amount for both length and width.
However, the aluminum frame failed to stand on itself and twisted some 10
degrees. I knew I have to make a firm wood-box stand to let the screen stand
upright straight.
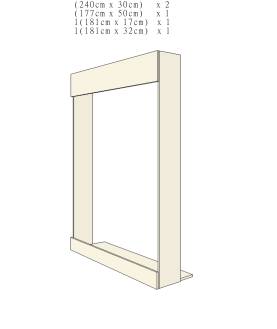
I spent another 1 day for the design and
brought along the design drawing to a plywood supplier.
|
|
|

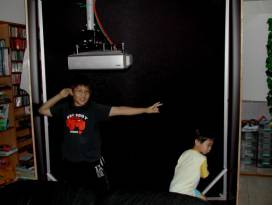
Within
4 hours of simple woodwork and with a little help from my 2 sons, I finally
fixed the aluminum frame flat into the wood-box stand. However, I did a mistake
by switching between the upper and lower face-boards (they are different in
size). The lower face-board now becomes larger but still does not cause big
problem by obstructing sound beam radiating from behind.
The
first test revealed the backlight was still translucent to the screen (look
carefully over the higher part of the screen). I had to re-visit the cloth
store for another black cloth.
Finally,
the sound transparent projector screen was completed with the black cloth
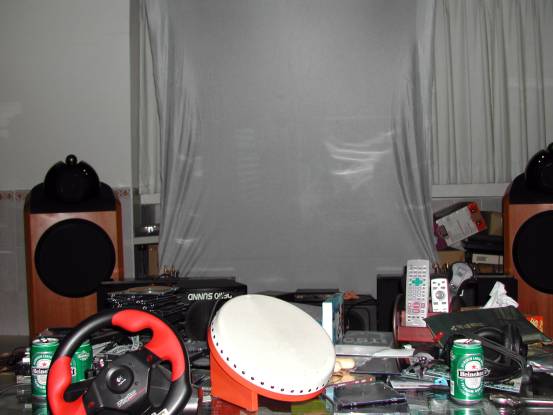
reinforcement and was put into fine-tuning. The room was tidied up now.
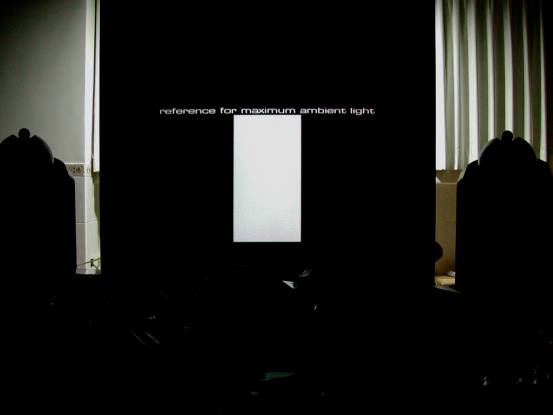
The first
calibration is the ambient backlight that was tested against the video
reference pattern from KJP’s Digital Video Essentials DVD. (http://www.videoessentials.com/index.php)
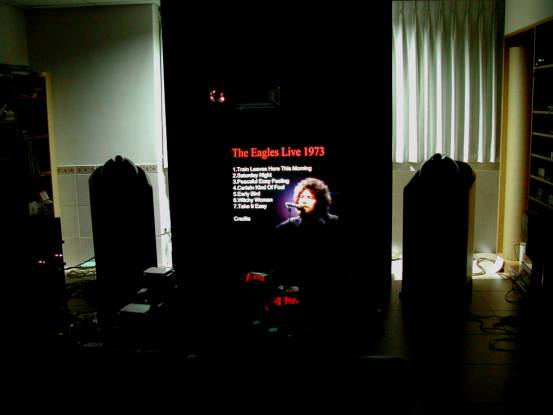
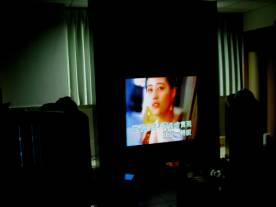
After
all the video calibration procedures were through. I tested with a bootleg DVD “The
Eagles Live 1973” 4:3 picture. My projector (Sanyo Z1 @480p) is hanged down
from the ceiling at a height of about 1.5m.
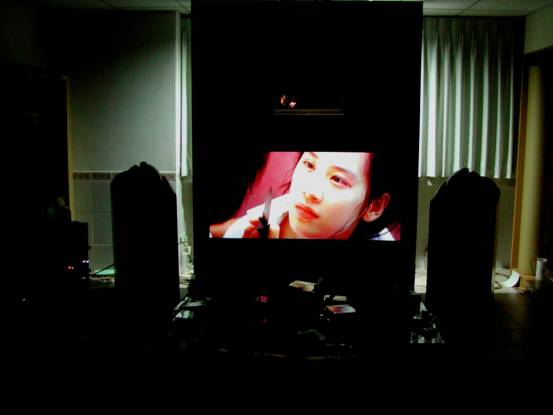
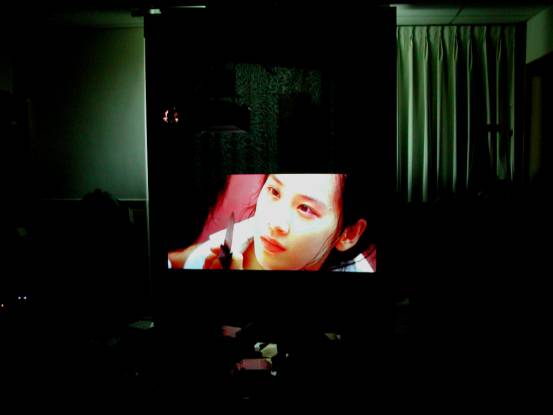
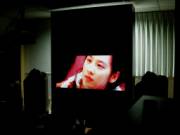
And
this is the 16:9 picture test from one of the scene of “Kung Fu Hustle”
|
|
|
|

My DIY
sound transparent projector screen is capable of presenting projection in
continuous height-level. From the left to right, the highest projection is very
unsuitable for comfortable viewing, the next higher projection is suitable for
standing view, while the mid-projection is universally fit to both standing and
sitting views.
|
|
|

The
lowest projection is suitable only for movie viewing at sitting position.
Therefore, when singing with Karaoke I need to lift the projection to a higher
position.
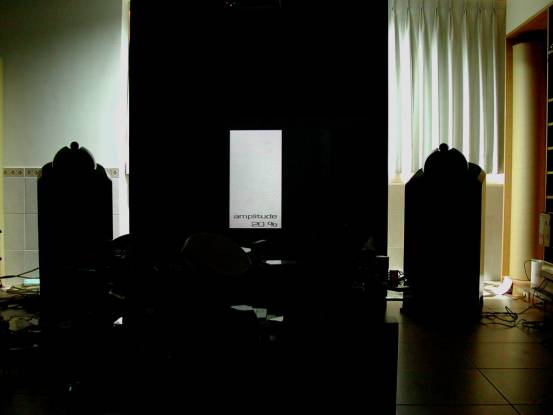
Currently
there are 2 karaoke speakers at the center behind the acoustically transparent
screen. I tested them and got perfect performance. In the end you might be
interested in knowing the cost of my DIY project. All the materials costed me
about 6000NTD but I have gained an invaluable experience on the know-how.