The start of the build and the first disappointment, the manual is very poor. Before I decided that building a kit was for me I got hold of the Westfield manual. The Tiger manual doesn't come close, if I were Tiger I'd be embarrassed to hand it out - poor pictures and diagrams, terrible text, I doubt it was ever proof read
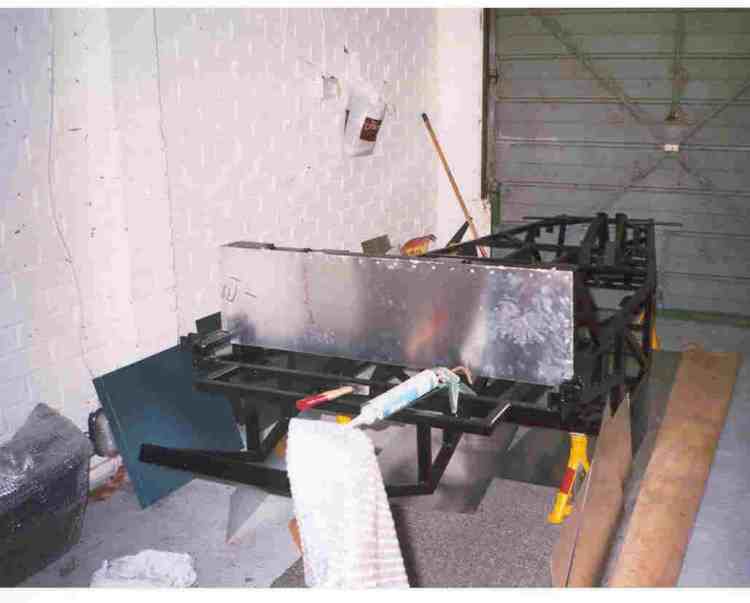
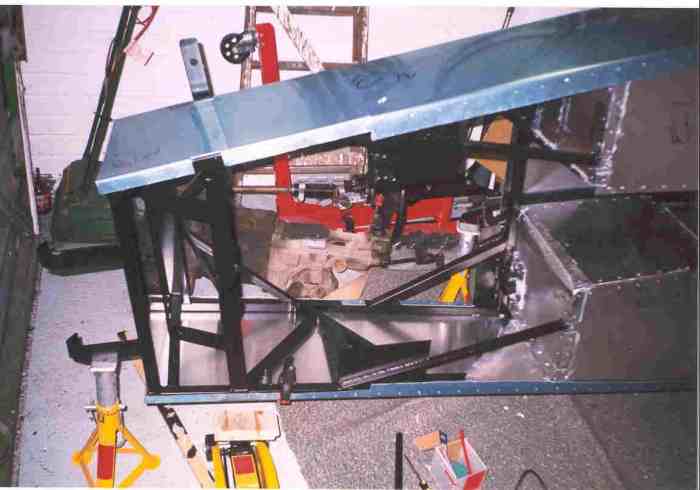
(unlike this website!!). The Westfield effort is very clear with great diagrams and clear concise text.The first thing to note was Tiger don't seem to be able to measure thing very well… left and right floor panels were an inch different in length?? The manual's diagram is very poor, here are some pictures of the chassis panelling at various stages which might help improve your understanding.
The next thing I found was, unless someone can prove otherwise, it was impossible to fully panel the chassis with the panels provided. My drivers front footwell panel just wasn't wide enough to bridge the gap, so some extra bits were rescued from the scrap bin at Tiger on my next visit
(one of many - I never see him!!).This is the order I set about panelling the chassis:
The panelling is pretty straight forward. A good pair of shears to cut the aluminium panels is a must. My main problem was being too eager, one or too wrong cuts were made because I was too keen to get the panel on. Luckily the mistakes weren't in critical places so disaster was averted. To make any cut outs in the sheets I used a jigsaw… it made short work of it, with a surprisingly neat finish.
Drills: 3.2mm drill bits aren't very strong. After a short time panelling I found that I was getting through 3.2mm drill bits at a rate of knots. It was so easy to drill through the wall of the chassis and the drill to break through hitting the other side and then snap…another bit bites the dust. I found screwfix do 50 drill bits for about a tenner…a good investment, the quality was reasonable as well… they still break but tended to break at the top of the drill thread not at the hole entry I could recover the broken end of the drill and not loose it inside the chassis or have the hole blocked
(At least he had another 49 in reserve…48…47… 46…!!). Screwfix also are cheap for silicone sealer… I went for the approach of "when in doubt, seal it… this tub will float when I've finished!" (I'm not sailing anywhere in it!!)The Tricky bit:
The tough bits were the foot well ends, especially the drivers side with the steering column to panel around. The problem is that the panel to be cut could not be offered up against the area so careful measurements were made to get a rough fit. After that the panel could be fitted (sort of) and fine adjustments made. The steering column area came out a bit of a mess, so I cut it out a square and made a second small panel as a collar to fit over it to complete the panel.
Rear inner wing panels: I could not decide how to fit these so I left it until the rear body GRP was going on before I did the job. See Bodywork page of the gory details.
.
Seat backs & pigs ears: The seat backs in the Tiger kit don't seem to be the right size. Too tall and not wide enough. This seems to be the case for everyone looking at various websites. The manual recommends fitting the panels from the outside...this looked wrong, and like most people, I fitted them to the inside of the car and added a corner piece that wrapped round to meet the side chassis member so filling a gap. If Tiger supplied a bigger piece of ally this would look much neater.
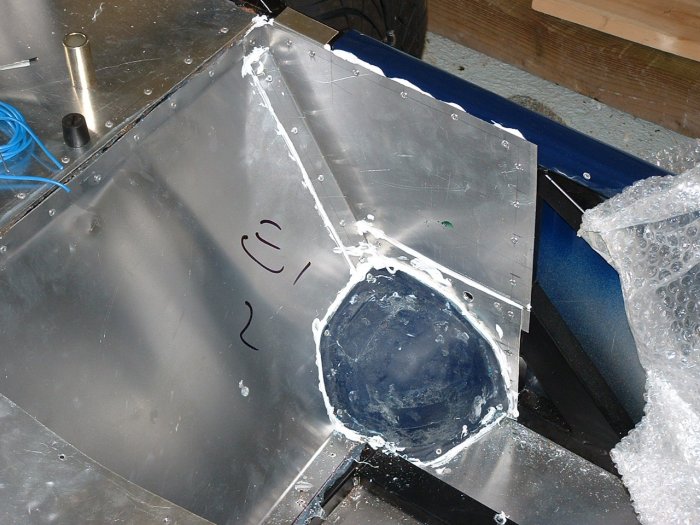
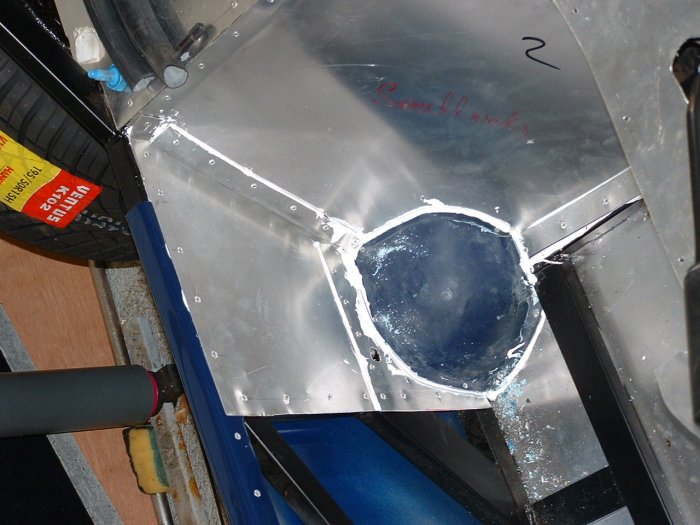
Next came the pigs ears (the funny dome shaped bits of rough GRP) that cover the ends of the suspension that intrude into the cockpit. People report having loads of trouble fitting these but mine dropped into place OK, not a great fit but as good as a lot of other Tiger bits. Plenty of sealant and a few rivets later the job was done. - see picture.