Rear Lights:
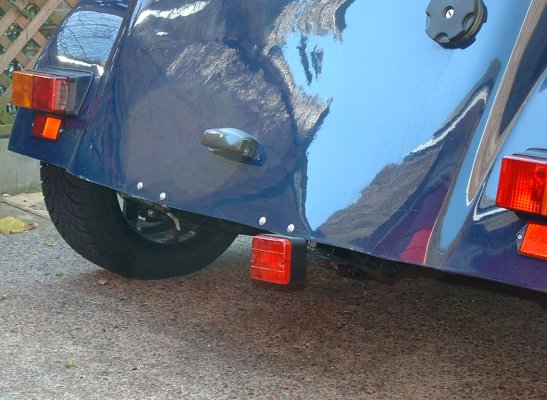
Once the rear body was fitted it was time to get the rear lights on. A lot of people don't like the square Tiger lights. Apart from them not being fantastic quality, I like simple square lights. The GRP boxes that the lights sit on aren't great, seemed to fit fine on the left side but not great on the right. I trimmed this one down a bit to improve things but I didn't want to shave too much off as the stand off height would then be different.Fitting was simple...a hole for the wires through the wing and the mounting block and the back plate of the lights. Bolt the mounting block to the wing, screw the light back plate to the mounting block then use a piece of L shaped hose as a grommet to pass through the lot. I plugged up the lights on the left and they worked first time. The right hand side was quickly finished but when the indicators were switched on things went hay wire. This was later traced to a missing earth on the lighting loom...but it took ages to suss it.
The number plate light was a simple bolt on job. The Fog light I suspended from a bracket
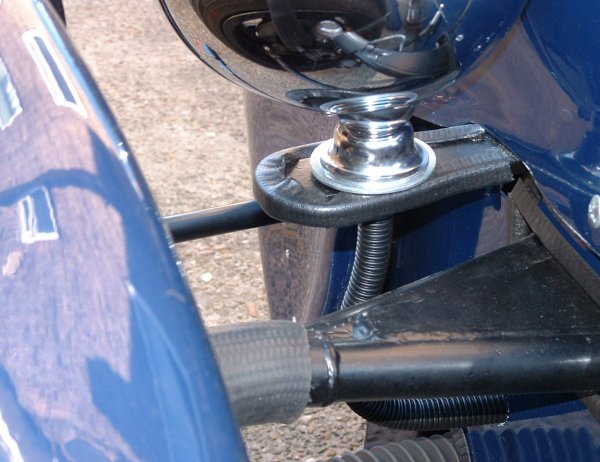
Front Lights: I used some flexi black conduit form Maplins to go from the side panels to the base of the headlights, it looks neat and helps hide the edges of the mounting nut underneath.
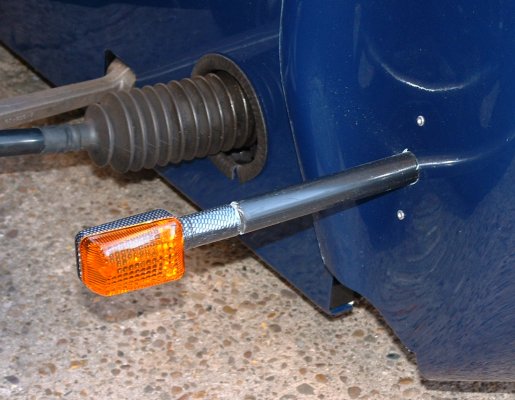
Indicators: The indicators were mounted on extensions made from rigid conduit to move them out to the required distance for the SVA man. This was done by using some "liquid metal" stuff to glue the indicator mounting nut into the end of the conduit. The other end of the conduit had a bracket riveted onto it. A hole big enough for the conduit was cut in the nose, the extension passed through it leaving the bracket inside and the indicator screwed into the end.
Testing: On wiring up I had indicators on the drivers side going mad, the headlights dimly glowing when they shouldn't... after a bit of investigation I found I had an earth missing. Once this was in place all was well.