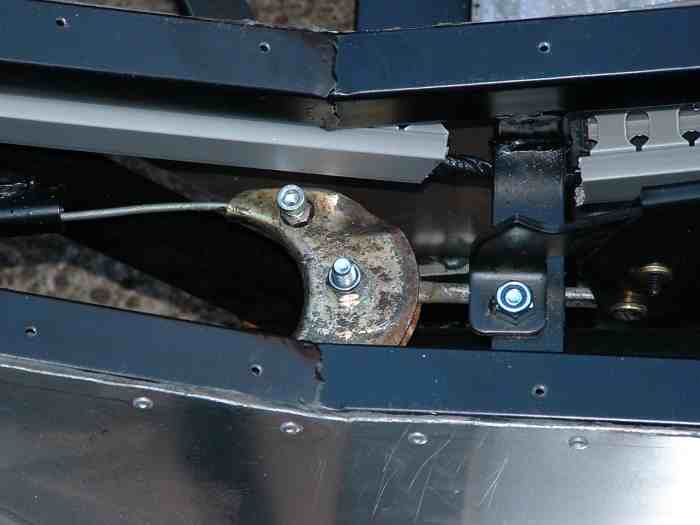
The next job was to prepare for installing the loom into the chassis. To keep the cabling as tidy as possible a bought some electrical conduit from Maplins - the sort that is U shaped, fingers along the sides with a clip on cover. I riveted this to the inside of the tunnel between the chassis members and underneath the parcel tray.
Other stuff purchased from Maplins was spiral wrap (great for keeping wires tidy), plenty of cable ties and some heat shrink tube, as I think the loom will need some "tweaking" along the way.
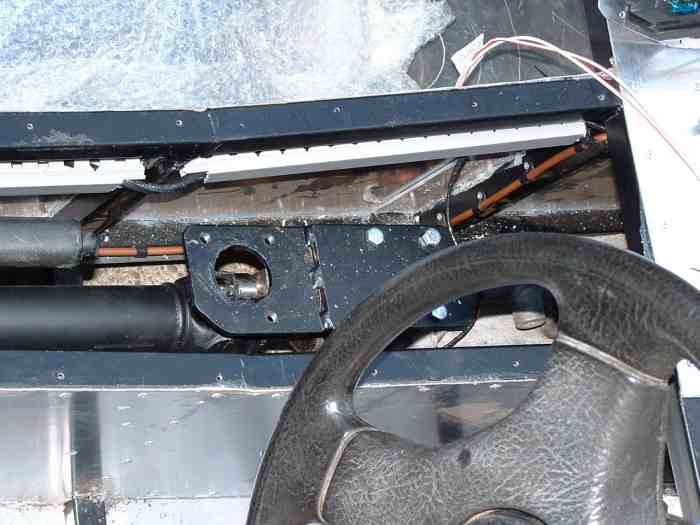
Installing: I started with the rear half of the loom as it is the simplest end. I roughly positioned the fuse box on top of the battery tray then fed the rear half of the loom down the tunnel. The lengths looked to be reasonable with the handbrake switch and reverse light switch branching off at sensible points with about theright lengths to reach the rer lights. Next I set about clipping it into my cable conduit. This worked a treat, in no time the loom was in with everything out of harms way.
I then set about the front end, feeding all the engine related bits out through the tunnel into the engine bay. This looked a bit of a mess at first. Once a few bits were routed (alternator, starter motor etc) then the rest started to drop into place. I fitted another bit of conduit underneath the chassis rail running under the carburettor trumpets to hold all the wire heading to the front of the car. It was at this point I realalised I had got ahead of myself… I hadn't cut a hole for the large wiring grommet in the battery tray. I didn't want to pull every out so I positioned the hole near the edge of the panel and cut a solt in it so I could slide the panel around the loom. Once riveted in place it will be fine.
Fuse/Relay box: Having roughly positioned the loom I realised that the suggested position of the fuse box in the Tiger manual was about right (just to the left of the tunnel to the back of the battery tray). However, I intend to extend the dash/trim down to cover the hole between the vertical dash and the horizontal chassis rail leaving no access to the fuses, but looking a lot neater. To get round this I have cut out a square of the battery tray and mounted the fuses and relay on to it, making this a drop down piece of the tray.
To be continued….