VF-1A/J/S Valkyrie Hikaru type
"Ultimate Banpresto"
VF-1A/J/S Valkyrie Hikaru
type
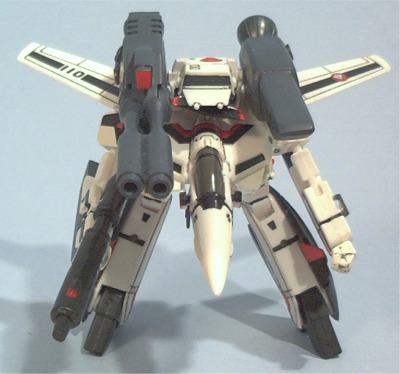
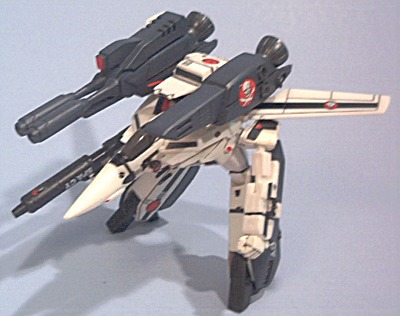
Fighter Mode
Basic Fighter VF-1A
Super VF-1A
Strike VF-1S
Front/Top Side
Side
Front/Top
Left Top
Right Front
Gerwalk Mode
Basic VF-1A
Super VF-1A
Strike VF-1S
Side/front
Front
Side
Front
Side
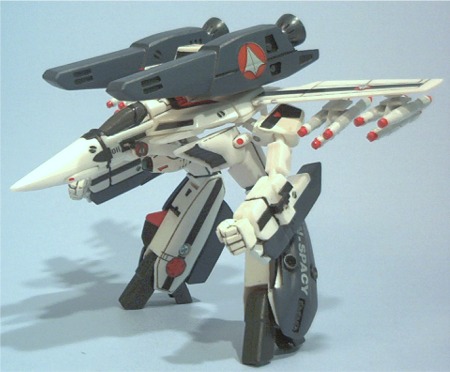
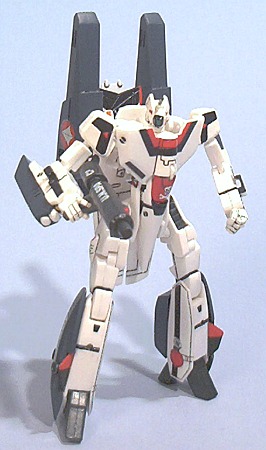
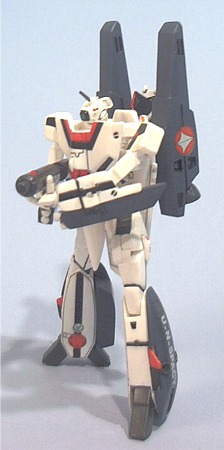
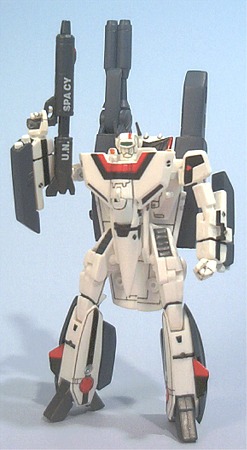
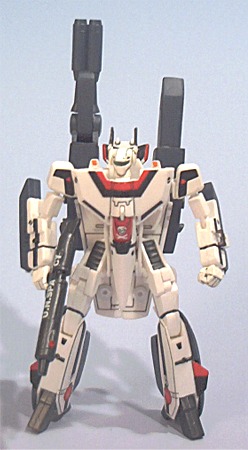
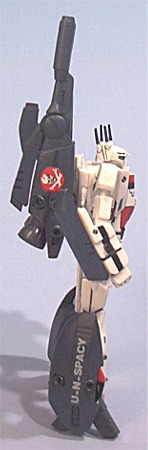
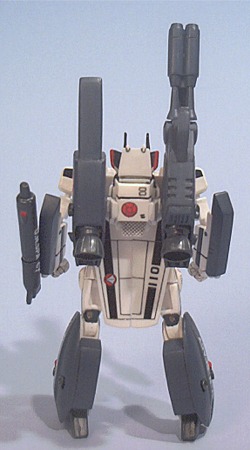
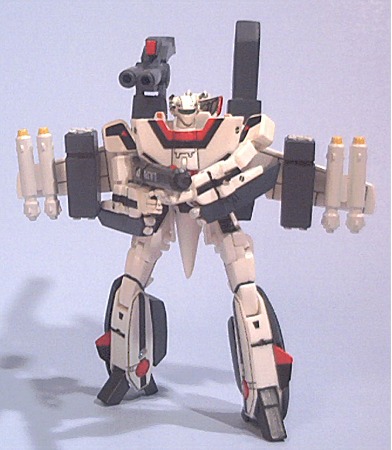
Battroid Mode
Super VF-1A
Strike VF-1J
Strike VF-1S
Pic 1
Pic 2
Pic 1
Front Side
Back
Pic 5
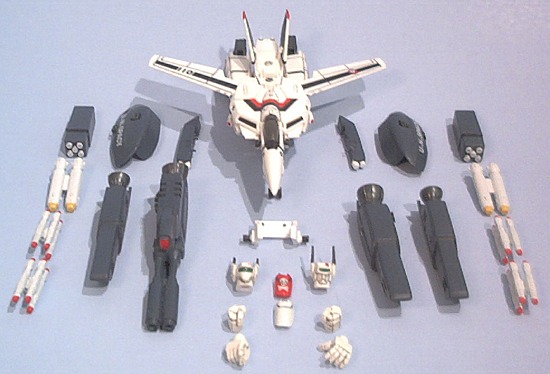
I never thought my old, beat
up, broken in too many places, Bandai 1/100 Super/Strike VF-1S model would be of
any use to me again, until a post on the Macrossworld forum gave me this idea.
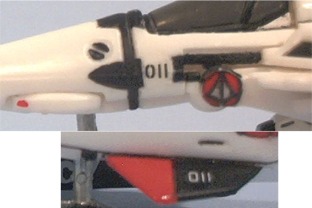
Before I even began all the modifications, however, I added some needed detail
to the Valkyrie itself. The black stripes on the nose were painted on, as well
as a small U.N. Spacy logo on the swing bar, not to mention all the verniers
painted in, some numbering decals added, and of
course all panel lines inked in. Then the hack and slash job began.
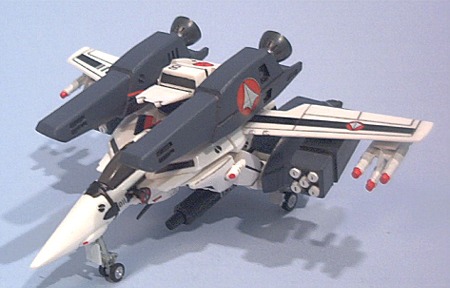
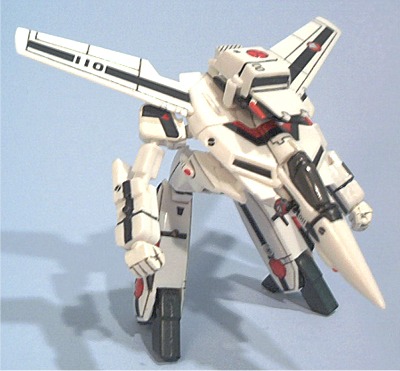
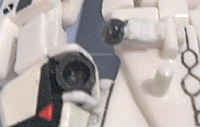
First of all I added the landing gear, simply drilling holes in the appropriate spots for attachment. Next, the heatshield was done by fairly crude theraform (heating a piece of clear plastic over the stove and pushing the canopy thru). I made two, since I thought a white one would look better with the J head. After that I did some work to the gunpod mount so the pod would sit flush against the arms in fighter mode, allowing the landing gear to actually touch the ground. Something also needed to be done about the shoulders, they were way too loose, and just not of very good design. So I removed a chunk, and added a new rotating ball joint , it makes the arm much more sturdy. Next up, the armor
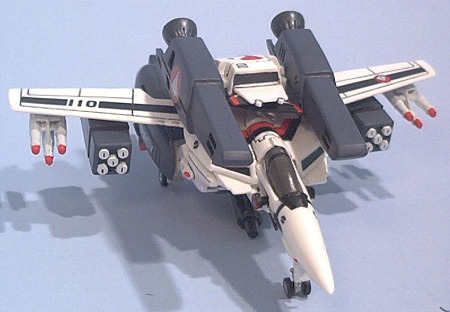
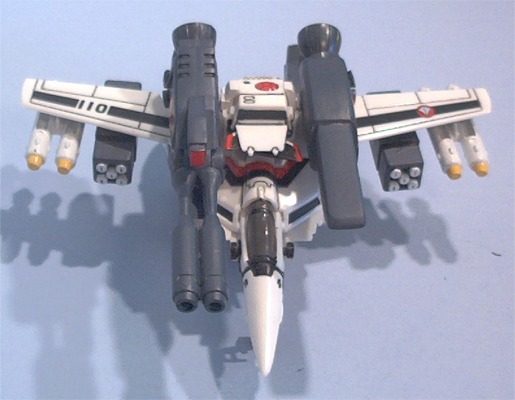
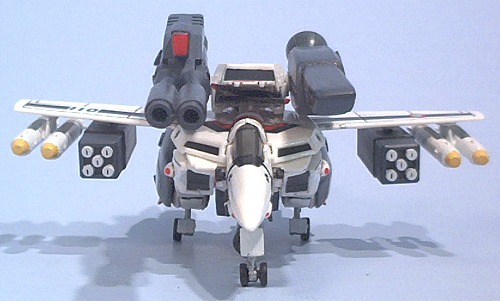
After removing the armor from the old 1/100 kit, it had to be resized to fit on the smaller Banpresto toy. Simple in theory, but not so much in practice. Some new verniers were added to the leg armor and Strike boosters as well. To mount the reconstructed armor, I used simple peg-and-hole attachments for the arms; for the legs, a peg on the side and a tab on the rear (slides in above the foot); and built a mount for the boosters. This mount slides over the tail assembly/backpack and allows either set of boosters to attach. Finally, for the missile attachments, I just removed them from the model's wings and glued them on.
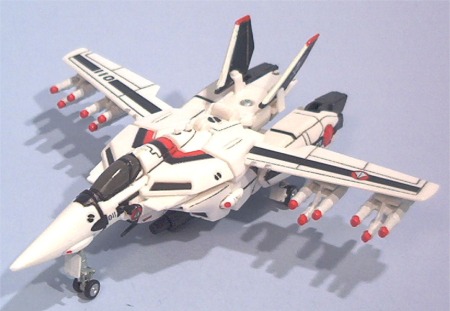
And there you go, the "Ultimate Banpresto" Valkyrie, with 3 heads, 3 types of missiles, 2 heatshields, 2 sets of hands, armor with 2 types of boosters, and landing gear :)