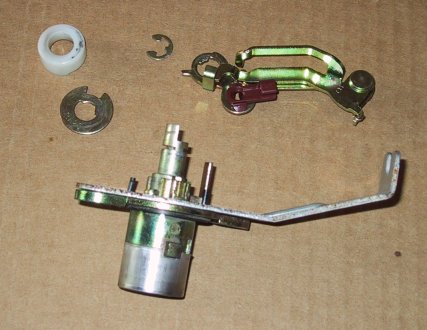
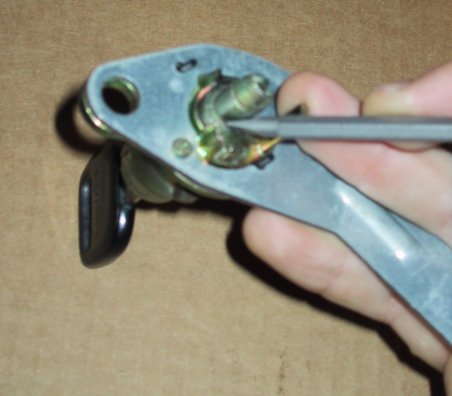
Remove the C-clip from the long lock cylinder, and remove the washer, spacer and cable mechanism. Now the long cylinder should be in the same condition as the short one.

Step 1: Setup
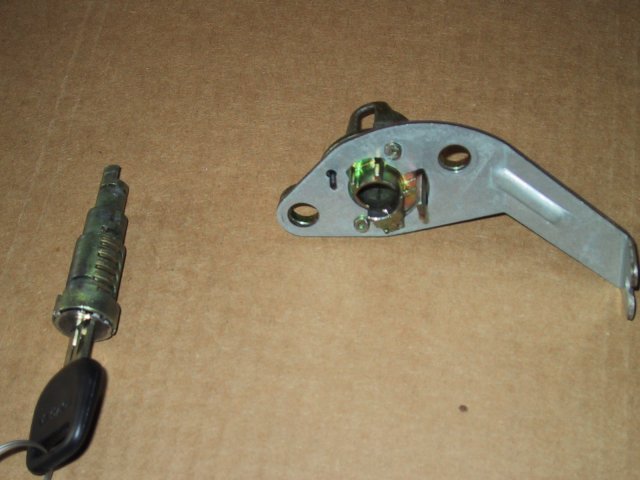
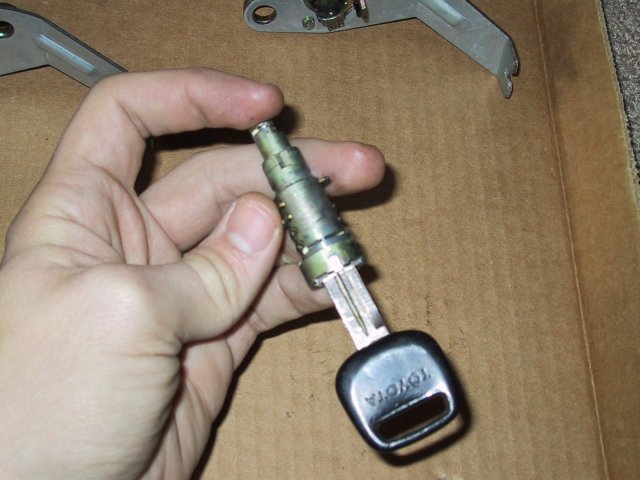
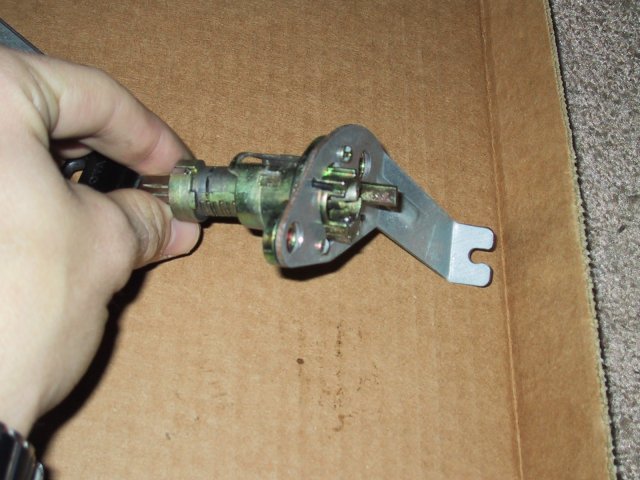
Place both lock cylinders, both keys, needle-nose plyers, and flathead
screwdriver in front of you. Choose a clean area, because there are
many small parts that may 'jump' away from you, and you will need to be
able to find them.
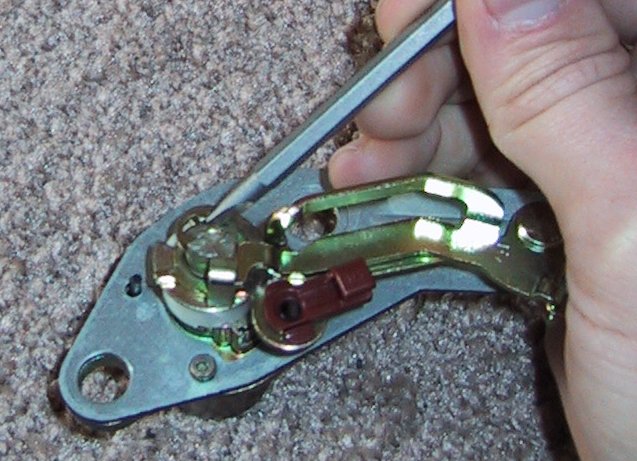
Step 2: Remove Cable Mechanism
Remove the C-clip from the long lock cylinder, and remove the washer,
spacer and cable mechanism. Now the long cylinder should be in the
same condition as the short one.
Step 3: Removing the Front Cap
Pry up the edges of the front cap, where they hold onto the lock
cylinder.
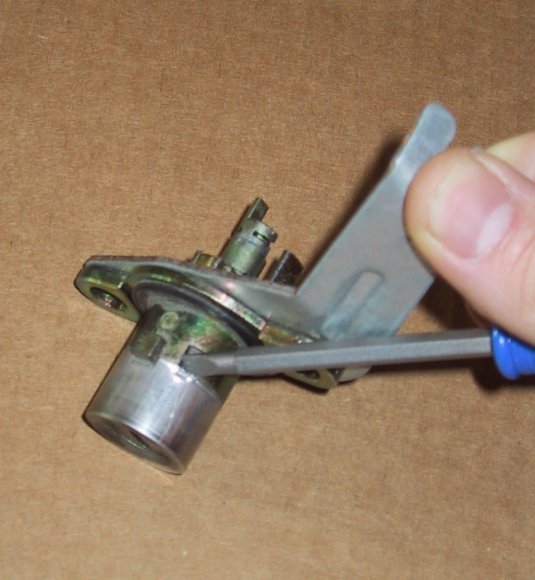
Once these two areas are pryed free, slide the cap off the
lock cylinder and set it aside.
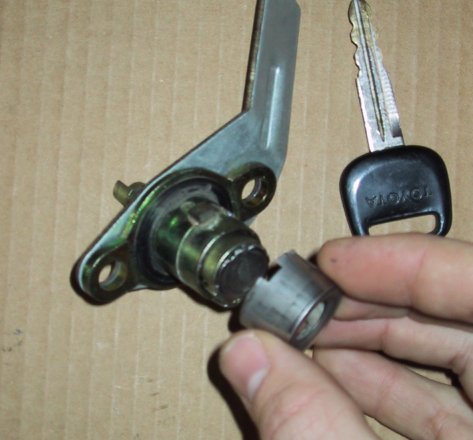
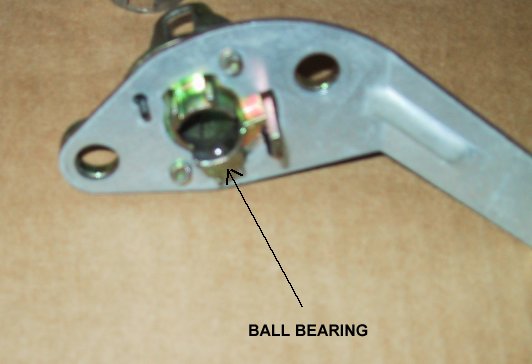
Step 4: Removing the Cylinder
This is where it gets tricky. Place the key into the cylinder to
retract the pins.
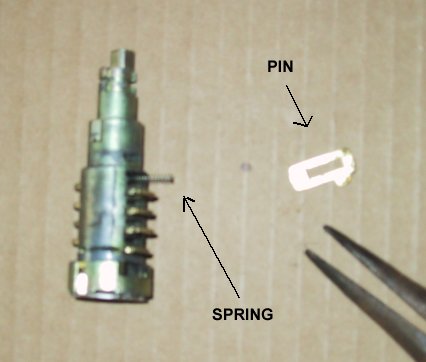
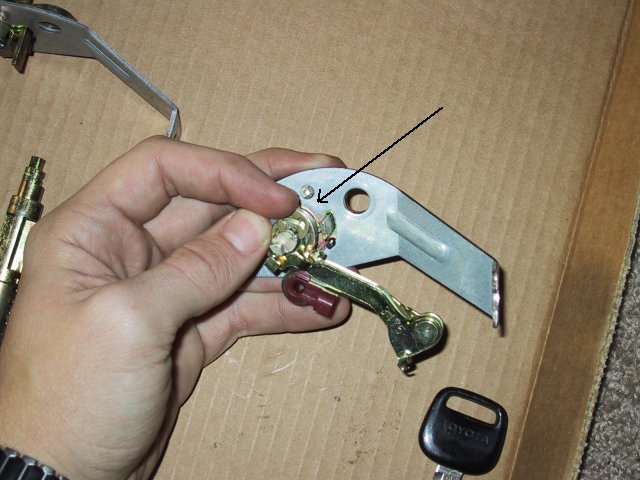
Slide the cylinder out slowly. CAUTION: There is a tiny ball bearing
that makes the click when your key is centered in the lock. It will
try to fall out when you remove the cylinder. Take note of where it
is in the picture below, and try to keep it there. If you keep it in
the hole where it sits, the grease will hold it there.
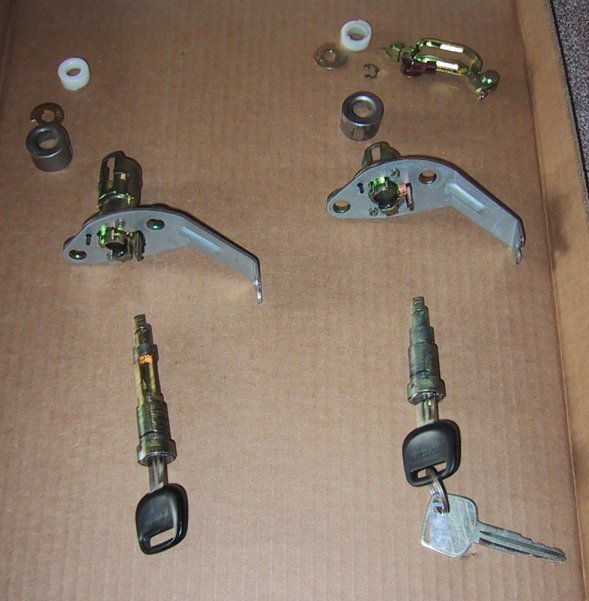
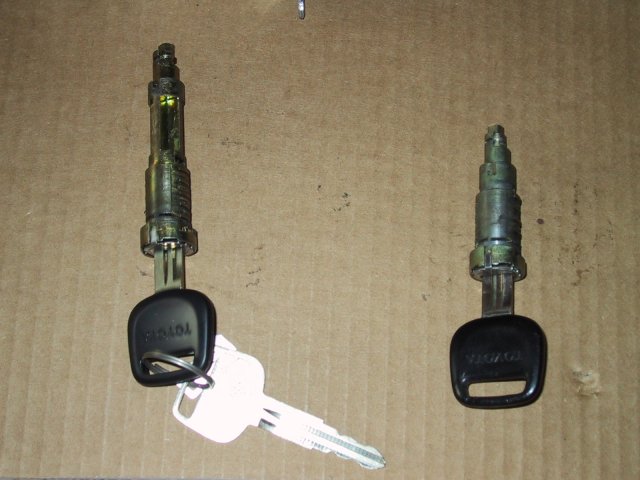
Step 5: Preparing to Swap Pins
Complete the above steps with the other cylinder, and set them side by
side. You will need to follow these next steps without interruption.
If you get the pins mixed up neither key will work in either lock.
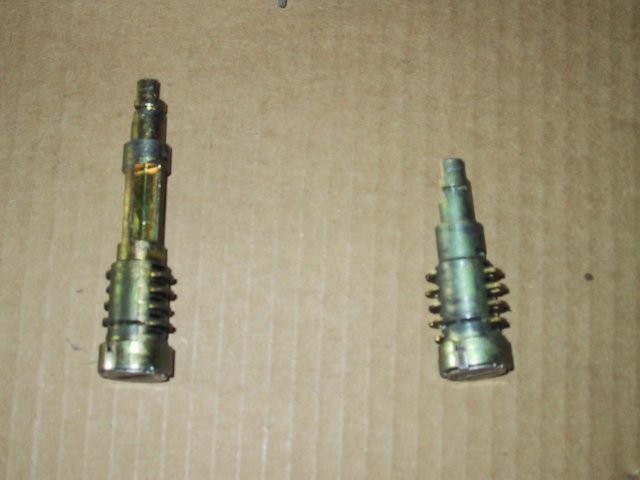
Step 6: Swapping the Pins
Remove the keys from the lock cylinders. Do this carefully. The pins
will extend, but be sure they do not shoot out of the cylinders. (They
are spring loaded)

There are five pins on one side, and four on the other. Make sure that
the same side is facing up for both lock cylinders.
Starting at one end of the short cylinder, remove a pin. Set it down
next to the cylinder. Remove the same pin from the long cylinder, and
insert it into the short cylinder without setting it down. Then pick
up the pin from the short cylinder and insert it into the hole in the
long cylinder again. You have just changed one of the pins.
Systematically continue this operation until you have changed all the
pins. Remember, the pins are spring loaded, and the springs will try to
escape. If one comes out, simply place it back into the hole next to
the pin-slot from which it came.
Step 7: Inserting the Keys
After you have swapped all the pins, carefully pick up one cylinder and
insert they key. Remember, the other key should fit now. You may need
to press the pins in slightly by hand to fit the key, as they are farther
out than normal.
Step 8: Inserting the Cylinder
Take note of the groove on the side of the cylinder. This groove will
fit over the ball bearing mentioned earlier.
Slide the cylinder into the housing, aligning the groove with the ball
bearing.
You may find it necessary to press down on the ball bearing with a
flathead screwdriver in order to get the cylinder all the way in.
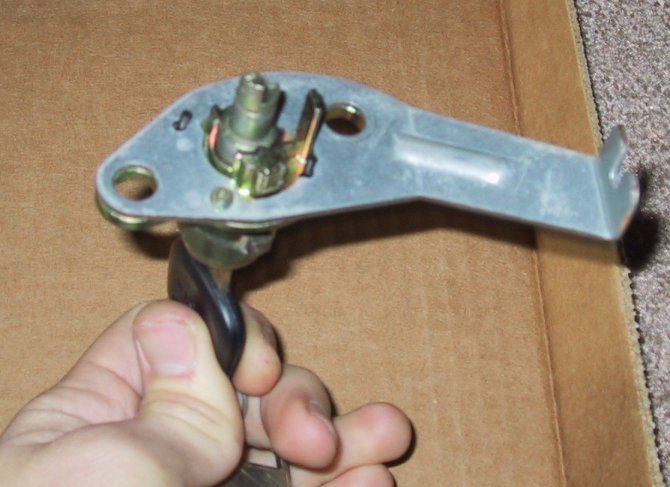
Step 9: Reassembling the Lock
Reinstall the front cap onto the lock cylinder.
Press the areas down where it holds onto the lock cylinder.

Install the white spacer and the metal washer onto the short lock cylinder.
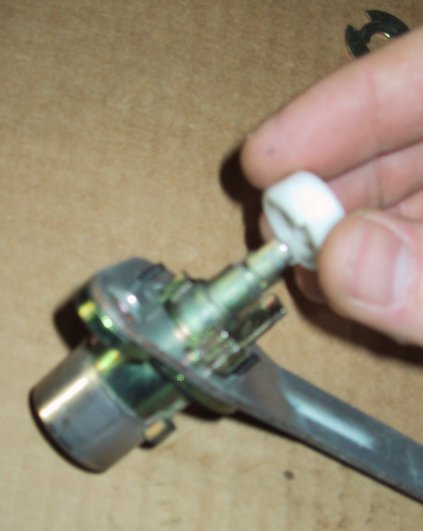
Install the cable release mechanism from the long cylinder onto the short
cylinder, and secure it with the C-clip. This will familiarize you with
what must be done with the long cylinder once you are back in the trunk.
Last updated December 15, 2001