Cage Construction

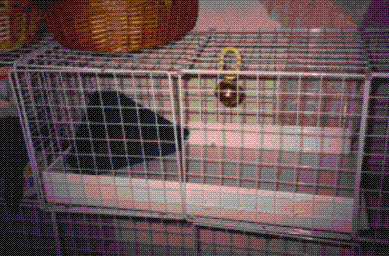
This is the top floor (and the infamous bell used to wake up mom!) The panel on the left is a door and is not closed properly, that's why it is not lined up.

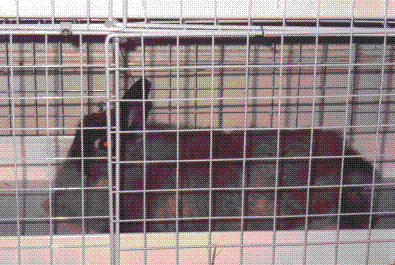
This is the life.
How I made Sam's new home I used Creative Cubes, which I got at Costco. They are the wire mesh panels which go together with little plastic connectors to form milk crate-type cubes. But, don't use the connectors. You will get very frustrated and your bunny will hear all kinds of bad words! I used nylon cable ties to put the panels together. You have to loop the ties around in sort of a figure-8 pattern and pull them really tight, but it is very secure. I did use the connectors to hold the panels together while I put on the cable ties. I bought 3 boxes of cubes, each box was $14.99 and had enough to make 6 cubes. I only used 2 1/2 boxes. I made the cage in 4 sections, each floor is one section and the storage cube is a separate section. Then, when I got everything into place I used more cable ties to secure the sections together. The top floor has one door, each of the lower floors have two. The doors are attached at the bottom so they flip down and right now are being closed with a piece of twisted wire until I find something better. The floor is a piece of PVC paneling that I got from Home Depot. They call it ".090 FRP Wall Panel" it is made by Sequentia and the model number is 1200-77096. The Home Depot item number is 1211-586. I am giving all the specifics as it was the hardest part of the cage to find. It works great, it is very easy to wipe off. Sam really loves the slick surface, but I put some shower tread strips on the edge where she jumps down between floors so she doesn't slip. Notice there are no ramps, she jumps between floors with no problem. After all, bunnies are made to jump and each floor is only 14" high. Finally, the "molding" that comes up the sides is PVC gutter, cut in half lengthwise. This makes an L-shape when you look at a cross-section. The floor goes on top of the bottom part of the gutter and I drilled holes in the upright part of the gutter and tied it to the wire mesh with wire to keep it in place. |