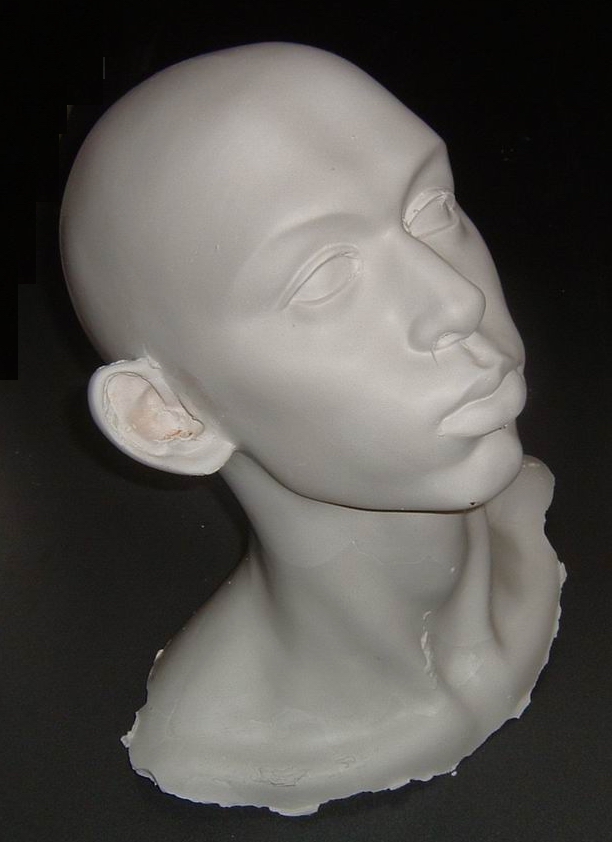
1.jpg |
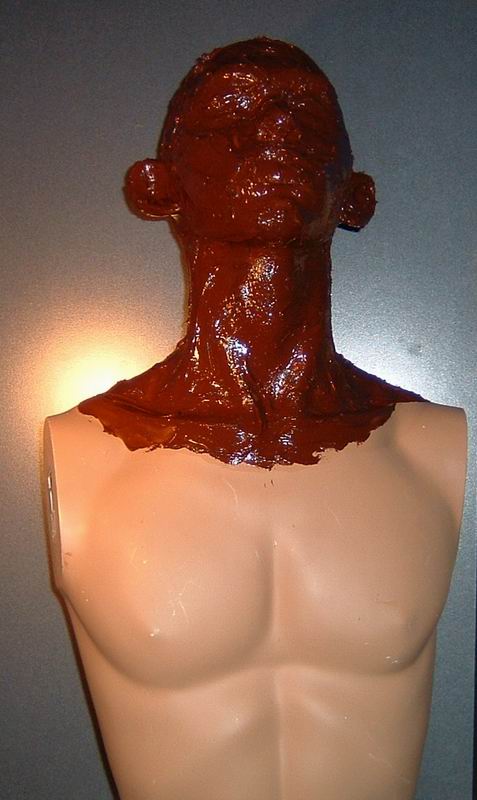
This picture is showing the head with separating agent
which makes it glancing |

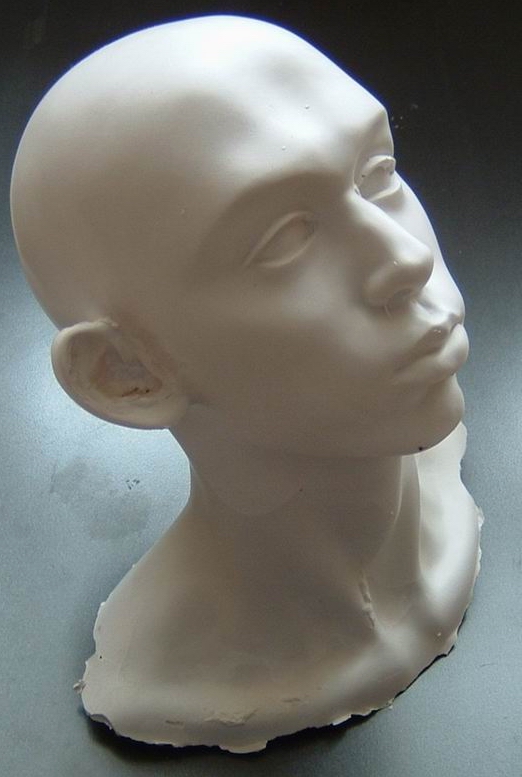
2.jpg |
This picture is showing the first thin layer of brown
silicone |
|
|
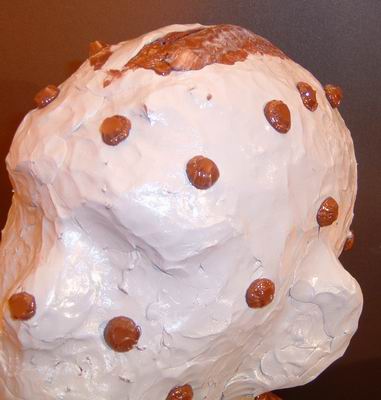
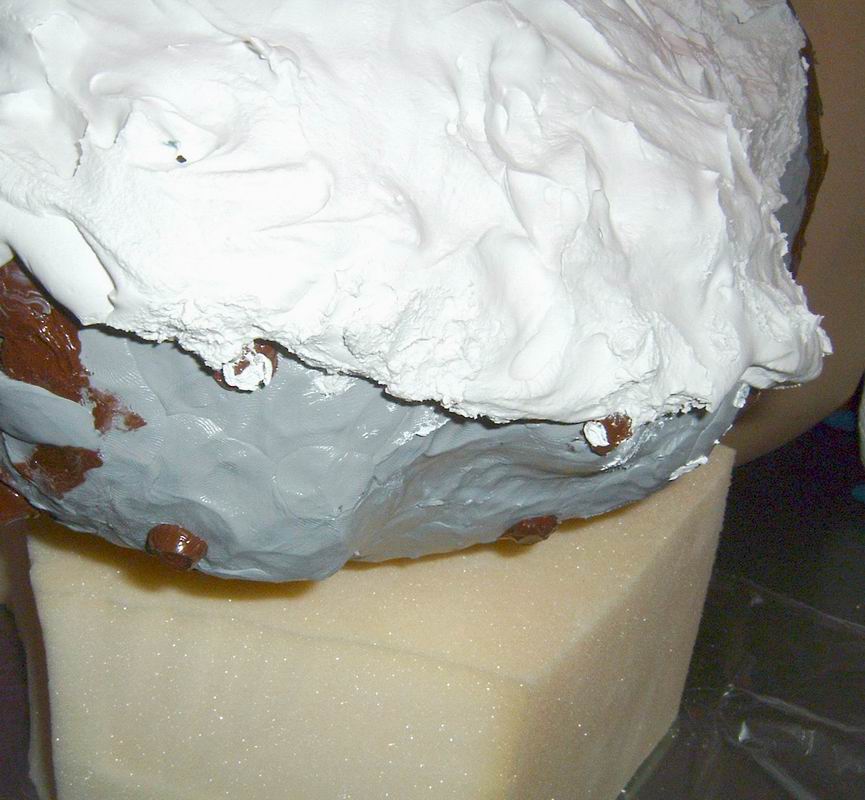
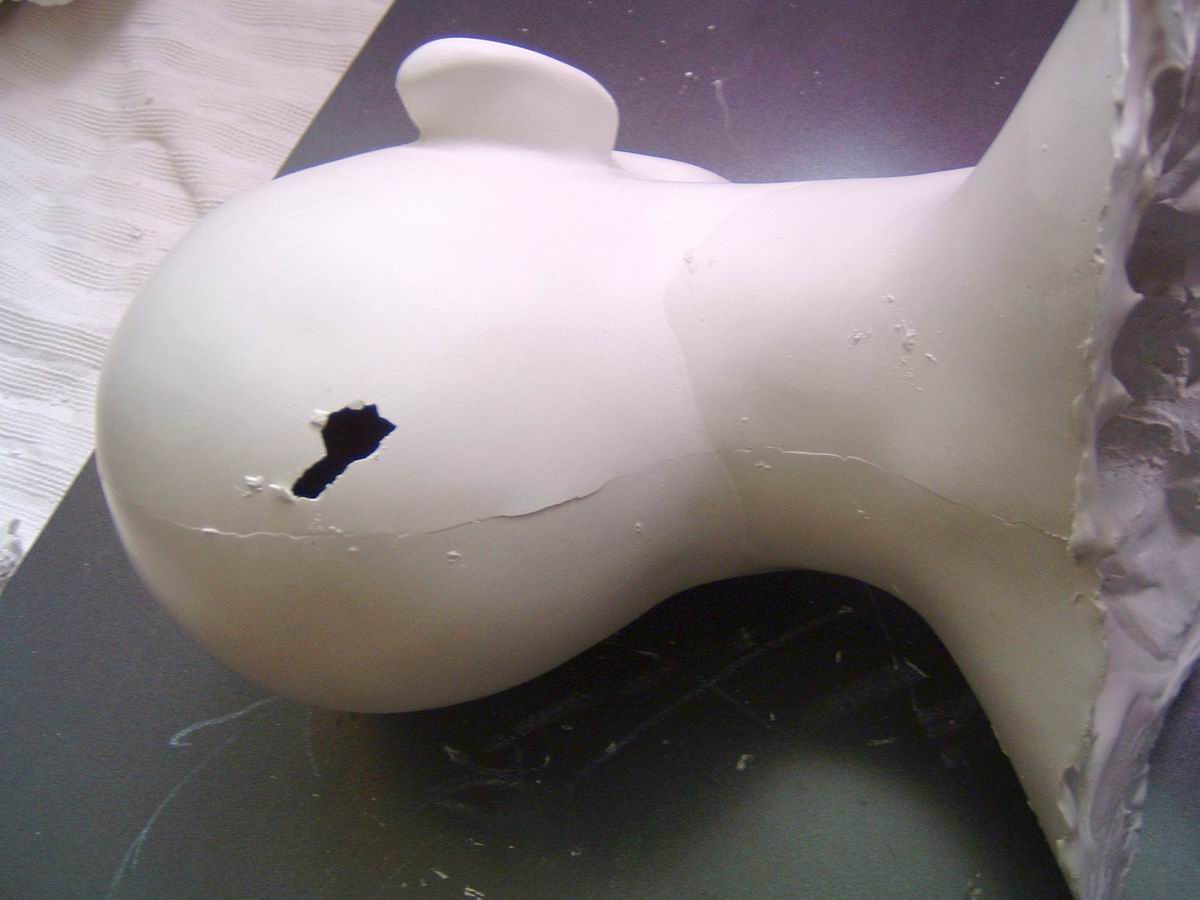
This pictures (3+4)are showing the 1-2 mm thick layer
of grey silicone |
|
|
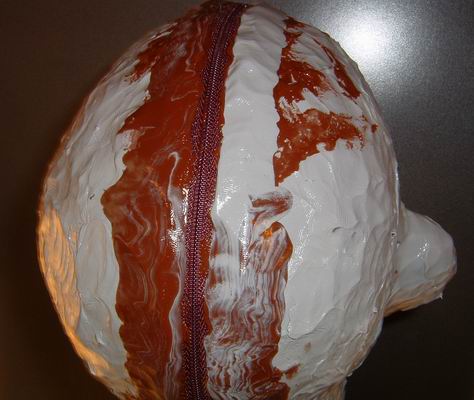
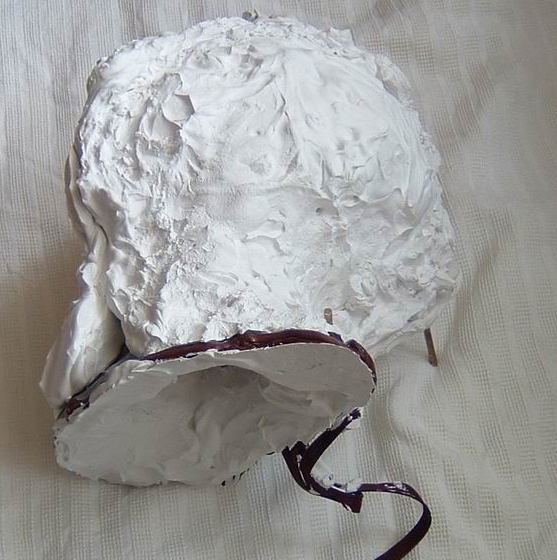
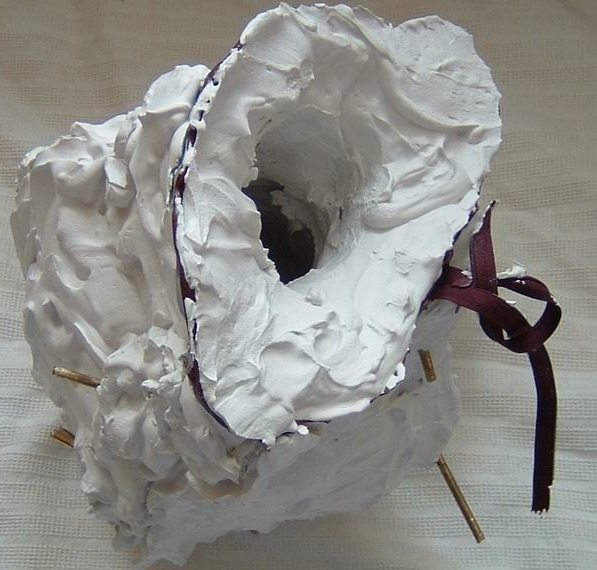
To get the silicone off the mold, it has to be cut from
the top of the head till the bottom of the backside of the neck. This
seam is is the only one that will occur. To minimise this seam, I
incorporated a zipper. The zipper can be opened and then the cut will
take place at this line. Hopefully, the zipper will make it very easy
to join the silicon borders togethter and reducing the seam to a
minimum. |
|
|
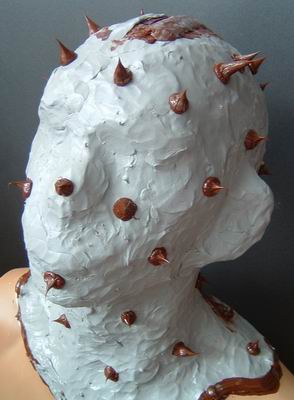
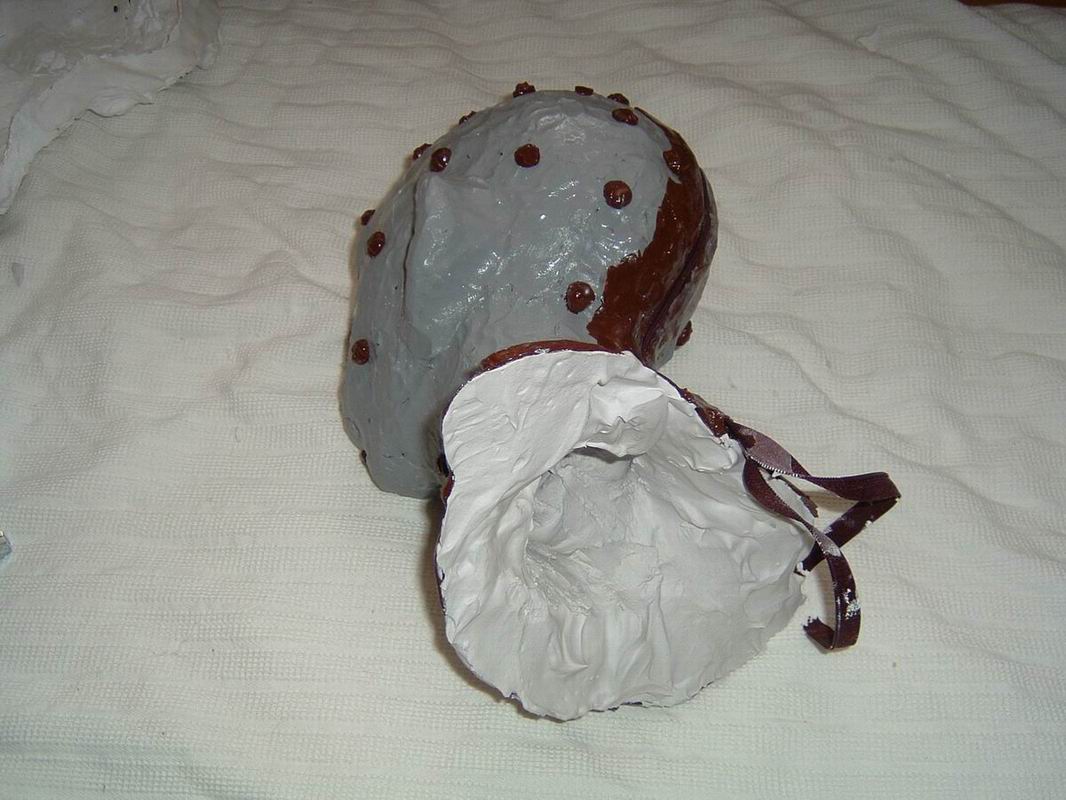
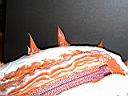
These picturs are showing the nipples on top of the
surface. The spike will be cut in the next step. |
9.jpg |
|

10.jpg |
Here you can see the cut nippels. |

11.jpg |
This is the mould after the separation form the
mannequin's head. |
|
|
Making of the outer plaster to sustain the flexible
silicone mould. |
|
|
After filling the interior with plaster, the outer
plaster was removed. |
|
|
The final plaster head. The right picture (21) is
showing the small seam at the backside of the head. |