| .... |
| ...................................... |
| .PEARSON ....35 |
| S/V SANITY |
| Follow the saga from "dream sailing" this classic 1973 Pearson 35, Hull #245, in the backyard, through its refitting out, and its first taste of wind and water in years. |
 |
| The first look, after 10 minutes of looking the deal was made. Now we had to make plans to move the S/V Sanity to her new location, located at Riverside Marina in Fort Pierce, Florida. |
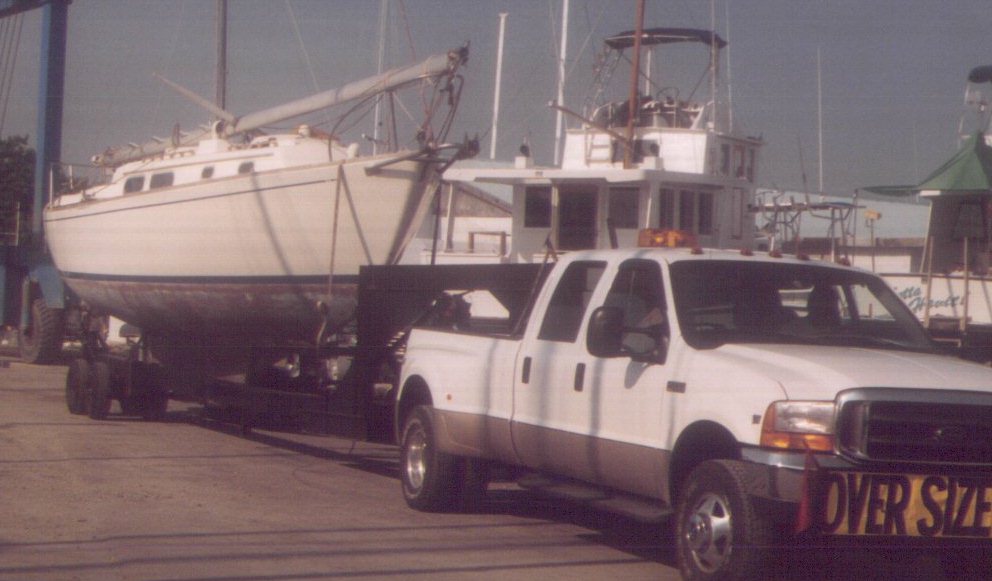 |
| Well, after a few quick calls we were able to arrange a mover, and off it was to the shipyard to start her overhaul. The mover was right on time, and arrived on schedule at the shipyard too! Cost for the move of 50 miles, Jupiter to Fort Pierce, came out to about $10.00 per mile. |
 |
 |
| We started working a few major projects right away. While my wife started working on the bottom I started to pull the old aft bulkhead out (which was dry rotted), The bottom on the other hand showed only minor blisters which we ground out and repaired. .......... ........ ..... |
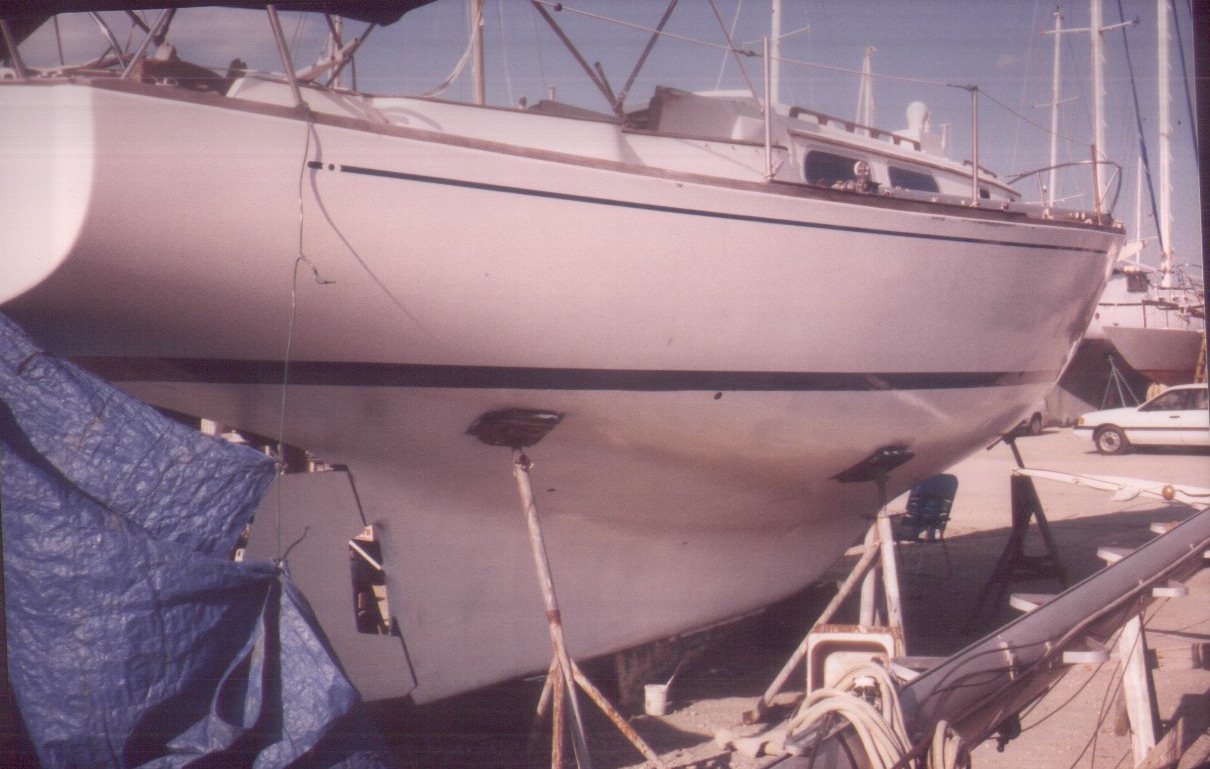
| All blocked up and ready to start work. We put the bimini up to give ourselves a place to hide from the hot Florida sun while we are working. Note the mast next to the boat ................. .................... ................ .......................... ..................................... |
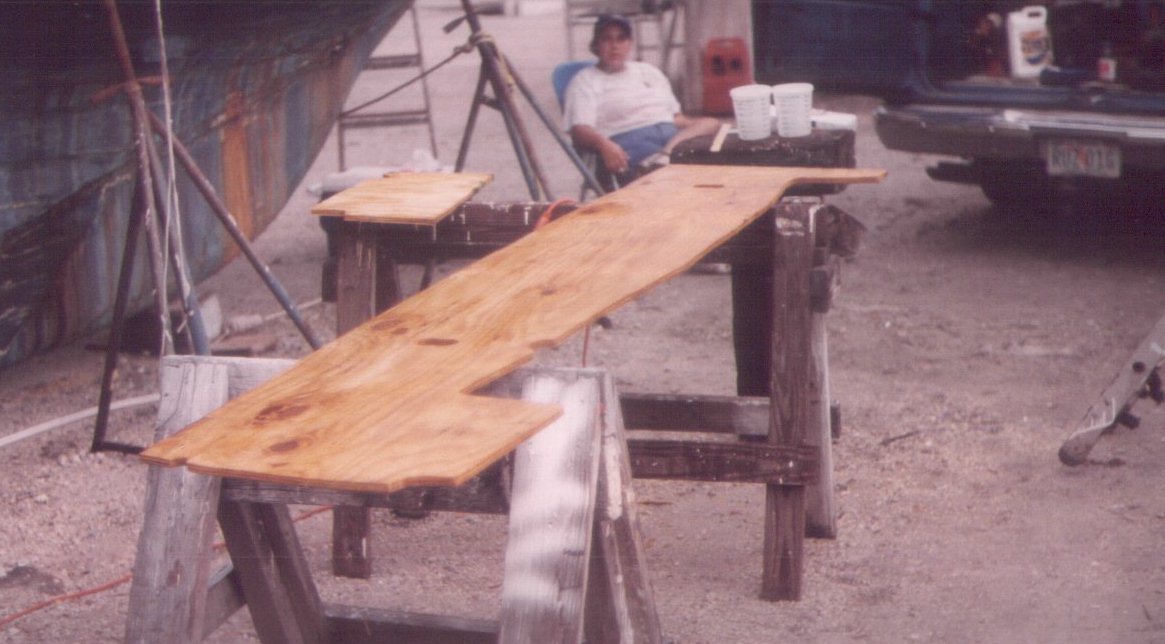 |
| The new bulkhead was made from 5/8" marine plywood, coated with two coats of epoxy sealer. We used the old splash board from behind the sink as a pattern to cut the new one. The bulkhead was made in three pieces (10' in total length) in order to fit it in place. ........................ |
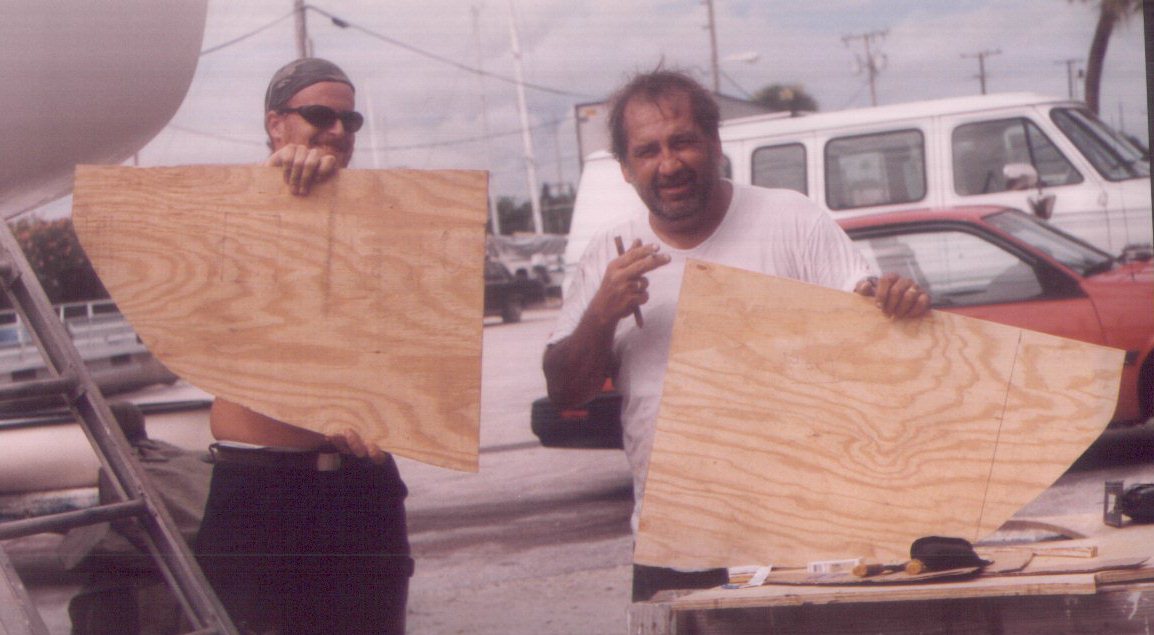 |
| The bottom panels were made by "trial and error", using a cardboard box to make a template, and after several tries, we came up with the right curves to fit snugly in place. These pieces too were coated with 2 coats of epoxy sealer prior ro being installed. |
 |
| After being installed, which is quite a job in itself, each board was fiberglassed in place. A "doubler plate" was glued and screwed in place where the boards met each other, making them one piece again. This is the same system that was in place when I bought the boat. ................... .................. ................. |
 |
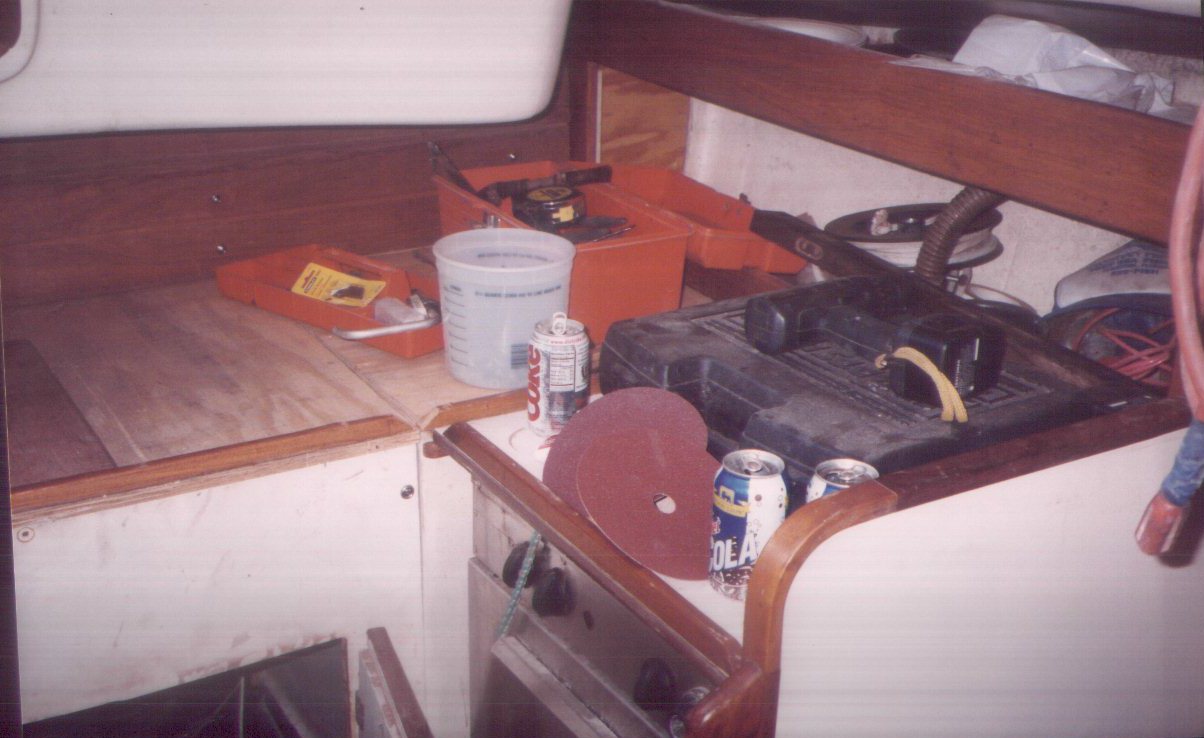
| Since the bulkhead was coming out, and the counter tops were in poor shape also...out they went. Again 5/8" marine plywood was used to rebuild them. The "ice box" seen here will be divided into two sections, one for frozen foods, and the other for every day items like soda. |
 |
| The port side storage locker will receive a new counter top too. Notice the new support bracket, it will support the new center counter top which will be removable to access the engine compartment for engine work. We will be installing a Westerbeke 40hp fresh water cooled diesel. |
 |
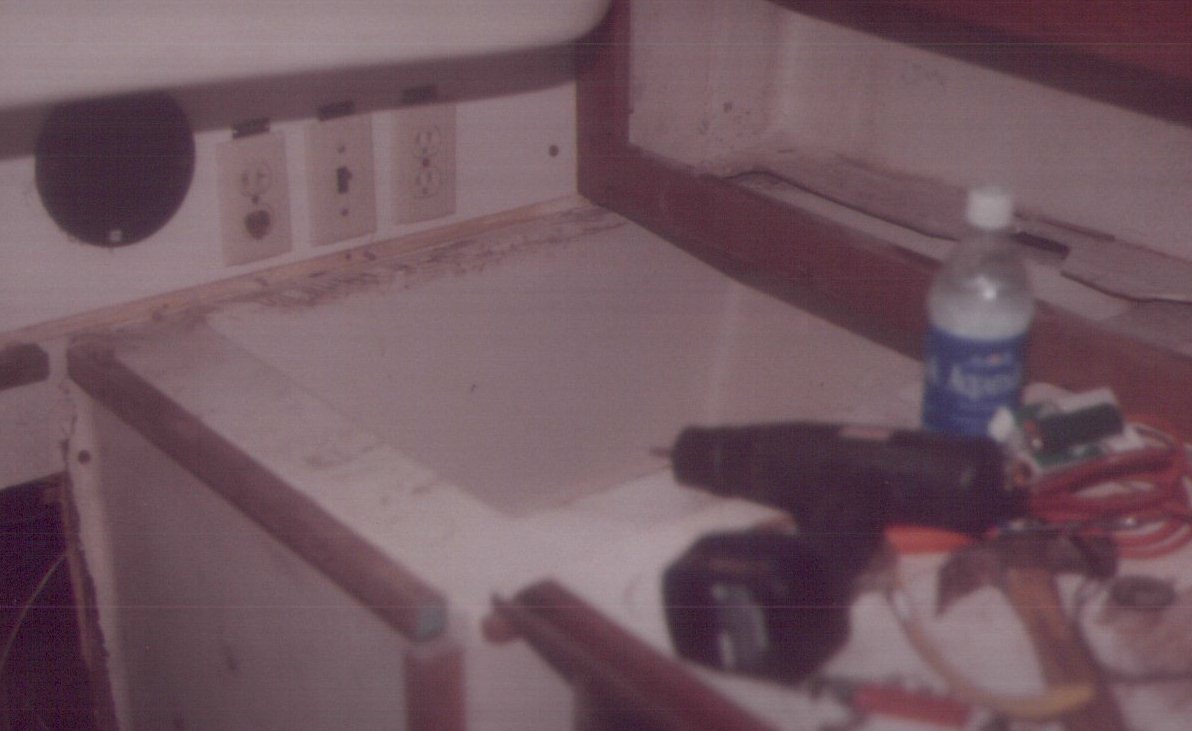
| With the new bulkhead in place, finished off with mahogany, the "roughed" counter tops were installed. On the left are the two ice box hatches, and the oil skin locker, On the right you can just see the seam where the center section now comes apart. The sink has not been installed yet. Two 110v electric boxes are also going to be installed. |
 |
| You can see the seam between the portside storage locker and the new section of counter here. The new section is mounted to the aft bulkhead by way of 4 carriage bolts with wing nuts, and can removed in about 5 minutes to access the engine. By disconnecting the sink and water lines you can access the engine from the top. |
 |
| As the work progressed inside the cabin, so it too continued on the hull, Jodie (my daughter) is just finishing removing the paint off the bottom, so that a epoxy sealant job can be done. A total of 4 coats of epoxy will be applied to seal the hull from water. .................. ................ |
 |
| Four coats of epoxy later. |
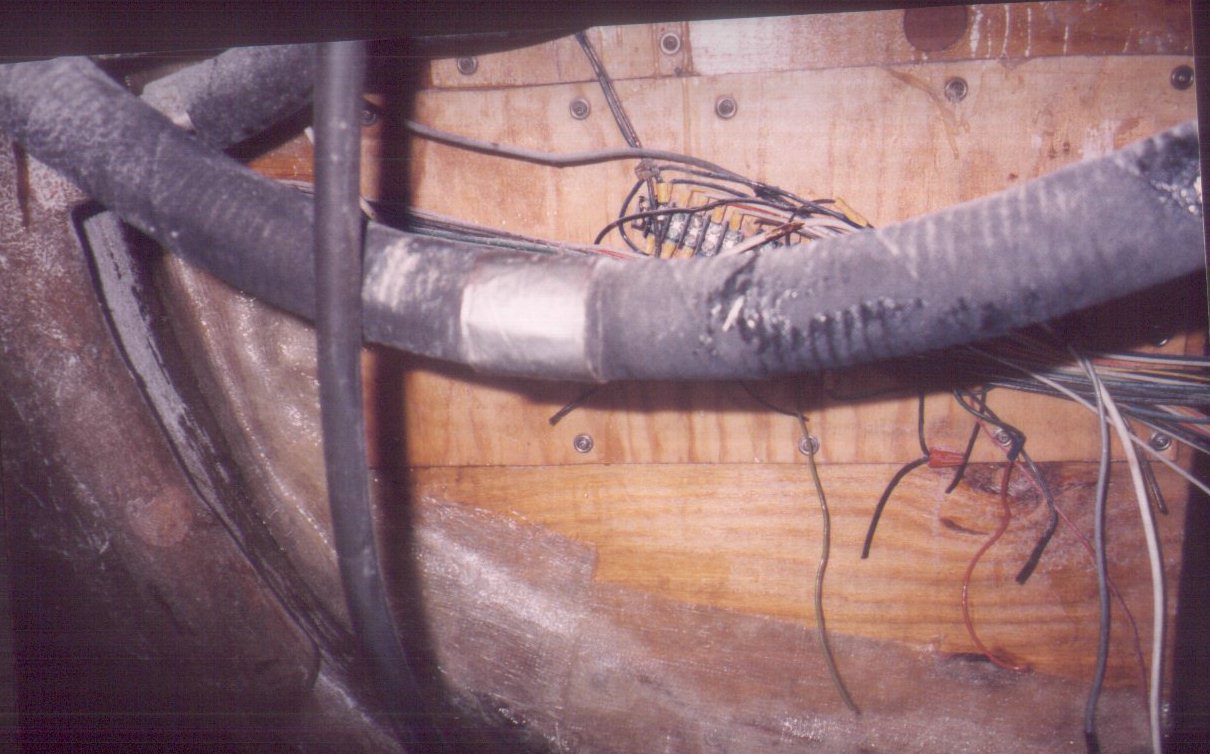
| The work continues, with the following projects still to be completed: 1. Rewiring the boat 2. Updating the water system 3. Installing the engine 4. Iinstalling new fuel tanks 5. Stepping the mast ... |
 |
| To send me comments or suggestions just click on the sail boat. |
| Pearson owners are recommended to try out the links below : |
 |
 |
 |
 |
 |
| Click on Pictures to see Enlargments |