AEM CAI: When installing the AEM, be sure to check for clearance at all possible areas where the piping could rub and hit against. Some of the more common places are the upper strut bar, A/C lines, coolant bottle and the frame where the pipe goes into the fenderwell. Most of these can be adjusted simply by loosening the clamps and moving the tube around. For the coolant bottle you can bend the bracket that holds the coolant bottle back some to give you more space. I used a zip tie connected to the rubber part where the AEM attaches to the body near the coolant bottle and A/C lines and attached the other side of the zip tie to the bracket holding the ABS unit. I tightened it snugly to keep it from moving too close to the coolant bottle.
However, for the area of the frame where the piping goes into the fenderwell, you'll need to add some padding to keep the pipe from rubbing and making a hole. To do this I used some foam from a packing box and duct taped it to the frame where the piping was touching against it. There were two spots where this occurred on my application. Be sure to move the piping around to see if there are any places that the pipe can touch during hard throttle when the engine moves around.
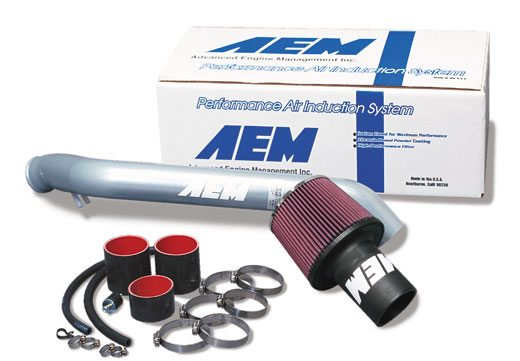
Also, be sure to use the correct tubing supplied by AEM for the coolant lines and the valve cover line to the AEM piping. The tube that connects to the valve cover is larger in diameter than the coolant line tubing. If you put this tube on the coolant line it'll leak because it's too big. For the coolant tubing, be sure to do this part before you install the AEM. It'll give you more room to work with, especially with those small crappy factory clamps that are so hard to take off. I also chose to cut the coolant tube from the throttle body a little bit for a better fit. It is also helpful to lightly spray the inside of the tube end with WD-40 to make it easier to slip onto the connectors.