|

Gerda's original Dutch
tutorial can be viewed here
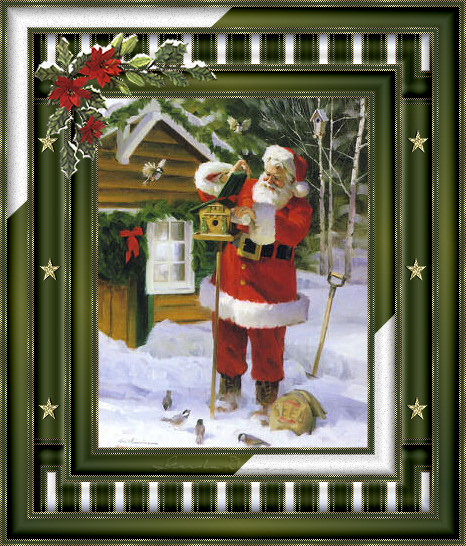
Santa Claus
This tutorial was written for PSP 9.
A good knowledge of PSP is required.
MATERIALS NEEDED:
FILTERS
Unlimited
Fm Tile Tools
DSB Flux
Cybia Screenworks
download hier
Supplies:
Image ' fill15',
tubes 'takjeMD'and
'sterrengerda 54'
Mask 'gerdamsk 27'
Gold pattern
here
Download supplies here
NOTE:
Right
-
click on the zip
file.
Choose the 'Extract to here' - option
in
the drop-down menu
to open the file.
DO NOT click directly with the left mouse button
on
the downloaded zip file.
Lycos will only show
an empty folder if you do that. :))
If you want to use your own image,
resize it to the image supplied.
Step 1
Add a 2 pixel border to the image and fill with
the gold pattern.
Effects --> Filters -->Cybia Screenworks -->Pixel
shade
Add a 3 pixel border and fill
with the color #364429.
Add a 2 pixel border and fill with gold.
Repeat the Cybia Screenworks - Pixel Shade effect.
Step 2
Open the mask 'gerdamsk 27' and minimize.
Change the foreground color to #364429,
background color to #6a7034.
Change the foreground color to gradient:
Style - Linear
Angle - 45
Repeats - 3
Add a 20 pixel border.
Select with the Magic wand and fill with the
gradient.
Keep selected.
Change the foreground color to white.
Add a new layer.
Fill with white.
Layers --> New Mask Layer --> From Image.
Apply the 'gerdamsk 27'.
Click 'yes'.
Layers --> Merge --> Merge Group.
Adjust --> Add / Remove Noise --> Add Noise:
Gaussian / 15% / Monochrome
Deselect.
Image --> Flip.
Image --> Mirror.
Merge layers.
Selections --> Select All.
Selections --> Modify --> Contract by 20.
Selections --> Invert.
Filters Unlimited --> Buttons and Frames --> Glass
2
Step 3
Repeat step 1.
Step 4
Add a 30 pixel border and fill with the
same gradient as in step 1.
Filter --> DSB Flux-->Tiler--> 5/50/13/79
Filter Unlimited -->Buttons and Frames -->Glass 2
Step 5
Repeat step 1
Step 6
Add a 20 pixel border.
Select with the Magic Wand.
Change the foreground color to #364429,
background to #6a7034.
Foreground on gradient:
Style - Linear
Angle - 45
Repeats - 3.
Fill the border with the gradient.
Keep selected.
Change the foreground color to white.
Add a new layer.
fill with the white.
Layers --> New Mask Layer --> 'gerdamsk 27'
Apply.
Merge Group layer
Adjust --> Add / Remove Noise --> Add Noise:
Gaussian / 15% / Monochrome
Keep selected while merging the layers.
Filters Unlimited -->Buttons and Frames -- Glass 2
Deselect.
Stap 7
Repeat step 1
Step 8
Open the 'sterrengerda54'- tube
and paste as a new layer onto the canvas.
Drag it into position as seen in the tag example
above.
Duplicate this layer.
Image --> Mirror.
Open the 'takMD'- image and paste as a new layer.
Drag it to the top left corner.
Add your watermark or name.
Merge all layers.
You're finished.:-)))

This
tutoral can be used freely, but please don't copy.
You may use a text-link to it.
Back to Index
©Design by Gerda
Visit Gerda's Dutch
website here

Translated
5th December 2006

This website was created in March 2005 and is owned
by
©Magstags
Home |
Filter Links |
Email |Terms
Of Use
|