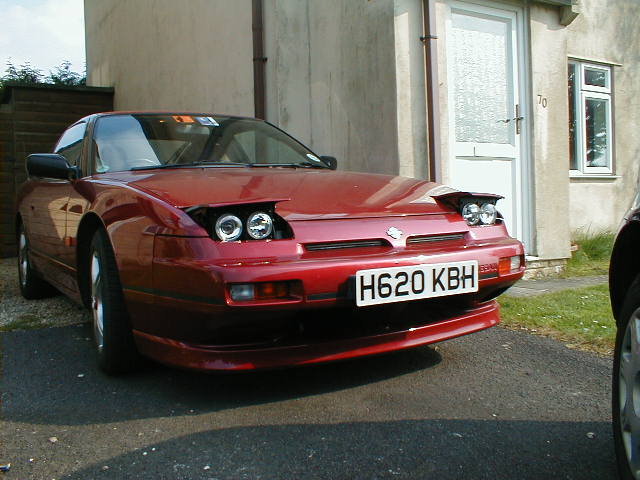
Barry's Sleepy eyes Mod
Quad Headlight Conversion
Using
Hella 90mm light units.
Please read carefully, I accept no responsibility for any errors or
mishaps.
- This conversion is done utilising the Hella 90mm light units in both Main and Dip beam configuration. The existing lamp pods will need to be drastically altered in order to fit the Hella units, so once done there is no going back unless you have spare pod mechanisms.
- Remove the light assembly as a unit. Be careful – the securing bolts are most probably rusted in and tend to shear off very easily.
- Remove the light unit, the actuator linkage and the electric actuator motor.
- The existing pods are now modified by completely removing the original headlight mounting plate. This is spot welded to the part of the pod that is raised. You will either need a sharp chisel and/or a small angle grinder to remove this.
- Once removed, the new mounting plate can be offered up and the fixing holes marked.
- Replace the motor.
- You now need to modify the actuator linkage and arm. This is done by relocating the outer ball joint 20mm towards the hole that locates on the motor spindle and by shortening the link by the same amount. This will enable the pod to open by only 60% of the original height.
- Replace the pods back into the car.
- Then offer up the new plates with the new light units in place and attach to the top of the now bare pod using either rivets or, as I did, rivnuts and bolts. (This was done so that I could remove the plates if necessary, for any modifications to be made). It is important that the new plates are set in alignment with each other and that they are perpendicular. This is due to the limited adjustment available for setting the light units. (Only due to the fact that I only gave a limited amount of clearance around the units – if you want more the 92mm hole can be enlarged to 94mm).
- The modified linkage and actuator arm can now be refitted and the lamp units wired up.
- The last part of the process is to either modify the plastic shroud or make a new one. I will leave this aspect up to you. But make sure that the adjustment screws are accessible.
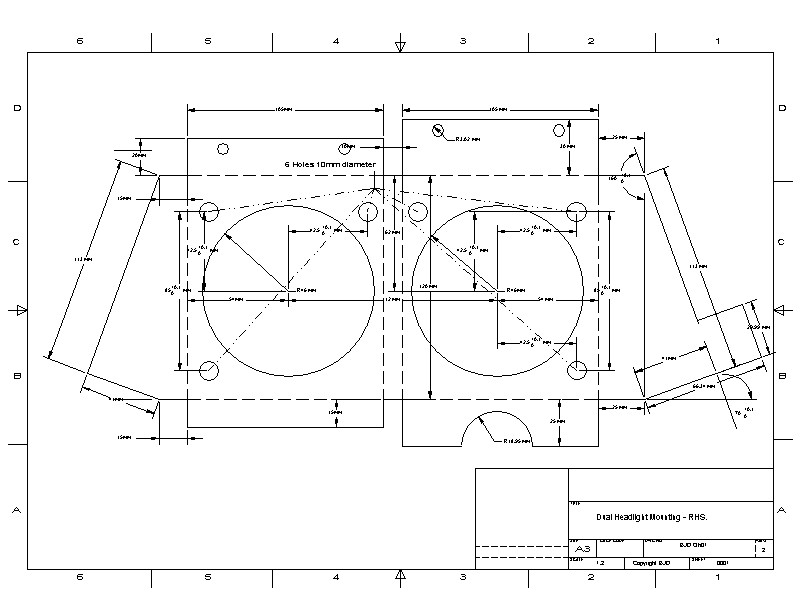
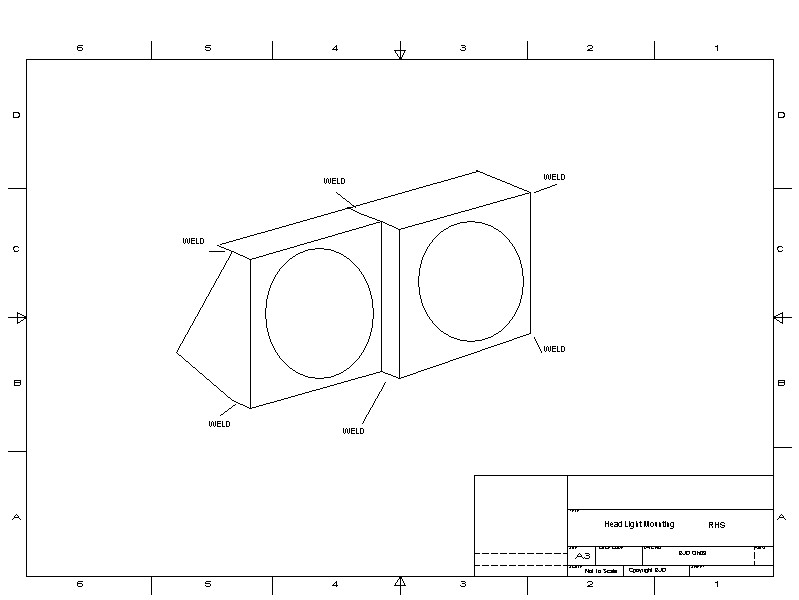
- See attached drawing for details of the mounting plate (the one shown is for the Offside – RHS, the Nearside – LHS is an exact mirror image), so be careful when they are bent. The drawing showing what the finished, bent mounting plate looks like and photos of the modifications to the pod assembly.
Good luck.
Barry Dart (Copyright)
à
Pics from here on: ( click the pic to have a bigger view )
|
Tech
Drawing 1 ( Click here for original ) |
Tech
drawing 2 ( Click here for original ) |
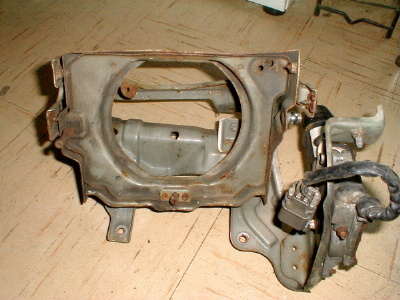
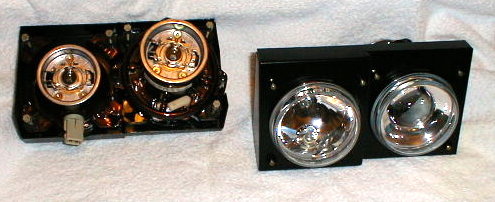
The beginning |
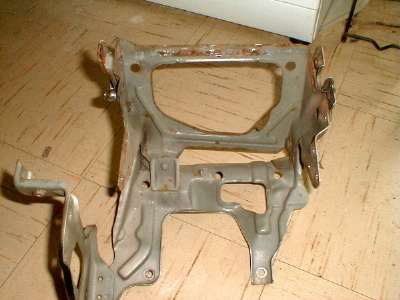
Spot the difference |
Be honest…Looking good |
|
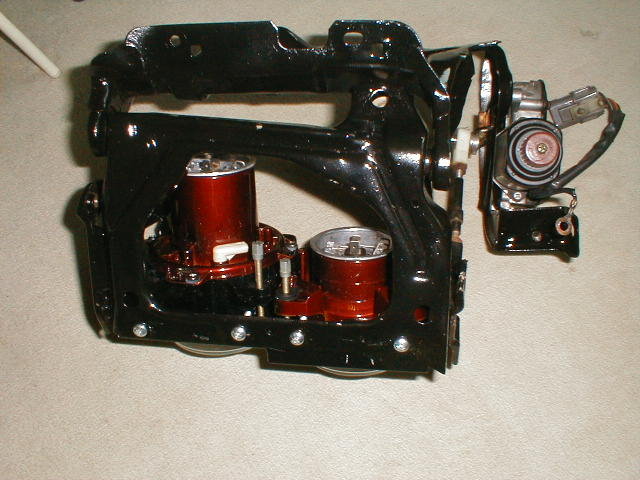
U gotta take this out |
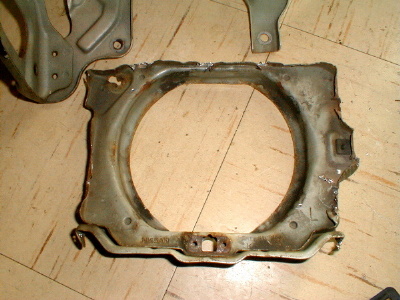
remove the original mounting plate |
Another pic |
When U take out what's on the left, you're left with this |
Perhaps a good moment to change to a vented cover |
|
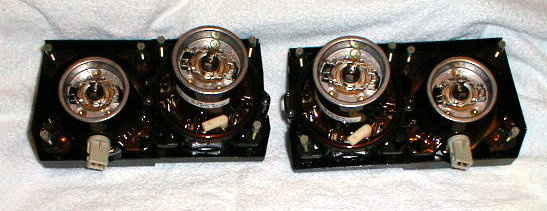
Units to fit ( see the above tech drawing ) |
Another look at them |
And another one |
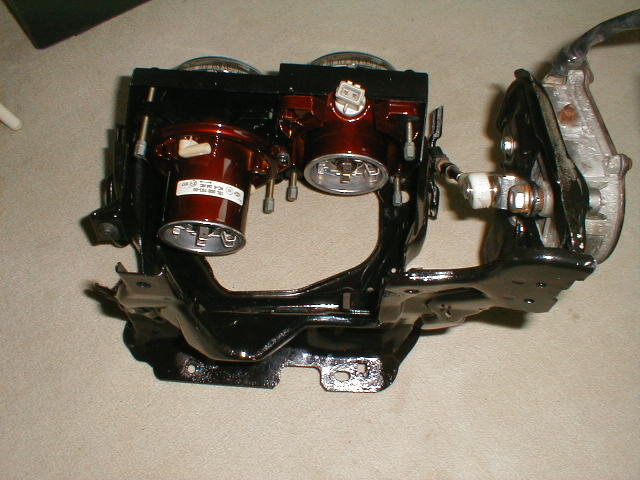
How it looks on the customized mounting plates ( top side ) |
How it looks on the customized mounting plates ( from down under ) |
|
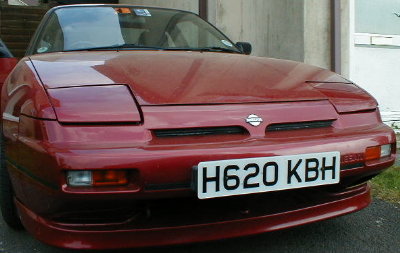
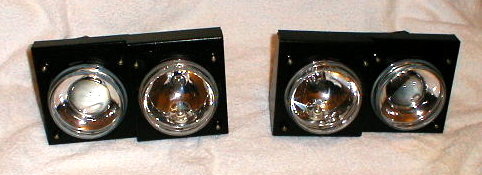
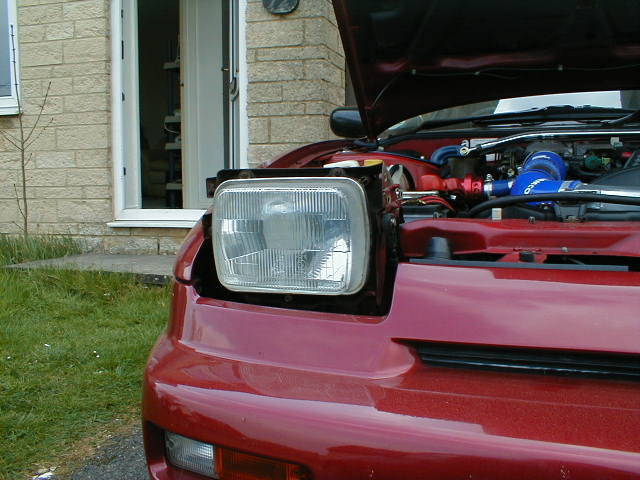
The original passenger side |
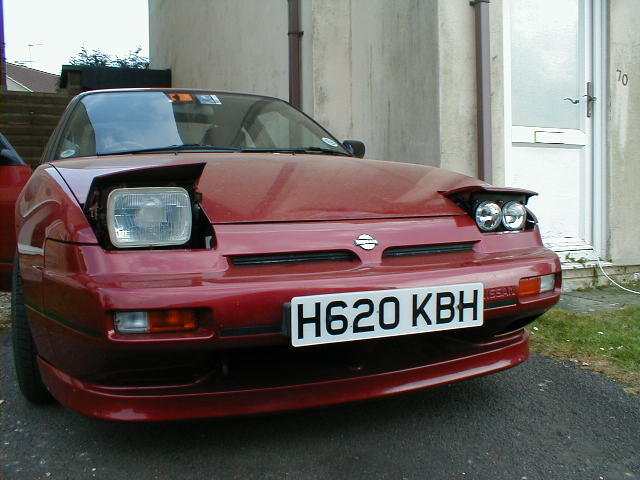
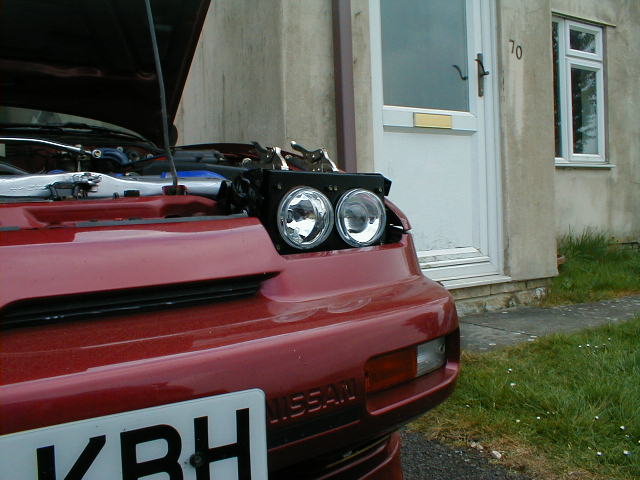
The new and improved driver side |
|
|
|