|


|
Eye Ball Door Hanging
|
|
This is a very cool prop to hang on your door or wall. It will get great response because it is very unique and unusual. Especially since you have to make it from scratch and no one else will have an eyeball quite like yours. This prop started out for the simple need to put something on my front door for Halloween. I had some tacky old lady type door hanging that had pumpkins on it and said "Welcome to our Patch" and that had to go. So after some thinking, it was decided that an eyeball would make a good door hanging. The question was... How?
I eventually figured that out. I thought of a whole bunch of stuff that I could use, and then I came across a balloon half covered in paper machie that I had made a few years ago and never came up with a use for. It was perfect...
From there, I took the paper machie balloon and was ready to paint it. For those of you that aren't familiar with paper machie, it is newspaper or any old paper that you don't need dipped in glue, and made into a shape by putting many layers of paper all on top of one another. For detailed instructions on making paper machie stuff, visit myPaper Machie Heads page. Follow these steps, but only cover the top, round part of the balloon with paper to get a half circle. Do plenty of layers so the half circle is strong enough so it won't be destroyed by trick or treaters, and then you are up to where this page begins with painting the eyeball.

|
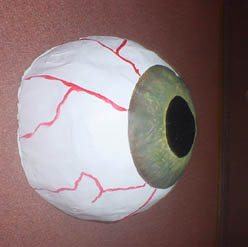
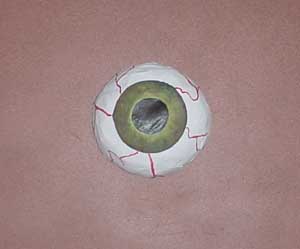
Your first layer of paint should be white. Paint the entire eyeball white so it covers all of the print on the newspaper. This may take a few coats. I used a white acrylic paint with a big paint brush that you paint walls with. The picture to the left shows the eyeball already painted. |

|
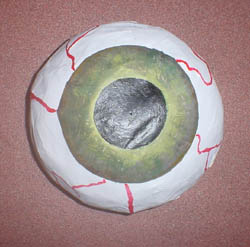
My next step was to draw the pupil and the iris on the eye. I started this out by taking a compass (the one that you draw circles with-- not tell which direction you are going in) and drawing one circle in the center of the eye, and then using the same center point, drawing another circle with a bigger radius. I then painted the smaller, inner circle black. This is for the iris of the eyeball. |
|
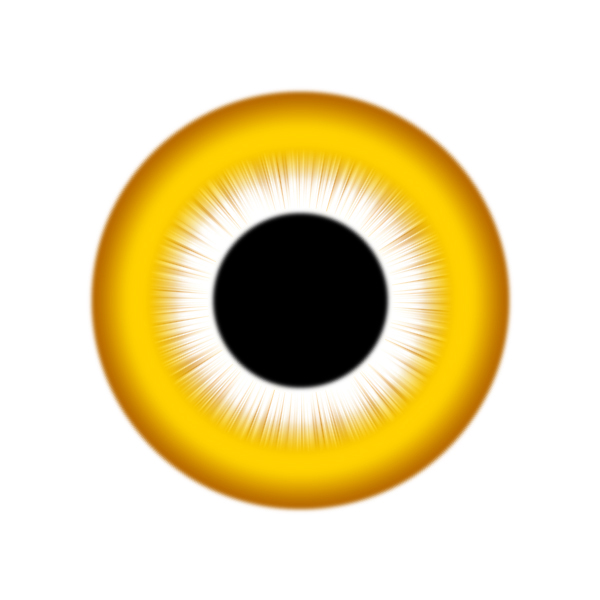
After the iris was dry, I painted the pupil. I started out by putting the darker colors around the edge of the pupil (the outer circle), and then getting lighter as I got closer to the iris. I used small brush strokes, with a bunch of mixed colors in the green color palette. You don't really need any artistic talent to do this, but it would help. If you don't even want to attempt to paint the details on the eye, you could make an eye in photoshop fairly simplily. Heres one that I made that you can feel free to use. You must download it to your computer. Just don't link directly to it or post it on any other websites. Download it here. The last and final step which is optional is to paint veins on the eye. I thought it was a nice touch. They could be in any random pattern. It doesn't really matter. |
And thats it. I put a wire through the back of the eye weaving in and out of the layers of paper machie, and then hung it on a hook on the door. It stayed put and got a great response from both the trick or treaters and their parents.