(Created with Paint Shop Pro v6.02)
Level of Experience: Beginner

Level of Experience: Beginner
I have created a few other examples of watermarks that you may wish to try on various images. Try a large watermark for marking various images in a tutorial, or perhaps for a text document. On smaller images, or for a more 'inconspicuous' look, try using just your initials... ENJOY!
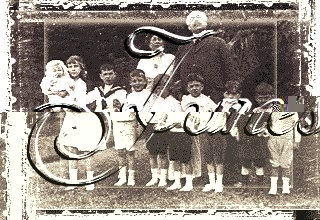
 A very l-a-r-g-e watermark...
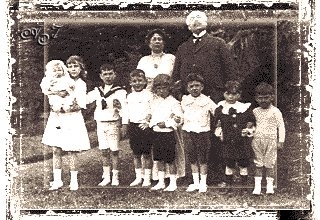
 A nice little watermark...
To transform your semi-embossed watermark into a tube, just create a new image slightly larger than your watermark. Make sure that it has a transparent background, a resolution of 72 pixels/inch, and 16.7 million colors. Simply make your watermark active just long enough to click on 'Edit' and then 'Copy'. (or Ctrl + C) Now revert back to your new transparent image and click on 'Edit' and then 'Paste' as a new selection. (or Ctrl + E)
It has to be placed on the same layer or you will not be able to export it as a tube. Tubes require 24-bit color and only one layer which must have a transparent background, remember? =) Now you just need to go to 'Selections' and click on 'Select None'. Then go ahead and export it as a tube by clicking on 'File', then on 'Export', and then on 'Picture Tube'. When the next window opens up, you just need to give it a 'Tube Name' (My Initials Watermark or something similar works for me...) and click 'OK'. Now you can use this as you would any other tube... and it's ALL YOURS!!
This tutorial was created on 9/8/00.
Disclaimer(s):
This tutorial was written ENTIRELY by me. Should it happen to resemble any other written tutorial, it is purely a coincidence. (I'm sure that there are only so many ways to create a watermark...) Any comments, suggestions, etc. should be directed to me at gigipo@hotmail.com. Thank-you.
The antique photo used in this tutorial is a royalty free image obtained from http://www.freeimages.com. I am not in any way associated with them; I just chose this as a random image to work with.