 |
|
|
|
|
|
|
|
|
|
|
|
|
|
|
|
|
|
|
|
|
|
|
|
|
|
|
|
|
|
|
|
|
|
|
|
|
|
|
|
Fret Board Blank
Page 2 |
|
|
 |
|
|
|
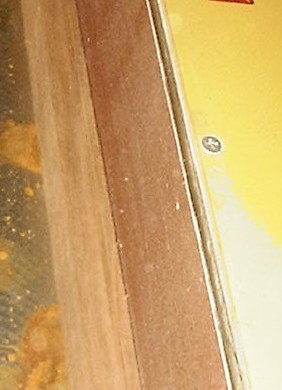
Upon inspection, I've discovered that all of our newly rough cut fret boards have a very slight bow across surface we will be installing frets on. This is very slight and usually occurs on a quarter sawn fret board. The actual bow is less than 1/32" but any bow is unacceptable.
Our fret boards also appear to be unbowed across their side faces. This too is usually the case on quarter sawn fret boards but it is still wise to allow the extra 1/8" of width as we did for dressing just in case.
Now it's time to get the bow out and finish our fret board blank. |
|
|
|
|
|
|
|
 |
|
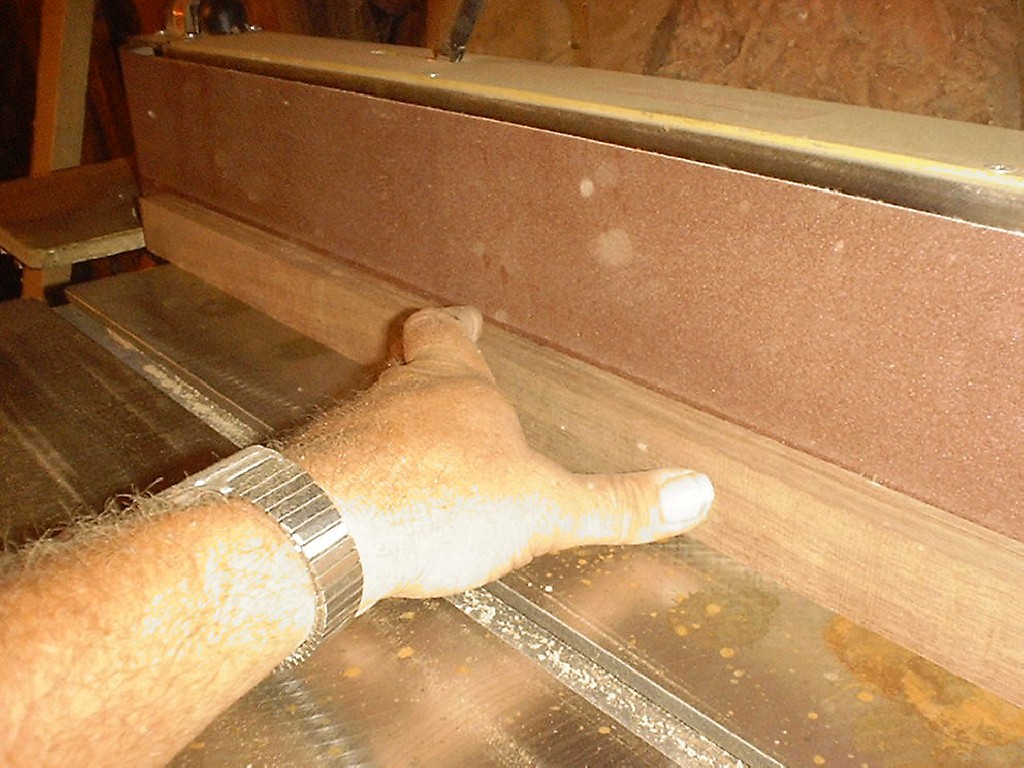
It's difficult to see but in the picture to the right, I'm holding a bowed fret board up against the flat face of the edge sander. If you look close, you can see the slight gap in the center of the fret board. The gap which shows the slight bow is the dark line between the fret board and the sanding surface.
We will also use the edge sander as the main tool for removing the bow. A planer or a drum sander can not be used for this as the surface contact area of both pieces of equipment is small and the feed of the equipment will just follow the bow as the fret board feeds through. An edge sander though has the capability of finishing the entire surface of the fret board at once. That is taking for granted that you have a long enough sander. This will not work and shouldn't be attempted if your sanding surface isn't at least as long as the fret board. |
|
|
|
|
|
 |
|
|
As is the case with any piece of wood with a bow in it, one of the bowed sides will contact a flat surface at only one place while the other side will contact a flat surface at two places. Place the side with the two contact points against the sanding surface of the edge sander, apply a very light pressure and slowly sand the side down until the fret board is straight from end to end along this side of the fret board.
Take your time and feed slow. Excessive force will cause the bow to be forced out of the board only to return after you back the force off. To do this right, it can take a considerable amount of time. |
|
|
|
|
|
Do you remember those cutting marks I was talking about being left by the band saw? This is where they become important as you can gauge your progress as they slowly disappear. As you check your progress from time to time, you'll see the cutting marks slowly being sanded away. First at the two outter contact points and then slowly working towards the center. As the last cutting mark leaves the center of the fret board, the sanded edge should now be straight and true.
If you choose to originally rough cut the fret board with a table saw or some other device that leaves a clean edge, you can still gauge your progress and know when to quit by putting a wide pencil mark down the length of the fret board. Like the cutting marks, you can watch the pencil mark disappear as you sand.
Before going on though, check your work first with your eyes and then an accurate straight edge. |
|
|
|
|
|
|
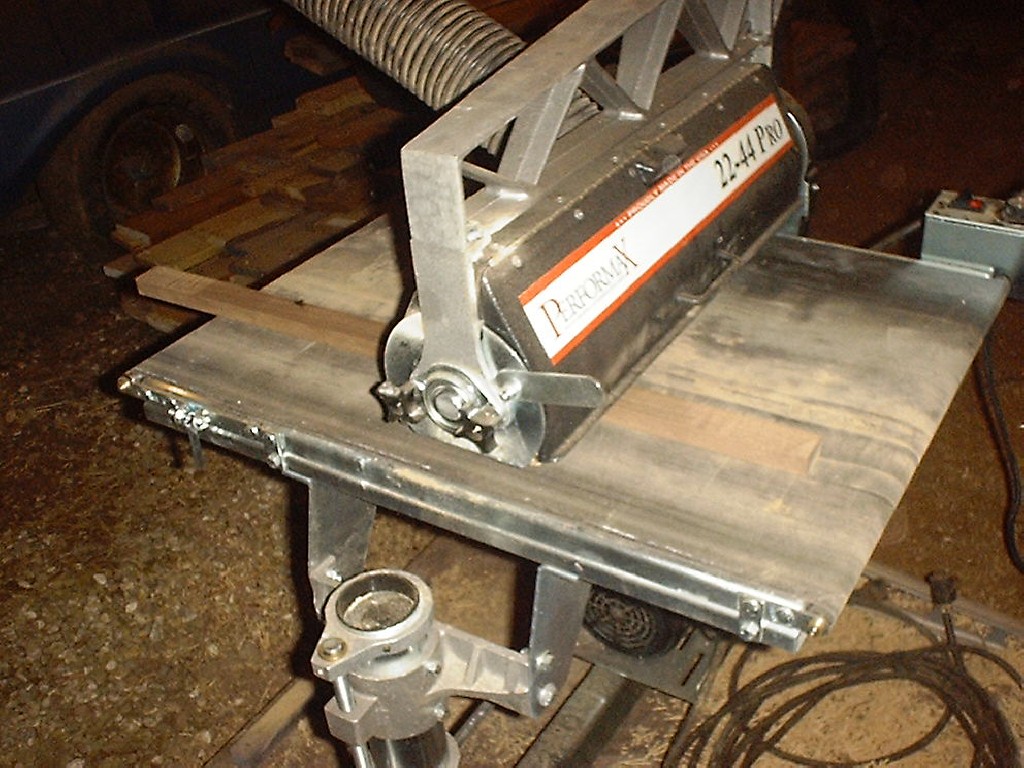
What you now basically have is a fret board with one flat surface and the opposite surface having a hump in it. This is an easy fix as the drum sander will easily take care of that.
Slowly feed the fret board through the drum sander to finish the unfinished surface. Remember, the fret board now has a hump in the middle of it so for the first several passes through the drum sander, only the center of the fret board will be sanded. Like when finishing the first side, you'll slowly see either the cutting marks or your pencil mark disapear except from the inside out this time. |
|
|
|
 |
|
|
|
|
|
 |
|
|
|
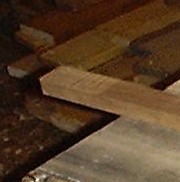
The picture's not the best in the world but if you look close, you can see the definite point on the fret board where the cutting marks end and the smoothed and flat surface begins as it exits the drum sander following a few passes through. |
|
|
|
|
|
 |
|
|
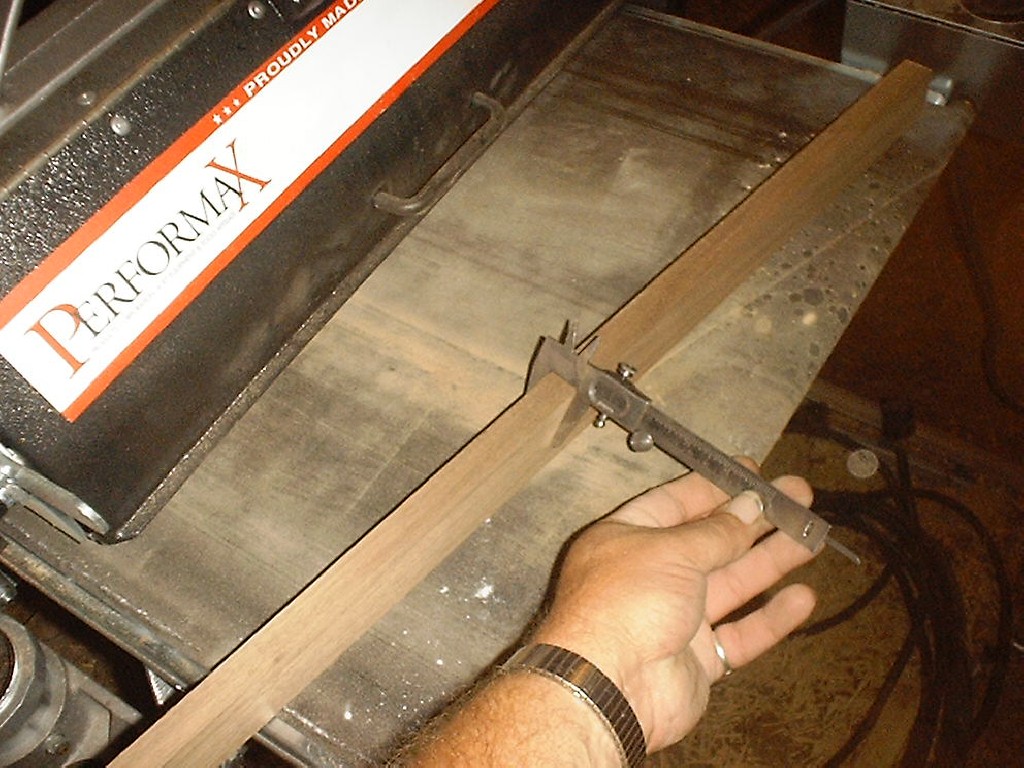
Check and measure your work often taking both size and straighness into consideration. I seriously recommend using both calipers for size and an accurate straight edge for straightness.
It also may be necessary to follow some of these procedures again if your fret board isn't quite right yet and you can also follow these procedures if your fret board has a side bow in it too. |
|
|
|
|
|
|
|
|
|
As we work the thickness of the fret board down, keep in mind that you have one more really serious cut to make on it yet. It still has to be hollowed out which in turn could once again cause a slight bow. With that in mind, I usually only feed it through the drum sander just enough times to eliminate the original cutting marks and save what's left in case I need to do this again after I hollow the fret board.
It's a matter of personal preferance but I've pretty well found that a quarter sawn fret board is usually pretty dimensionally stable along the sides after the initial rough cutting. With this in mind, I usually use the drum sander to work the width down to 1 1/2" as soon as I have the fretting surfaces leveled.
After I hollow the fret board out, check the board once again for a stress relieved bow and work it out if necessary, I'll then use the drum sander to work the fret board down to the final thickness of 3/4".
Hollowing the fret board is the subject of a whole different article though. |
|
|
|
|
 |
|
|
One final step.
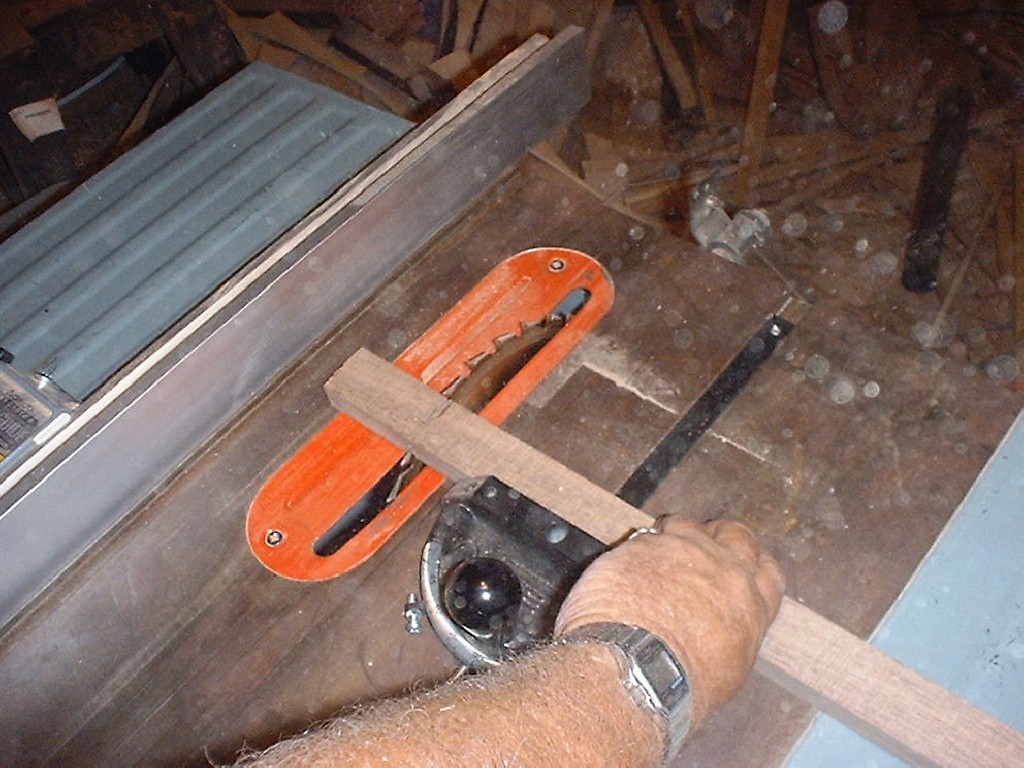
Up until this point, we've been working with a fret board a few inches longer than we actually needed. Now that it's straight and true, cut the rough ends off to the length you need. |
|
|
|
|
|
|
|
The Final Word |
|
|
| I'm sure this seems like a lot of work to cut a simple piece of wood but if the fret board isn't right, the whole dulcimer won't be right. If there's any doubt about the fret board you cut, throw it away. I'd rather throw a fret board blank away now than have to throw a dulcimer away later. Second quality workmanship just won't work when cutting fret boards. |
|
|
|
|