I think we may need a little background here.
The sound of a dulcimer comes from the vibration of the strings being picked up by the sound board (the top of the dulcimer) which in turn vibrates and the sound box acts like an amplifier. The sound box acts kind of like an echo chamber that amplifies the vibration of the sound board.
That's great but on a dulcimer, you have a fret board running the entire length of the sound board which tends to dampen the vibrations. If you reduce the mass of the fret board, you reduce that dampening effect and in turn enhance the voice of the instrument.
Now you can't get by without a fret board or you wouldn't have a way of changing string length and in turn change pitches (notes) but you don't need a solid piece the entire distance. All you need is enough to support the frets, give the instrument strength and also strong enough for stuff like clamping a capo to it. Personally, I like to stick with a 3/8" wall thickness throughout the hollowed area.
Let's hollow a fret board.
Hollowing a fret board can be done in several ways. Among other ways, it can be chipped out by hand, it can be cut with a dado blade on either a table saw or radial arm saw and I even talked with a gentleman once who did it with a router bit in a drill press with a milling machine table. As long as it's safe and it works, I suppose any method is okay but I prefer to use a router table. It's quick, it's easy, it's safe and it does a great job.
With that in mind, it's time to get started but there's a few things we have to figure out first.
Okay, with that in mind, there's no fret slots to tell us where the fretted part of the board ends and the strum hollow begins. We have to figure this point first or we could end up hollowing right into where the strum hollow will be. That would pretty well scrap a fret board.
Figuring out where to start hollowing on the scroll head end of the fret board is pretty simple. We don't want to hollow all the way to the end as we want the extra strengh there and a little solid fret board there won't really dampen the sound that much but we do want to hollow pretty close to the end. Depending on what style of fret board I plan to cut, I usually hollow up to close to either the zero fret or nut (depending on if I use a zero fret with a guide nut or just a nut).
To figure what that point is, I cut the nut slot right now.
I also use a blade that cuts a flat bottom slot (ATBR tooth pattern) so the nut will fit square to the bottom of the slot.
I use a scrap piece of wood to first test and set the depth of cut. Once I'm satisfied with the depth of cut, I'll cut the slot and allow extra length between the end of the fret board and the slot. My fret board is plenty long enough and I can always trim excess off later.
There are two ways of doing that. The first is to go ahead and mark the fret positions now. That's fine but that could mean double work if we later have to sand our marks off if we have to retrue the board. The second way takes a little thinking but works quickly and without serious calculation.
I always press two octaves worth of frets in a fret board. In the fret measuring section, you'll learn why but the last fret on a two octave fret board always lands 3/4 of the distance along the string span. In other words, if you're using a 28" string span and plan to fret two octaves, the last fret will be placed 21" from the nut or zero fret (3/4 of 28" is 21").
So there you have it. Figure out what string span you plan to use and hollow from the zero fret or nut to 3/4 of that span up the fret board. That should work as the strum hollow usually starts pretty quick after the last fret.
Of course this won't work if you plan more or fewer than two octaves worth of frets but two octaves seems to be the standard.
Mark this point with a pencil on the side of the fret board the frets will be on.

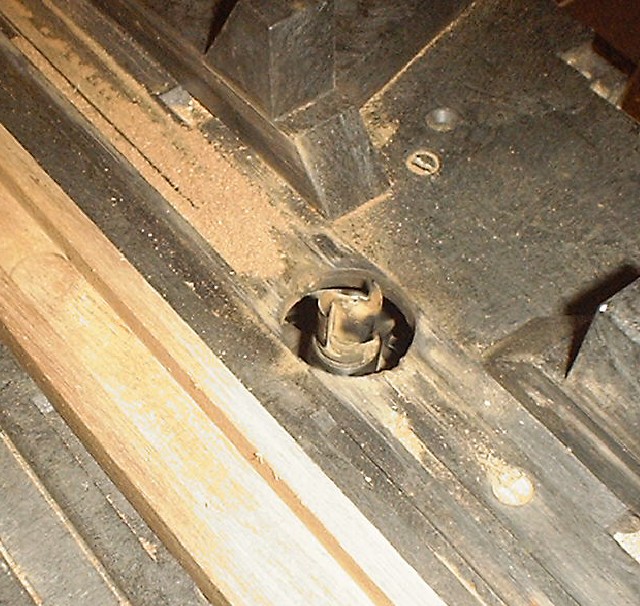
Between each cut, I measure the depth to make sure I'm not too deep or leaving excessive material.
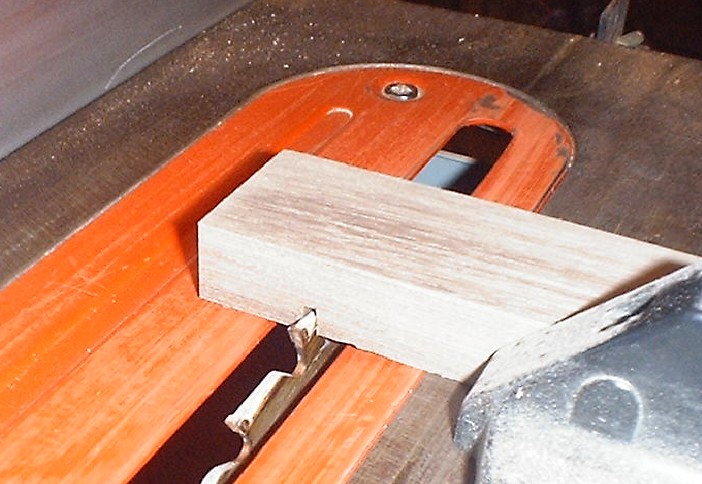
Please note the position of the nut slot in the upper left corner of the picture. I started the cut just this side of that slot.
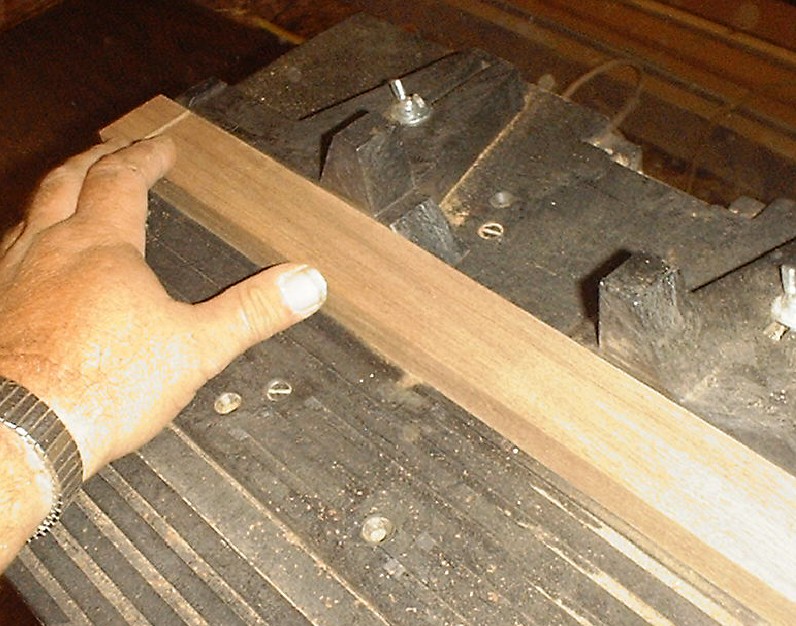
Please keep in mind that we've cut a considerable amount of material out of the area of the fret board that will be fretted. Check the fret board for any bows you may have created and refer to the section on rough Cutting a Fret Board Blank to see how to take them out if this happens.
On this fret board, we've created a slight bow of well less than 1/64" and it dressed out easily using the proceedure discussed in the Cutting a Fret Board Blank section.