Section 3.
Tailboom and Tailrotor Assy.
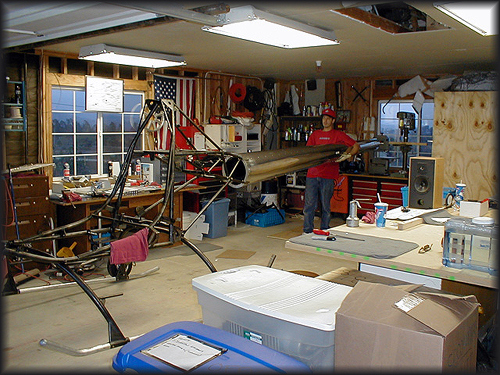
The tailboom installation went smoothly. It took a lot time and patience but the result was well worth the effort. The most important part of this was getting the proper angle and alignment of the tailboom in the frame. I must admit that having a helper that has successfully done this before was a blessing.
Initial fitting of this looks easy........we leveled and found the ceterline of the frame and then pulled a chalk line on the floor from front to back. Plumbobs were hung in the front and middle of the frame and at the rear of the tailboom. After about an hour or so we finally got everything in alignment. I appoligize for not having more photos of this.
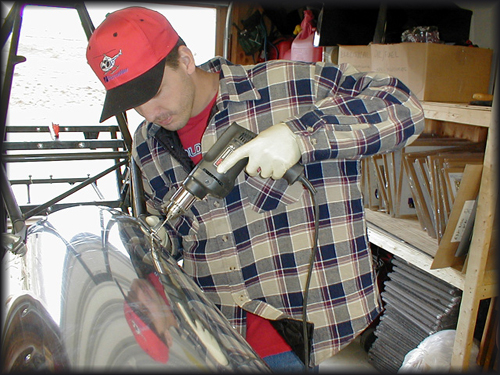
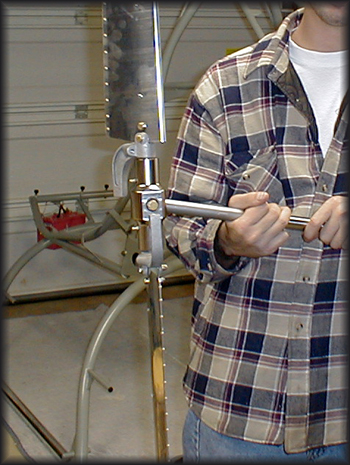
After lunch, I got the nerve to drill the holes to mount the boom to the attatchment brackets.
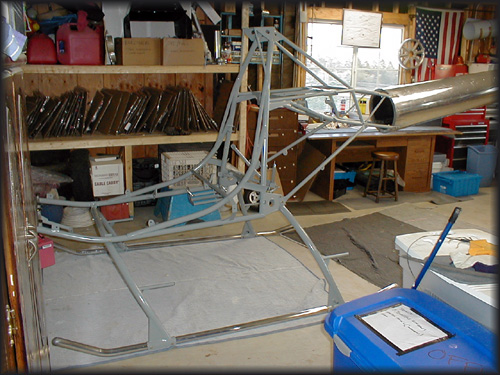
After completing the installation, the entire frame and all attatched parts so far were dismantled and sent out with other various parts for powdercoating. I highly recommend this to anyone considering building one.
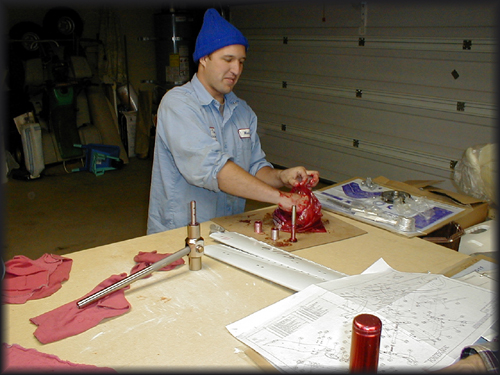
This is our local welder Mark. He was a little disappointed when he was told that this kit needs no welding so we gave him another delicate task. Besides, he likes to get dirty so we let him grease all the parts for the construction of the tailrotor.
Tailrotor after completing and balancing. The balance was perfect when assembled and needed no weight added to either side.
This is the tailrotor slider assy. This is where it gets fun. You actually have to fabricate almost all of the parts you will see.

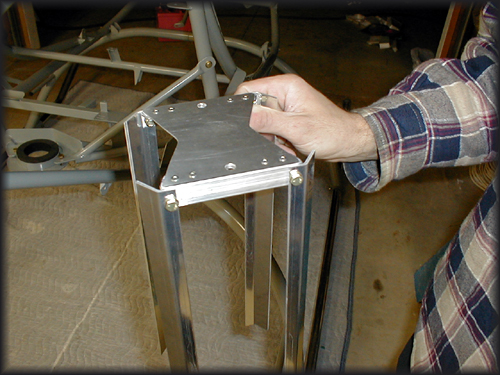
Shown here are the bearing plates completed and ready for installation into the slider assy.
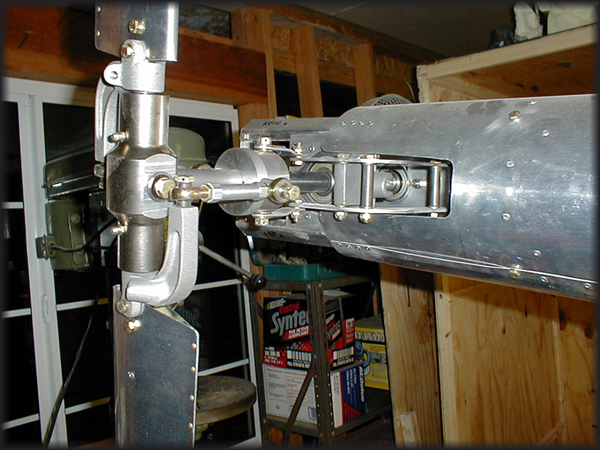
Here it is all together and in place.