|
|
|
|
WARNING!
GeoCities will die on October 26, 2009.
GeoCities has gratefully hosted this page at no cost to me for over ten years and means the end of this page.
Don't Panic!
This page's content has already been moved to a new host:
www.knology.net/~augustus/drwho
I'll see you there. |
|
|
|
|
THE
TARDIS
CONSOLE
SIMULATOR
PROGRAM
ONLINE
MANUAL
[LAST UPDATED
08/30/2001]
TABLE OF CONTENTS
-
Installation
-
Main Screen
-
Controls
-
Panel One
-
Panel Two
-
Panel Three
-
Panel Four
-
Panel Five
-
Panel Six
1. Installation.
There is not much to installing the TARDIS Console Simulator Program.
Simply unzip the single file "console.exe", and place it anywhere you
choose on your hard drive. You could also place it on a removable media
like a floppy drive or zip drive. The program does not care where you
run it from. Take care when copying the program to actually COPY it
and not create a "short-cut".
2. Main Screen.
 Once
the program is ran, a small screen appears. (see or
download figure 1.1) with the standard Windows
buttons on the title bar. There is a menu under the title bar. There
are also six buttons which represent the six panels of the TARDIS Console.
The "File" menu contains "Print Setup..." and "Exit". "Print Setup..."
allows you to setup your printer to print the six panels later in the program.
"Exit" simply exits this program. The "Simulation" menu contains one
entry, "Random Light Simulation", which causes the "Yellow Light" controls
to blink on and off. The random light simulation is active when a checkmark
appears next to the menu item. The "Sound" menu allows a background
sound to be selected and heard as the simulator is ran. If a check
mark appears next to the "Sound On" menu item, the program will attempt to
continuously repeat a "WAV" file that was previously selected with the "Get
Sound" menu item. For best results, pick a non-annoying sound. Make
sure the "WAV" file is in a place that will not change. The location
of the file is stored on your computer, so next time the program is ran,
it remembers the last sound you loaded. The last menu item is "Help".
Under help you can find links to this web page and other web pages I have
authored, and and "About..." item which shows the current version of this
program.
The six buttons named "One", "Two", "Three", "Four", "Five", and "Six" will
bring up one of the six console panels.
3. Controls.
Each panel cam contain three types of controls. The first type are
inactive controls. These controls are just pictures and do nothing.
An example are the dark grills at the top of each panel. They
have no function whatsoever.
The second type of control are the standard controls. Deep in the
programming of the simulator, the common controls share the same programming
code, and therefore, work the same on the surface. Each of these controls
are discussed in this section. The "Yellow Light" is a standard control.
The third control type are the custom controls. These controls are
unique to the panel they appear on and are discussed in the panel section
later on.
 - This
is the Yellow Light control. To toggle the light on and off, simply
double click on the image. The bulb can also be activated to randomly
switch on and off by selecting the "File|Random Light Simulation" menu item
from the main screen. Sometimes a control on the panel may switch the
light on and off.
 - This is the big knob control.
To operate it, simply drag the ball upward or downward. Some
big knobs can switch on or off other controls.
 - This is the small knob
control. To operate it, simply drag the ball upward or downward.
Some big knobs can switch on or off other controls.
 - The small switch control
is either on or off. Click on the upper half of the control to
turn the switch on and click on the lower half to turn the switch off.
Some switches can switch on or off other controls.
 - The lever control simulates
a lever than can turn 360 degrees in 45 degree increments. Click with
the right mouse button to turn the control clockwise and click with the left
mouse button to turn the control counter-clockwise. This control can
be left in a "funny" position behind other controls. Also, if there
are two levers close together, one lever will turn while the one under it
will not. This is not a bug, but a strange feature of the lever controls.
The next four controls are actually buttons that appear when the mouse is
hovering over the top of a panel. The buttons may also remain visible
if the mouse moves quickly off the panel window. Here are descriptions
of the buttons:
 - The left button brings up the
next panel to the left. It hides the current panel and moves the left
panel into the current panels place and makes it visible if necessary.
 - The print button will print
the current window. To setup the printer, please use the "File|Print
Setup..." menu item on the main screen.
 - The exit button will
exit the current panel. This does not end the program.
 - The right button brings up
the next panel to the right. It hides the current panel and moves the
right panel into the current panels place and makes it visible if necessary.
4. Panel One.
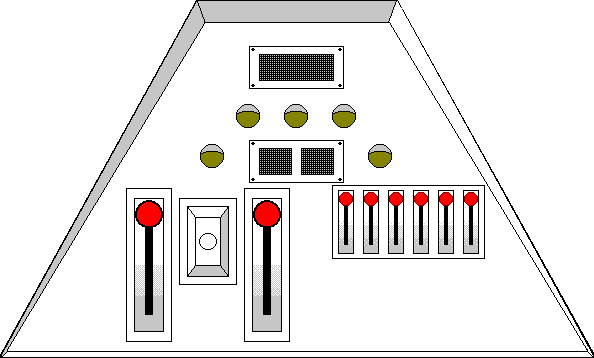 xxxxx
xxxxx
5. Panel Two.
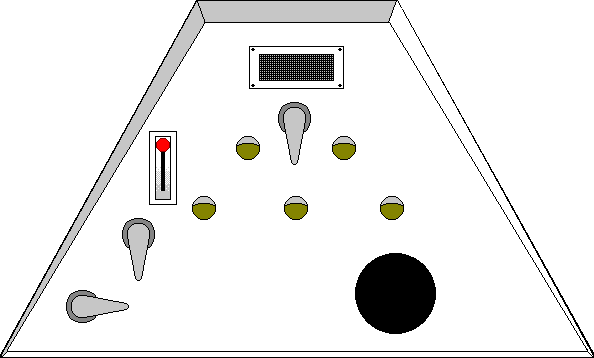 xxxxx
xxxxx
6. Panel Three.
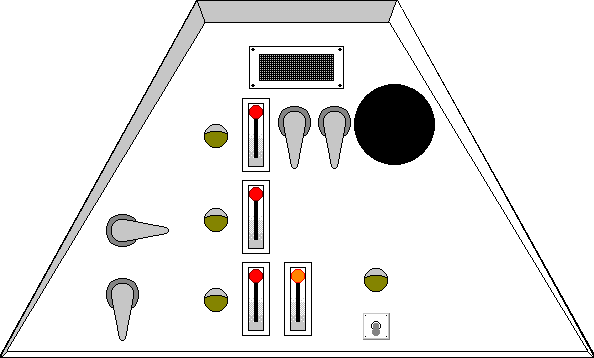 xxxxx
xxxxx
7. Panel Four.
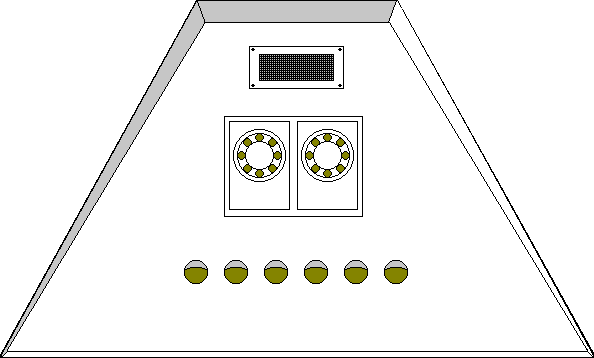 xxxxx
xxxxx
8. Panel Five.
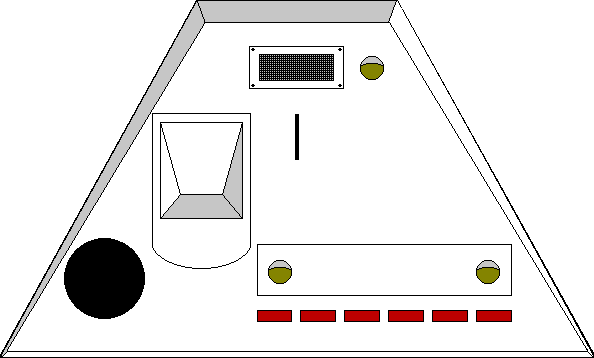 xxxxx
xxxxx
9. Panel Six.
 xxxx
xxxx
© 1997 - 2001 Christopher L. Augustus
 Once
the program is ran, a small screen appears. (see or
download figure 1.1) with the standard Windows
buttons on the title bar. There is a menu under the title bar. There
are also six buttons which represent the six panels of the TARDIS Console.
 xxxxx
xxxxx
 xxxxx
xxxxx
 xxxxx
xxxxx
 xxxxx
xxxxx
 xxxxx
xxxxx
 xxxx
xxxx