Photographs of Fort Story

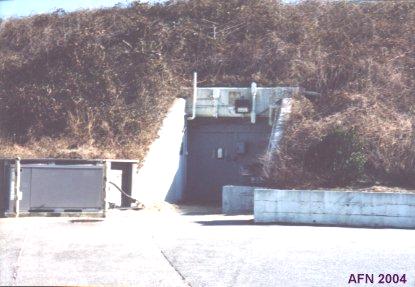
Battery Cramer (5/225)
N 36°55.069 W075°59.785
Named on Nov 14, 1942 after Lt. Col. Raymond V. Cramer.Built of reinforced concrete and steel covered with earth between 1941 and 1942 (used in 1943).
This battery contained two 6-inch M1903-A2 guns (1943 - 1949) on M2 shielded
barbette carriages. The interior has been converted into office spaces,
however it is now an unoccupied building.
A BC & CRF Tower was once located behind the battery.
{see "American Seacoast Defenses" 2nd Ed. page 104}
 Gun Emplacement #1 is off the right edge of the photo. |
 The opposite side of Battery Cramer (Gun #2). |
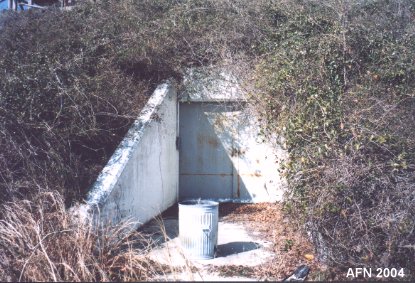
 The rear of Battery Cramer. |
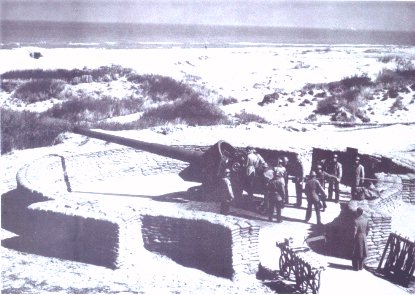
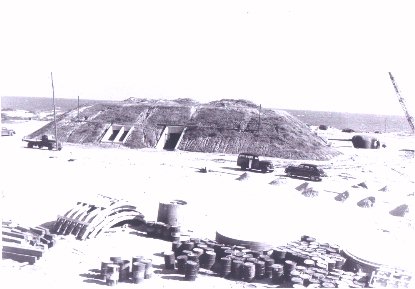 Original look of Battery Cramer. (from Bill Gaines) |
Battery 10/226
N 36°55.187 W075°59.938
Built of reinforced concrete and steel covered with earth between 1942 and 1943.Armed with two 6-inch M1 guns on M4 shielded barbette carriages (1943-1949).
The BC/CRF Tower foundation is located to the rear: N 36°55.161 W075°59,953.
{see "American Seacoast Defenses" 2nd Ed. page 104}
 Gun Emplacement #1. |
 The opposite side of Battery 226 with Gun Emplacement #2. |

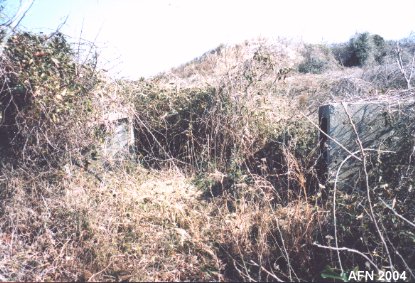
The rear of Battery 226.
Battery Worcester (6/224)
N 36°55.426 W076°00.068
Built of reinforced concrete and steel covered with earth between 1940 and 1941.Named on Jan 20, 1942 after Col. Philip Worcester and was armed with two 6-inch
M1900 guns on barbette carriages (1942-1947).
The BC & CRF Station was built in 1942, and contains the plotting room.
{see "American Seacoast Defenses" 2nd Ed. page 96}
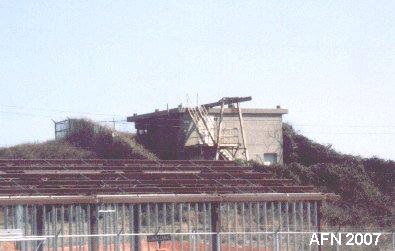
 Note the battery commanders post on the top. (The additional structure on top was built by the Navy - now removed). |
 The BC Station was on the roof The CRF was on the second level and the Plotting room was ground level. |
 Entrance to the Gun #1 side. |
 Gun #1 area. Note the two concrete storage units on either side. |
 Entrance on the Gun #2 side |
 Vintage view of Gun #1 in action. |
 |
|
