
These instructions apply to a 1982 Toyota Cressida, built October 1981, with the 5M-E SOHC EFI engine. The author accepts no responsibility for the accuracy, completeness, or validity of this information. The author will not be held liable for damages associated from the use, or misuse, of these instructions. Neither the author nor his friend who did the work, are certified mechanics. We're simply putting this info up because we are enthusiasts.
This was a big job. In order to remove and replace the heater core, one must remove the front seats, console, instrument panel, the entire dashboard, including the support bracings and trim. Also, the coolant must be drained and the heater hoses removed. Shop manuals state that it’s a 7.5 hour job, and that there's a possibility of needing to drain the A/C system as well.
It took my friend and I about 9 hours with hand tools in my garage, and we took it fairly slow. There are a lot of screws in the dashboard and everything comes off in "layers" - we had a large plastic container half full of screws, nuts and bolts by the time we were done disassembling. I took photos for reference just in case but we did not need them.
We started with the seats, seat rails, floor heater ducts, then the console, then the stereo. A word on seats - there's bolts both above and below the floor, holding them in. Three above and one below, I believe. You'll need a 17mm deep socket to get the one below. (I had to go buy one, my deep set only goes to 15mm.)
Removed the kick trim panels and the undercladding underneath the dash. Removed the carpets. Next, the glove box, and the heating control panel, and the instrument panel. After that, we had to lower the steering column and unscrew most of the lower part of the dash plastic. At this point we also carefully removed the computer which is located above the glove compartment. Care must be taken not to break a small black relay attached to the computer. The computer is a silver box about 8 inches long by 6 inches wide, and 2 inches thick.
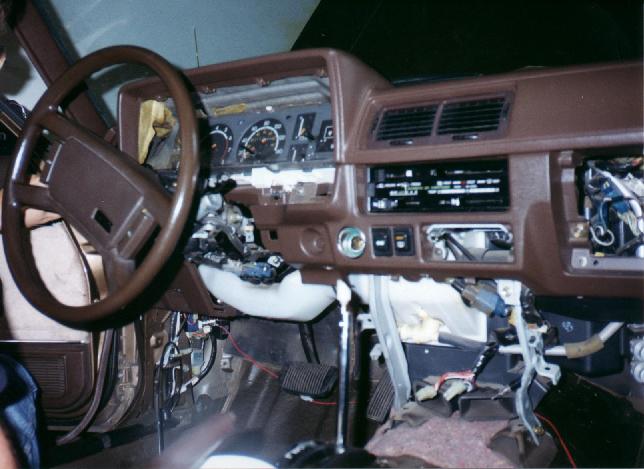
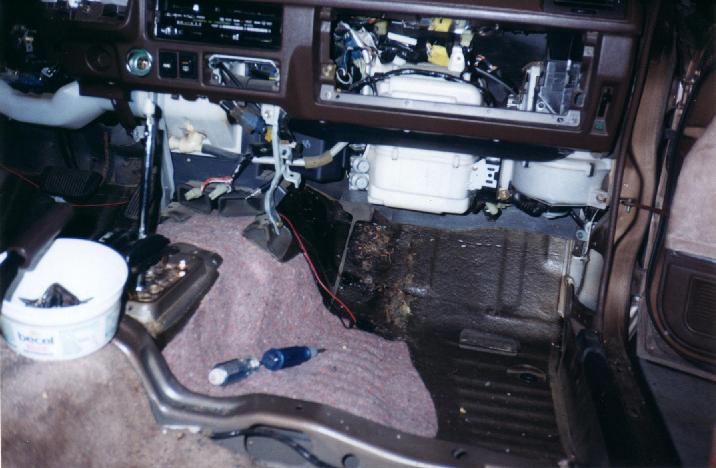
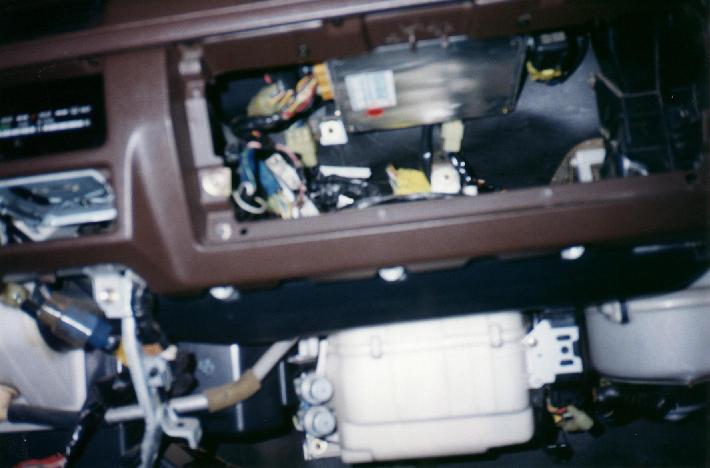
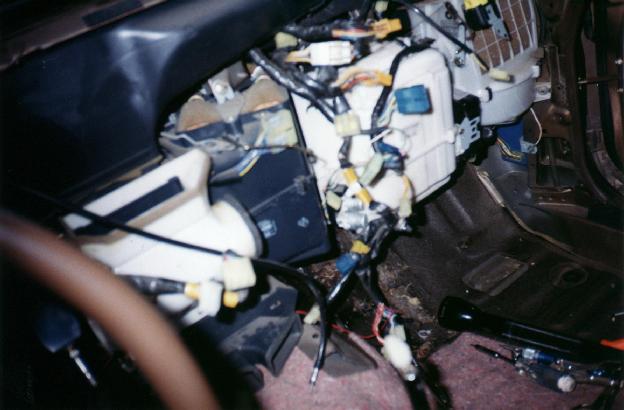
The upper dash pad had to come out, then the lower part of the dash, followed by various metal support bracings. By this point we could actually see the heater core box. The heater core itself sits in the black plastic box vertically, and all you can see of it is the top (about 5 inches long by two inches wide).


We drained the coolant and detached the heater hoses from two metal pipes protruding at the firewall. Then, going back inside the car, we carefully detached the heater core box from the air conditioning, and pulled the box away from the firewall enough to get at the metal pipes, which have to be detached from the heater core itself. They're held on with small metal brass clips, and "O" rings. The "O" rings must be replaced during reassembly. Then its simply a matter of pulling out the heater core (careful, its full of coolant) and replacing it with the new one.

Then comes the fun part - reassembly. There are about a million wires under the dash. Fortunately, all of the plug ends are unique - you can't connect the wrong ones together by mistake. Reassembly is the reverse of removal. Reinstall heater core box. Be sure the metal tubes are poking through the firewall. Hook up all wires possible at this point. Reinstall metal bracings. One we had trouble with was a short one about 4 inches long, it connects the lower dash plastic to the top of the firewall, above the glovebox area. We couldn't remember where it went, at first. The lower dash plastic goes in before the upper dash pad. Then all the other bits and pieces go in. Be sure to hook up the heater control cables early on or you won't be able to later. Also account for all the wire connections. Once its all reassembled, fill the coolant back up. Run the car to circulate the water. You'll need to bleed out any air pockets. There is a large bolt on the top of the engine block (right next to the oil filler cap) for this purpose - it helps, but you'll need to "burp" the car in the normal way. Revving the engine a bit may help. We had a panic attack when we first did this because the heater only blew cold air. The cause was an air pocket in the heater core itself.
Our job was basically a success - the only thing that is not working at the moment is the backlighting on the heater controls, and that is most likely because I replaced the heater control unit with one from another car, and the bulb may be burnt out. Haven't looked into fixing that yet.