Using
the Colour Palette
Next
we are going to learn how to change our
colours.
There
are 2 main ways of doing it.
Left
click sets the foreground colour
Right click sets the background colour
Let's
change both our colours to something new.
If
you know roughly what colour you want, but
it doesn't have to be an exact colour, you
can single left or right click on the part
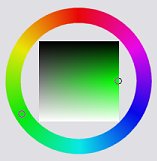
of the toolbar that shows you how many
colours you have available.
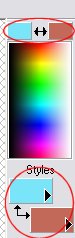
With
your floodfill tool still selected, take
your cursor over to this part of the
palette and hover over it. You'll
notice that your cursor shape has changed
to look like a dropper.
Hover
over a colour that you like and single
left click. You'll notice that the 2
parts of the Colour Palette I was talking
about earlier have changed to show this
new colour:
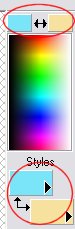
Now
do the same thing, but right click:
This
is the first and quickest way that you can
change your colours... but it's not very
accurate. The best (IMHO) and most
accurate way to change your colours is
using this next method.
Go
back to the part of your toolbar directly
underneath where it says
"Styles" and single left click
on the first colour. You'll get a
pop-up box like this:
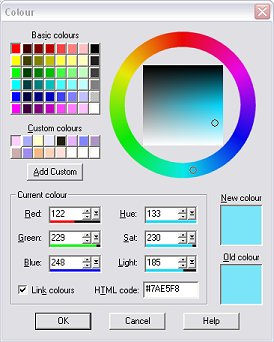
The colours and numbers
will be different for you and you may or
may not have any custom colours, but this
is the same box as you will have on your
screen now.
Now that you are here,
there are several ways you can change your
colour.
The first way is to choose
one of the "Basic Colours".
Let's do that now.
Take your cursor up to the
colour you would like and single left
click. I'm going to choose bright
green.
You'll notice that on the
right hand side, you now have your colour
in the top box and that the numbers have
changed. Click OK and you will
notice that the colour you have just
chosen is now in the top box in the Colour
Palette.

This is the first way of
changing your colours using this method,
but there are lots more ways, so lets
bring up the box again by single left
clicking on your colour
The next easiest way is if
you have any custom colours
selected. Just single left click on
the one you want and hit "OK".
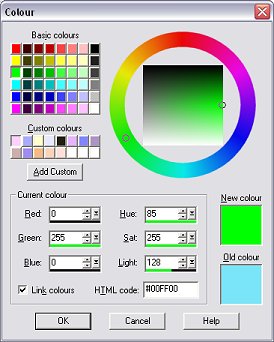
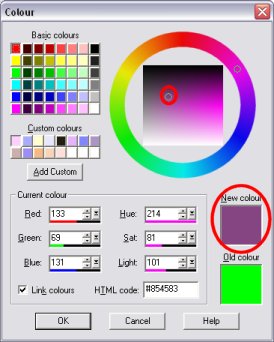
The next method uses that
big circle with the square in the middle
of it:
All the 16 million colours
you can use are in that circle
somewhere... but how do you go about
finding the one you want???
Take your cursor over to
the circle and single left click in the
circle as close to the colour you want as
you can get. I want a pinky purply
kind of colour so I'm going to click in
the pinky purply colour in the top right
hand corner of the circle.

That
colour is too bright for me... I want to
dull it down a bit... make it a bit
lighter and take the brightness down a
bit.
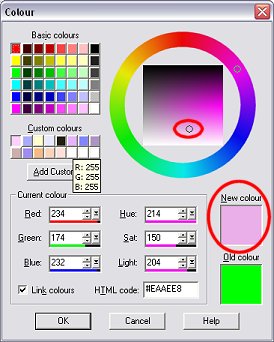
On
the right hand side of the square, about
half way down (on mine - yours may be in a
different place) there's a little
circle. This shows you where the
colour is that you've chosen. Click
and hold on that circle and move it about
- notice how the colour in that top box
keeps changing as you move the circle
around?

Move
your cursor around until you're happy with
the colour and then hit "OK"
There's
3 more ways to change your colours using
this box, but the ways you've just learnt
are the quickest, easiest and most used
methods.
When
you're ready, go to the next page where
we'll be learning about the other 3 ways.


