Using
the Colour Palette
We've
almost finished now! :o)
This
is how I do my textures... others may do
theirs differently, but this is my
way :o)
Change
your foreground colour (the top box) back
to a solid colour.
Using
your Floodfill tool, single left click on
your image to fill it with colour

Now
click on the arrows between your 2 colours
so that they swap places
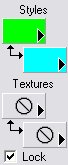
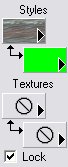
Underneath
your colour boxes you'll notice you have
another set of 2 boxes. These are
where you make your own
texture.
Click
and hold on the arrow on the top box and a
pop-out box will come out

I'm
never sure how to describe that first box
'cos it looks like different things to
different people, but that's the one you
need to click on!! lol
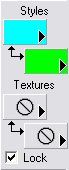
The
first box has now changed and it's got a
small pattern in it
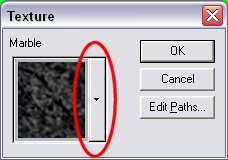
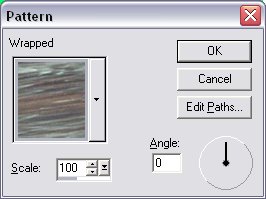
Single
left click on that box (with the pattern
in it) and you'll get a pop-up box
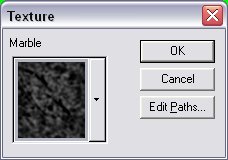
Your
texture may be different to mine... that's
OK. You see that little arrow next
to the box? Single left click on
that...
...
and you'll get a drop-down box like this
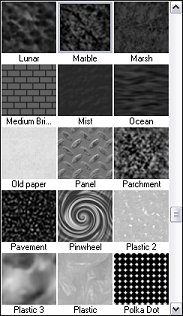
Yours
may be in a different position and showing
different textures, but you get the
idea! :o)
Scroll
through your list and find one that you
like. Pick a really obvious one for
the most striking effect just for now so
that you can see what it does. I'm
going to choose the Pinwheel one.
Single
left click on the one you want and it will
appear in your box
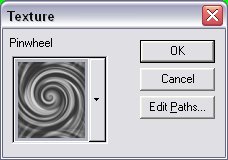
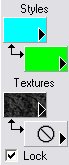
Now
just hit "OK" and it will appear
under the "texture" section in
your top box
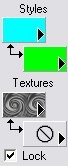
Now
just single left click on your image and
you have your own texture!! You
ready to see mine? You'd better put
your sunglasses on first!! lol

With
textures, the light bits show your
foreground colour (top box) and the dark
bits show your background colour (bottom
box). Play around and see what else
you can come up with! :o)
There's
one other way to use textures on your
image, but it's not as individual as
making your own textures like you've just
done.
Change
your texture back so that there aren't any
textures showing in the bottom 2 boxes (in
the "textures" section)
Now
go up to your top box in the
"Styles" section and click and
hold on the arrow so that you get the
pop-out box.

Single
left click on the 3rd one... the one with
the 9 tiny squares - you'll have something
that looks similar to this in your boxes
now
Now
single left click on that box again and a
pop-up box like this will come up
Are
these boxes starting to look a little
familiar? lol
There's
a little arrow next to the pattern...
guess what you've gotta do? Yup, you
got it! Single left click on that
arrow to get a drop-down box with all your
patterns in it.

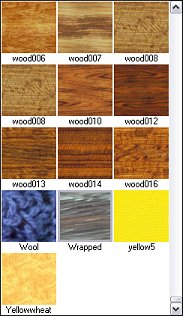
Scroll
through all the patterns you have in there
and when you've found one you like, single
left click on it to select it and hit
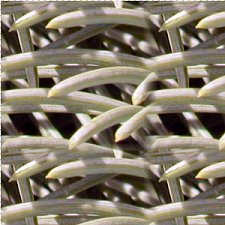
OK. I'm going to choose the
"Bean Thing" one. This is
what your boxes will look like now
Now
all you need to do is use your Floodfill
tool to single left click on your image
and voila! :o)
I
realise that this may be a lot to take in
all at once and that's totally OK.
Have a play around for a while and if you
get stuck, just go back over that part of
the tutorial. There is sooo much you
can do when you know the basics of the
Colour Palette!! :o)


