Raster
and Vector Layers
You
should now have something that looks
similar to this (your text may be in a
different place)

You'll notice that your
text has got lots of boxes around it that
are all joined up with a line - this is
the vector equivalent of the marching ants
- it means that the text is
selected.
Right in the middle you
will have 2 little squares - one right in
the center and one slightly to the
right. If you aren't happy with
where your text is, this is where and how
you change it.
Take your cursor up to the
square that is right in the center - hover
over it. Your cursor has now changed
into a cursor with 4 arrows (one pointing
in each direction)... this cursor tells
you that if you click on that box, you can
move it in all directions - and that's
what we want to do... so:
Single left click and hold
on the box in the center. You'll
notice that the edges of your text have
gone slightly jaggedy - that's OK, it just
means that PSP is ready for you to move
your text.
To move it, you need to
drag it to wherever you want your text to
be.
This is how mine looks
now:

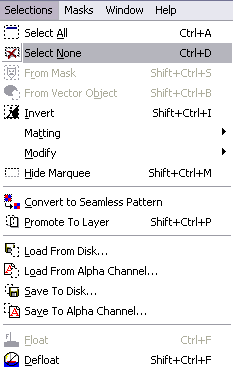
Now that we are happy with
where our text is, we need to deselect
it. Deselecting something that is a
vector object or something that is on a
vector layer is just the same as
deselecting something on a raster layer,
so go to "Selections" and then
to "Select none" (or press Ctrl
D if you prefer working with keyboard
shortcuts)

You should now have
something that looks like this:

